It’s time once again for another spectacular release from Simon Says Stamp! This release truly has something for everyone. There is lovely seasonal inspiration and fun products and tools for year-round creativity.
I always need lots of thank you cards. Do you? I thought creating a thank you card for this release was a perfect way to combine new and old products.
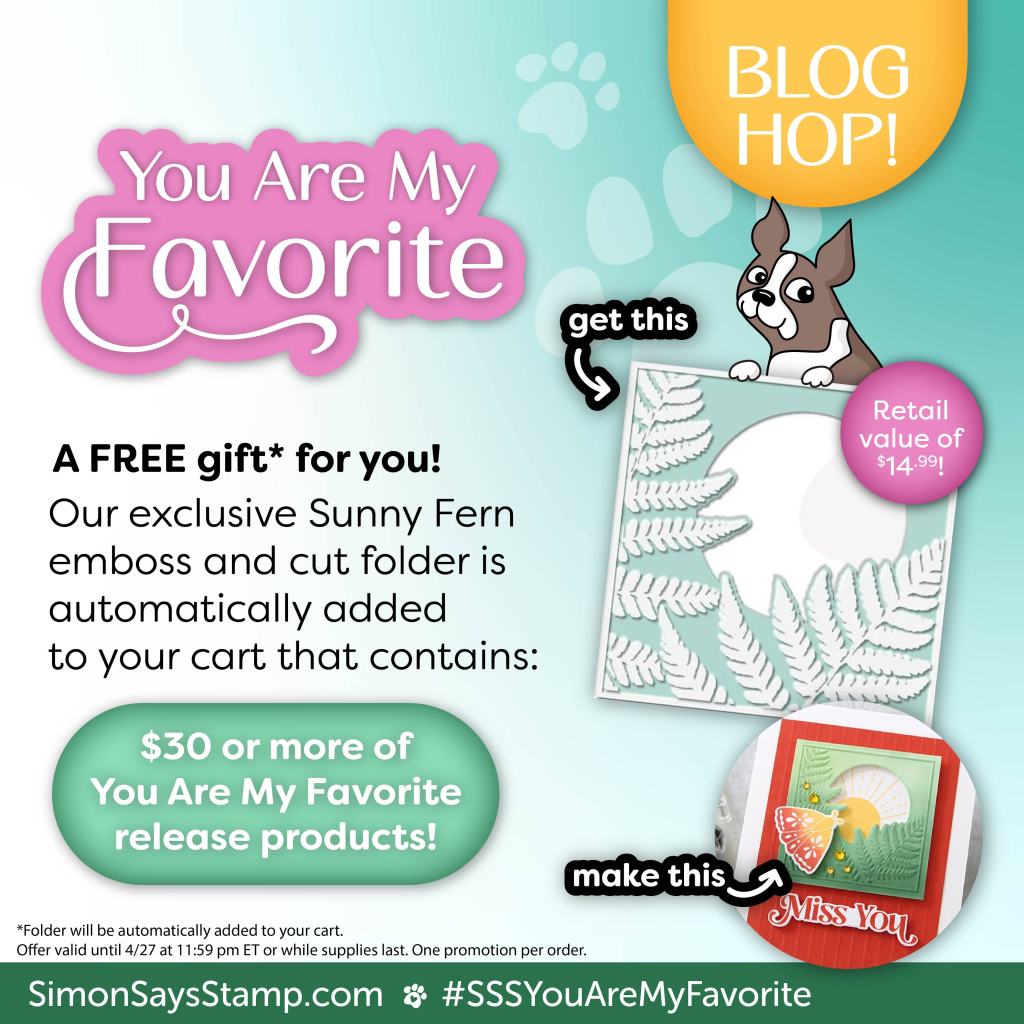
Welcome to day one of the You Are My Favorite release hop. Simon Says Stamp is offering a FREE gift when you order $30 or more from the new release. See the graphic below for details.
Sympathy cards can be some of the hardest to create, but also the most meaningful to send. Today, I am sharing a soft and subtle design using products from the new release at Simon Says Stamp. I thought these products were perfect for expressing heartfelt thoughts during difficult times.
I used the following Simon Says Stamp products used to create this card:
~Fresh Sprigs embossing folder
~Inside Greetings stamp set
~Fog card stock
I started by cutting a piece of Fog card stock to 4″ x 5 1/4.” I lightly spritzed it with water, placed it inside the Fresh Sprigs embossing folder and ran it through my Spellbinders Platinum machine.
Next, using finger daubers, I lightly inked up the flowers in Pawsitively Saturated ink in Dew and inked the greenery with Pearfection. I stamped the sentiment from the new Inside Greetings stamp set using Memento Tuxedo Black ink.
To finish the card, I adhered the completed panel to a top folding A2 card base.
If you are looking for a versatile sentiment set, Inside Greetings is a must have. It has a variety of sentiments and they are in such pretty fonts.
Let me know in the comments what your favorite new product is! Simon Says Stamp is giving away a $25 coupon to every stop on the hop from your blog comment section – so be sure to leave a comment! And tomorrow there will be another amazing blog hop!!
Spring has arrived and what better way to celebrate than with an adorable Easter card? Simon Says Stamp’s Rain or Shine release is filled with fresh, cheerful products perfect for the season! Today I am sharing a card that features some of my favorites from the collection.
This card features the Darling Duckling wafer dies and the Argyle Builder stencil set. The Darling Duckling is the star of this card. It was so easy to die cut and now the dies have no tabs to snip. That is such a great feature!
The soft, textured background, created by using the 3 piece Argyle Builder stencil is giving this card a classic, Springy look. Stenciling is a fun and simple technique that always gives great results.
I also used the following Simon Says Products:
~Hippity Hoppity stamps and dies (sentiment)
~Spring Time Celebration Plate (floral accents)
~Seafoam and Surf Pawsitively Saturated Inks
Combining all of these products made the sweetest Easter card.
Simon Says Stamp’s latest release, Favorite Things, is here and it’s full of fresh, Spring-inspired products! Be sure to visit all of the blogs and comment because Simon Says Stamp is giving away a $25 coupon to every stop on the hop. AND there’s more! Our exclusive Happy Bee Day stamp set is automatically added to your cart that contains $50 or more of Favorite Things release products! This gift with purchase will expire 3/2 at 11:59 pm EST or while supplies last.
For today’s card, I created a soft and elegant Easter card using a mix of textures and die cuts and featuring the brand new Blessings at Easter stamp set.
I started with a white card base and lightly splattered it with Seafoam ink for a subtle effect. The main focal point is a beautiful, stamped egg hanging onto a framed scallop die cut tag. To add dimension, I layered the tag over a kraft, woven embossed panel. A delicate die cut bow adds a finishing touch, and the “Greetings” sentiment, ties it all together.
I love you a latte! Thanks a latte! Better latte than never. I could go on and on.
But what is a latte?
Technically speaking, a latte is an espresso and milk drink that has a 1:3 ratio. One part espresso to three parts steamed milk and it’s topped with a thin layer of milk foam. The combination makes a caffeinated and creamy beverage that has a mild espresso flavor, but isn’t too strong.
Sounds good to me!
Here is the card I created to celebrate National Latte Day:
I used the following products from super sponsor Newton’s Nook Designs:
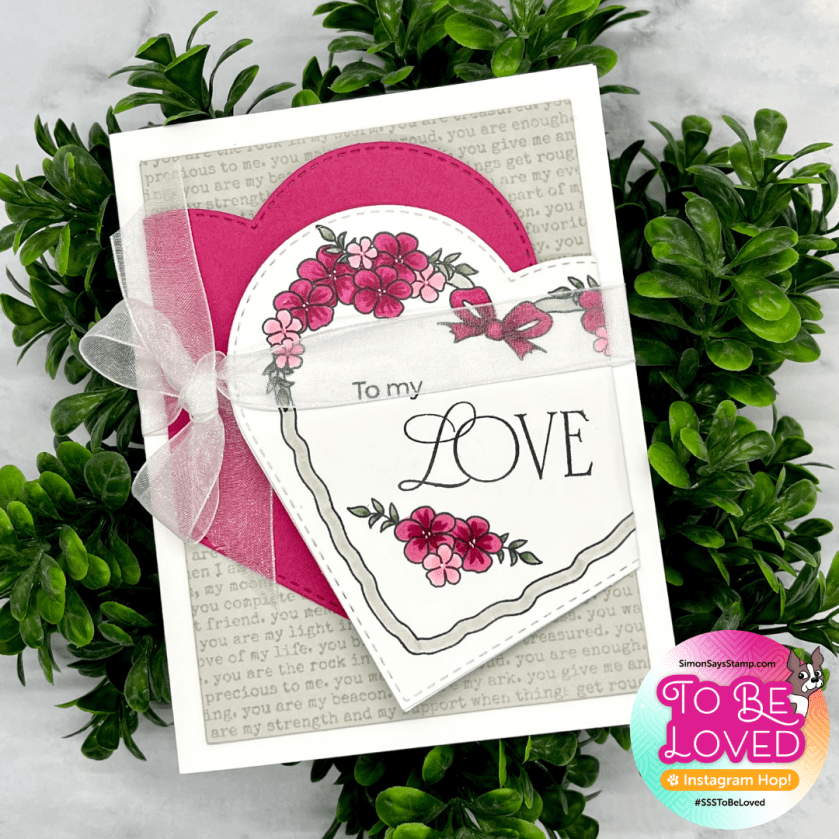
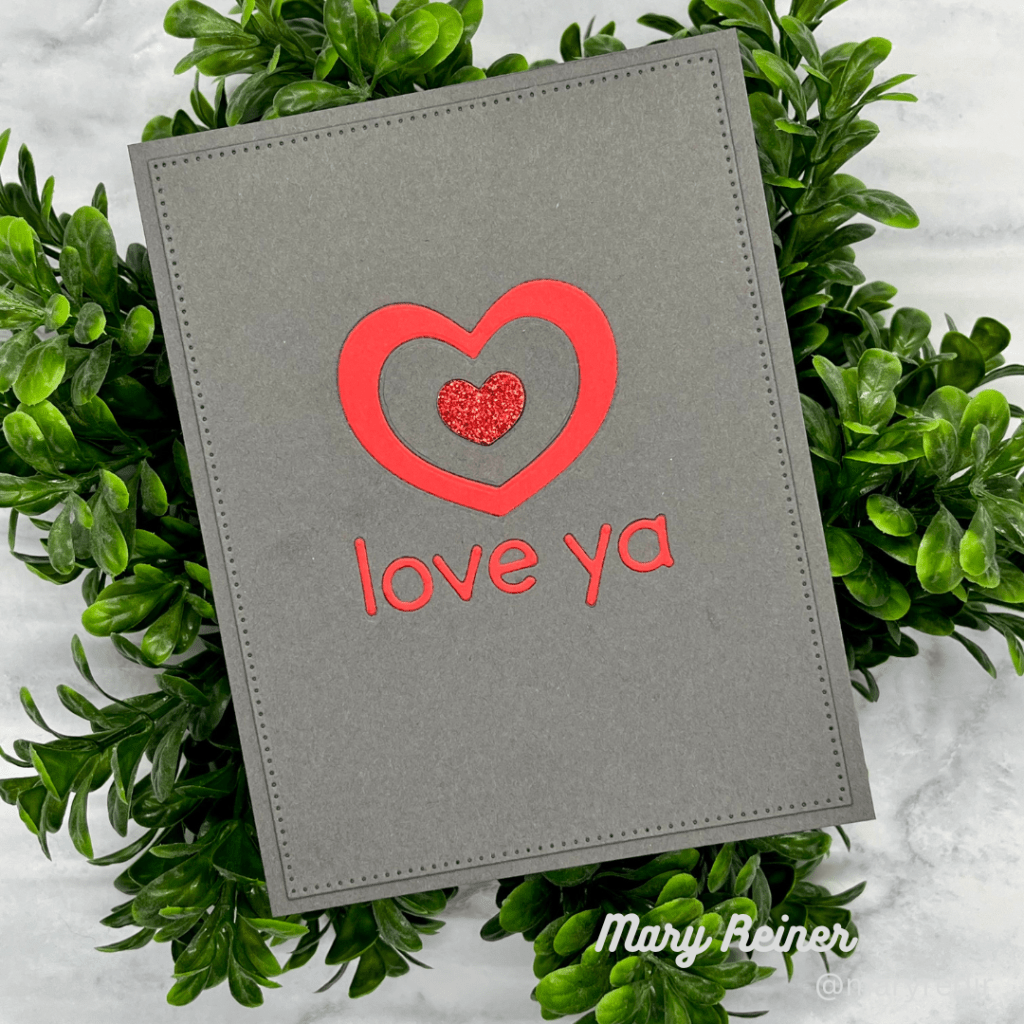
Today I am sharing a project I created featuring products from Simon Says Stamp. I posted this on Instagram as it is part of the To Be Loved hop. I hope you will hop along!
I die cut a heart out of pink card stock and white card stock.
I stamped the You Are stamp, using Pebble ink from Concord and 9th, onto Fog card stock. Then, I cut that down to 3 3/4″ x 5″.
Next, I figured out where I wanted the hearts and lightly marked with a pencil where they would overlap on the Fog panel, so I could stamp th sentiment and have it be hidden by the hearts. I carefully erased the guides.
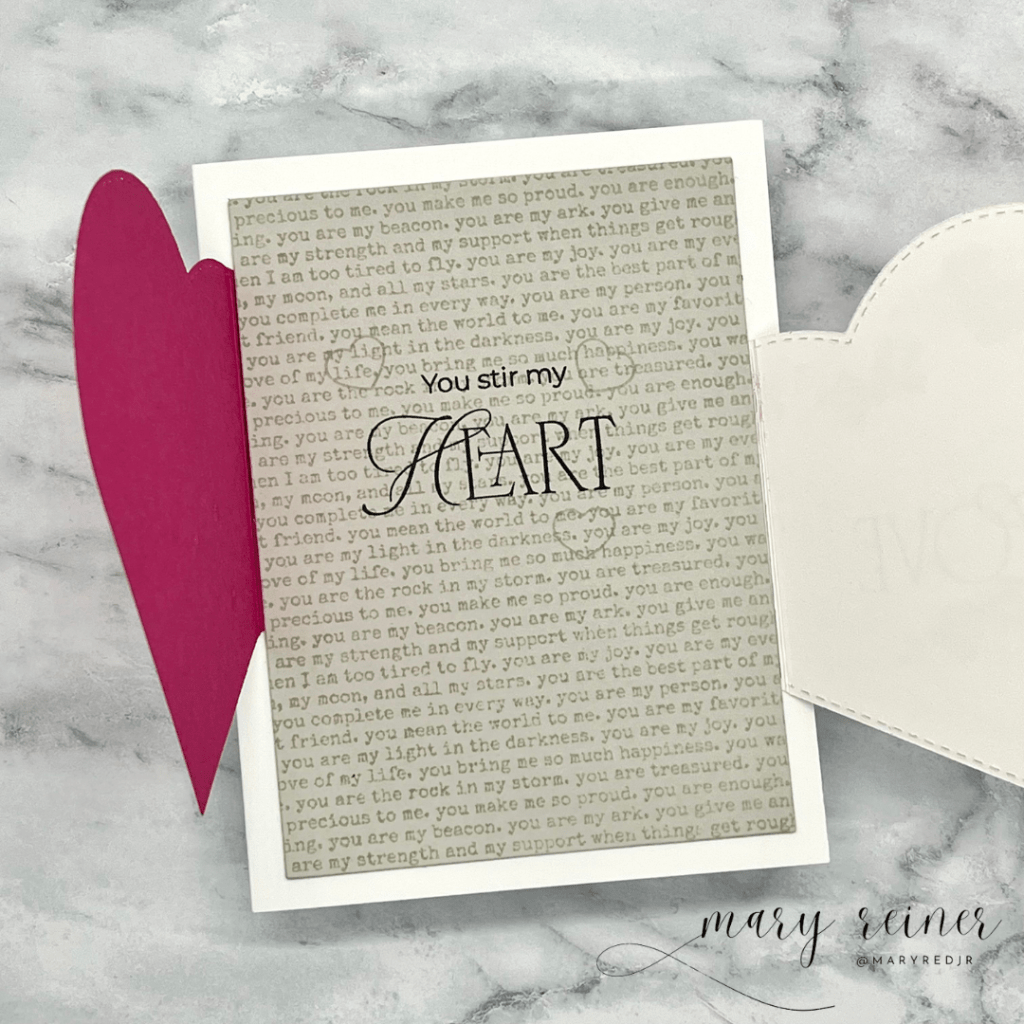
I scored the hearts using a score board approx. 1″ from the right side on the white stamped heart and 1″ from the left side of the pink heart. (I really just eye-balled this as I wanted the hearts to be on an angle on the card.)
I folded the scored hearts and adhered them to the back of the Fog panel. This created the interactive pieces. (see images below)
I stamped the sentement onto the white heart to finish the front of the card.
I added the third white heart to the back of the copic-colored, stamped heart. I cut part of the heart off since part of the stamped heart was folded behind the panel. This additional heart piece is just to cover up the ink that came through on my coloring.
I adhered all of this to a top folding A2 card base, added a few white gel pen dots to the flower centers and finished it off with a sheer bow.
Be sure to comment on my Instagram post @maryredjr for a chance to win $25 to Simon Says Stamp.
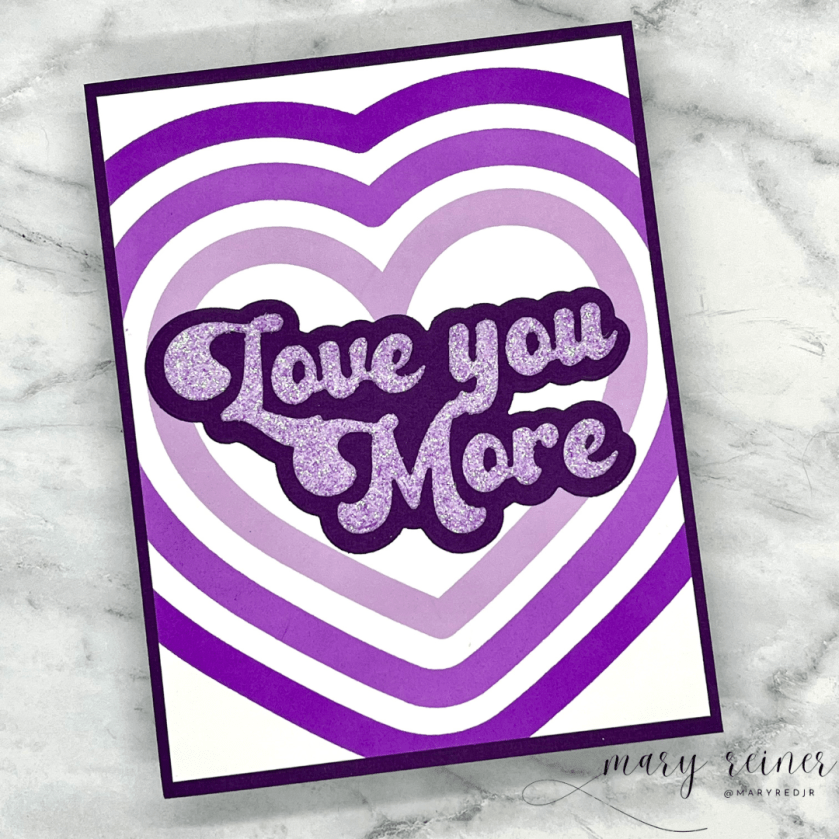
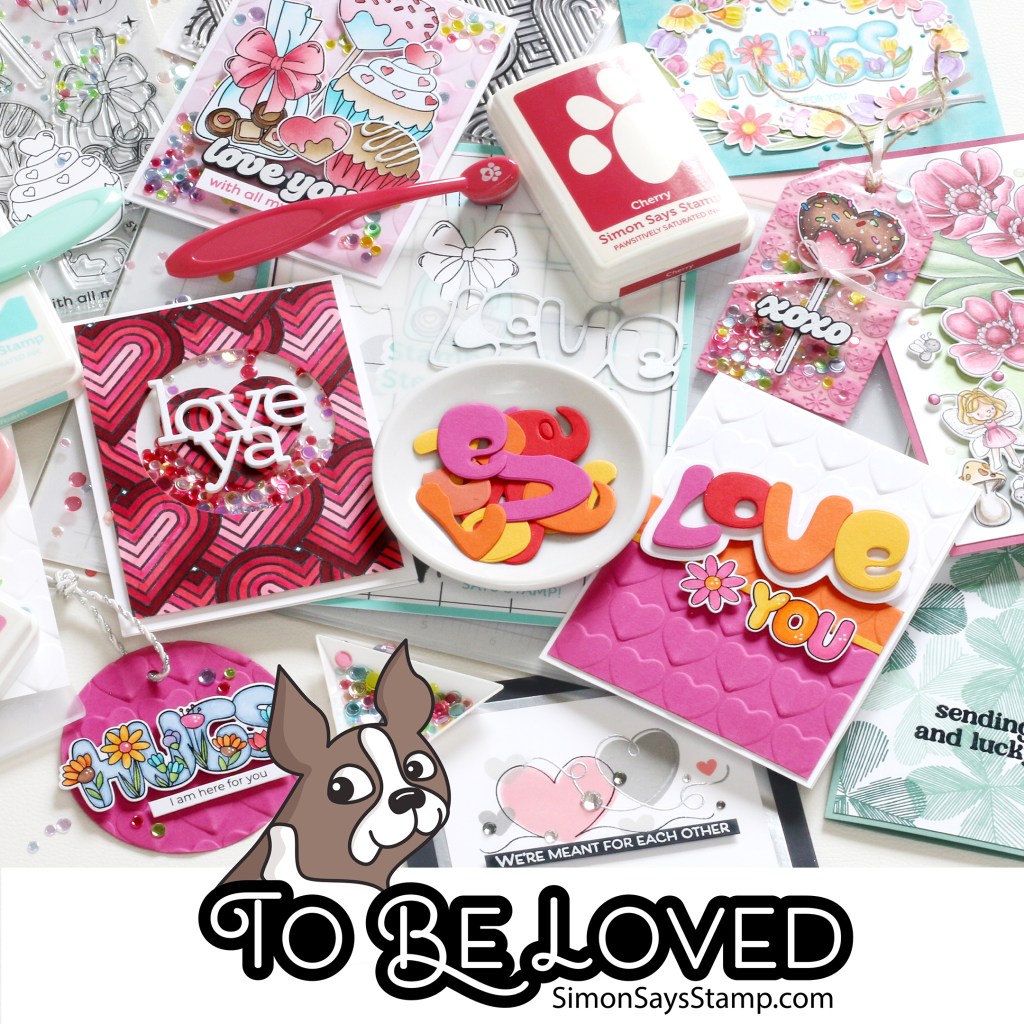
Simon Says Stamp’s latest “To Be Loved” release is packed with heartfelt products, and I am thrilled to share a card featuring the Groovy Love You die set.
This bold and retro -inspired die truly steals the show! To create my card, I used the Concentric Hearts stamp set and stamped each heart in a different shade of Simon Says Stamp Pawsitively Saturated Ink (Amethyst, Orchid and Lilac). Then, I die cut the sentiment out of Simon Says Stamp purple glitter card stock and then cut the shadow out of dark purple card stock and adhered them together. I glued the purple heart panel to a dark purple panel and then adhered the sentement. To complete my card, I adhered it to a top folding, A2 card base. A quick card that packs a punch!
Stay tuned for more projects from this amazing release and don’t forget to check out all of the new products. Click my link below to fill your cart:
Love is in the air with Simon Says Stamp’s newest release, To Love! Whether you are crafting heartfelt treats or creating cards for your favorite people, this collection makes it effortless to share the love.
I had the pleasure of working with the new Sweethearts Box die to create a charming treat box filled with goodies.
Creating this box was easy! I simply die cut the box out of red card stock. I used one of the included heart dies to cut my window. Before glueing my box together, I added acetate behind the heart window. Next, I die cut “xoxo” (these dies also included in the set) and adhered them to the acetate and folded and adhered the box together. To make this extra special, candy was added as well as a pretty ribbon to finish it off. I will be making more of these, for sure!
I also created a card using additional dies from the set. My idea was to create a masculine Valentine.
As you can see, the Sweethearts Box die set offers endless creative possibilities to spread love.
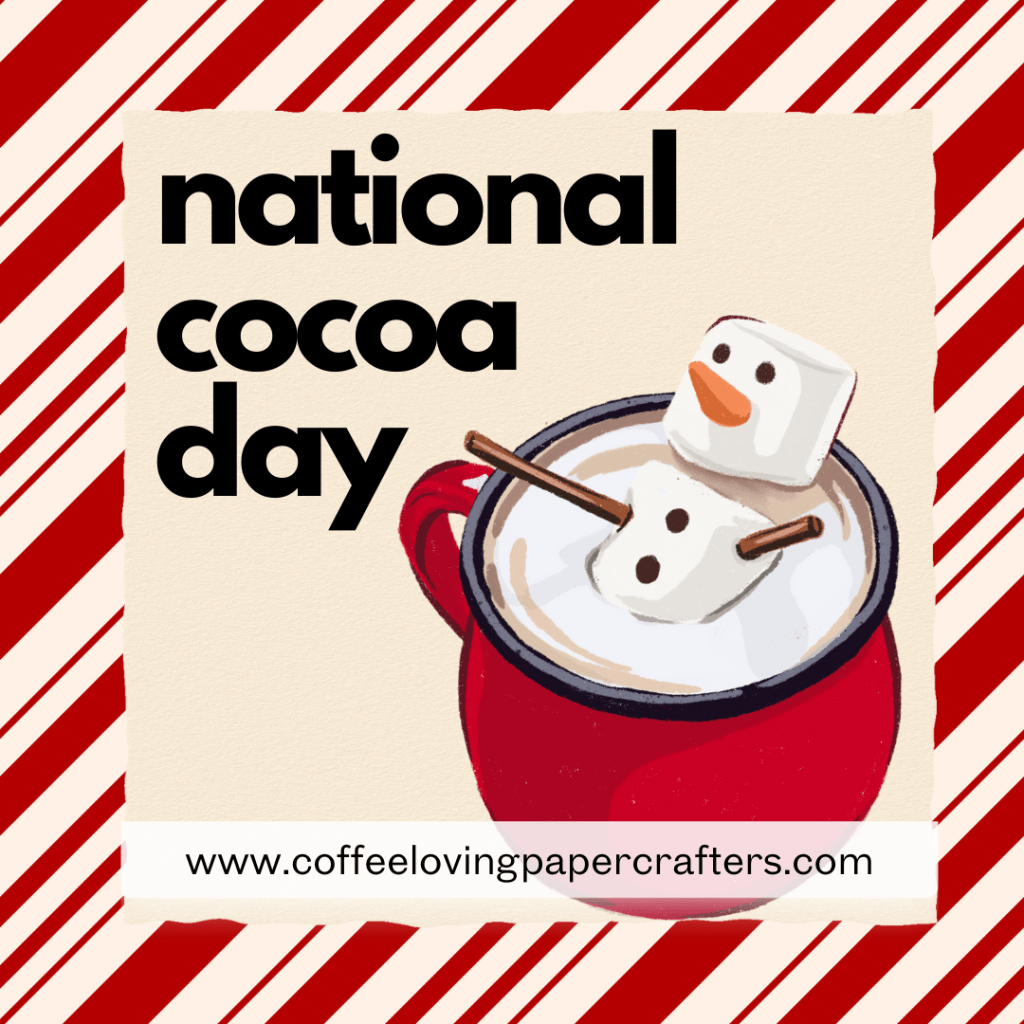
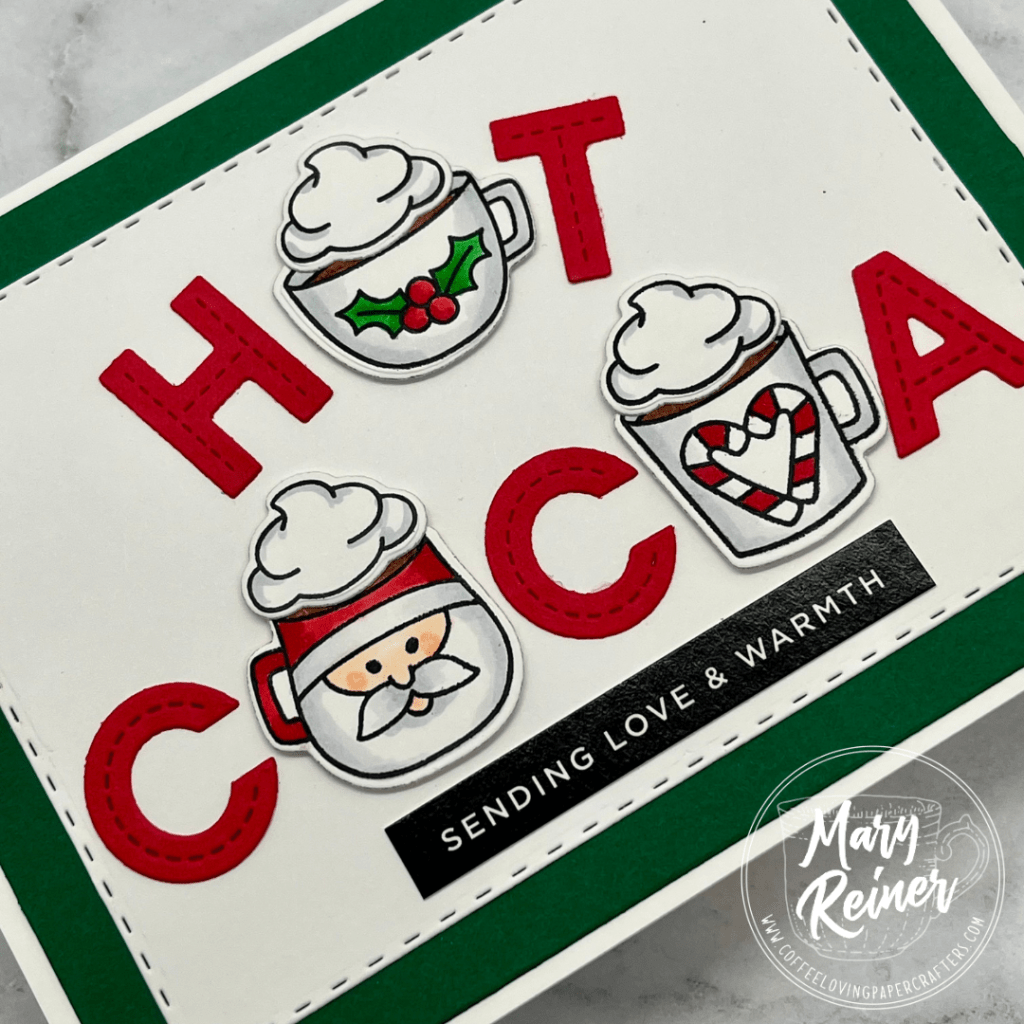
December 13th marks National Hot Cocoa Day – a cozy celebration of everyone’s favorite winter drink! To honor the occasion, I created a festive card featuring adorable mugs filled with whipped cream and holiday spirit!
I used the following to create my card:
~Christmas Coffees stamps and dies from Super Sponsor Newton’s Nook Designs
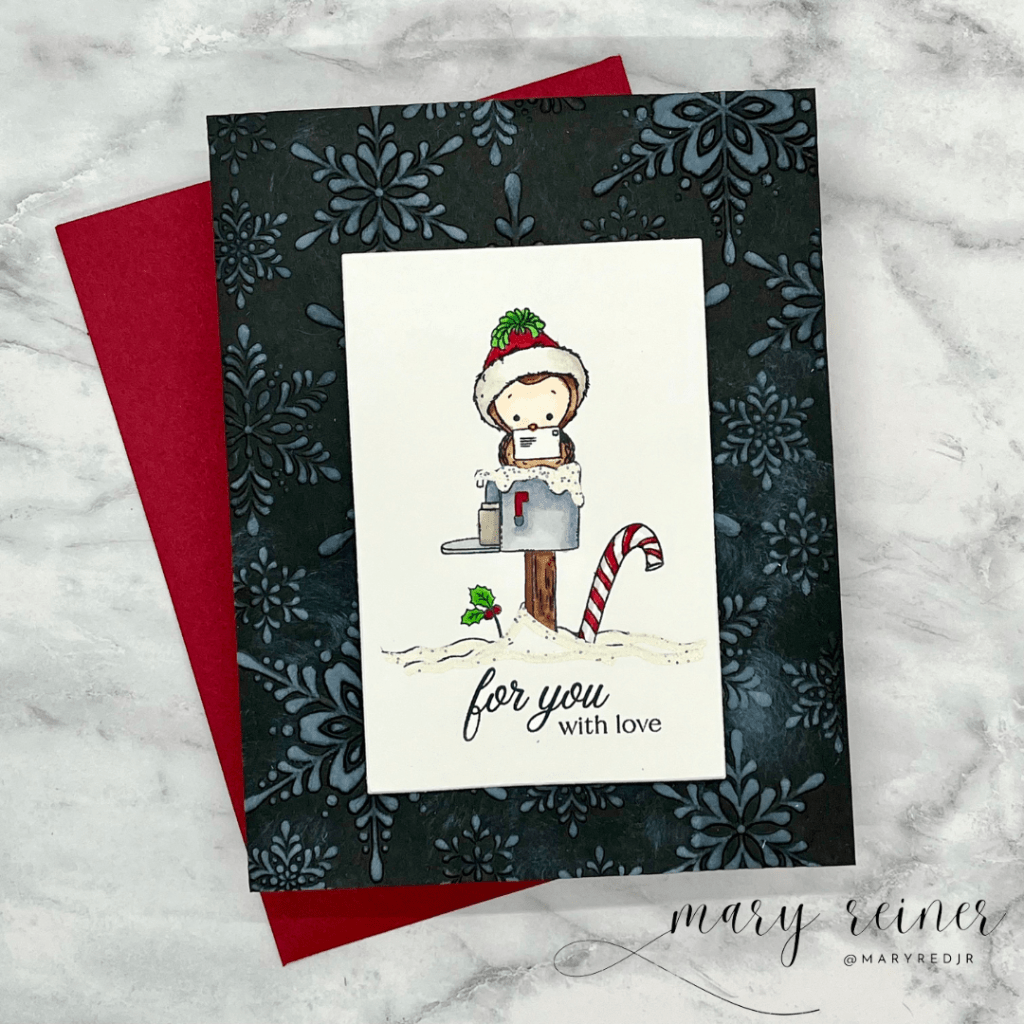
Creating this cozy holiday card with the new Jolly Christmas stamp set was such a joy! The images and sentiments in this set are perfect for creating heartfelt Christmas cards.
Card Recipe:
~ Jolly Christmas stamp set
~ So Very Black card stock
~Glistening Snowflakes embossing folder
Cut a 4 1/4″ x5 1/2″ panel from So Very Black card stock. Lightly spritz it with water and place it inside the embossing folder. Run it through your embossing machine.
Using a light hand, gently rub a white pigment ink over the embossed panel.
Stamp the image and sentiment onto white 100+ card stock.
Color with Copic Markers or other alcohol markers.
Cut the colored image down to 2 1/4″ x 3 1/2″
Use an embossing pen to follow the lines of the snow. Use a glittery, white embossing powder and heat set.
Adhere the stamped panel to the embossed black panel and then adhere that to an A2 card base.