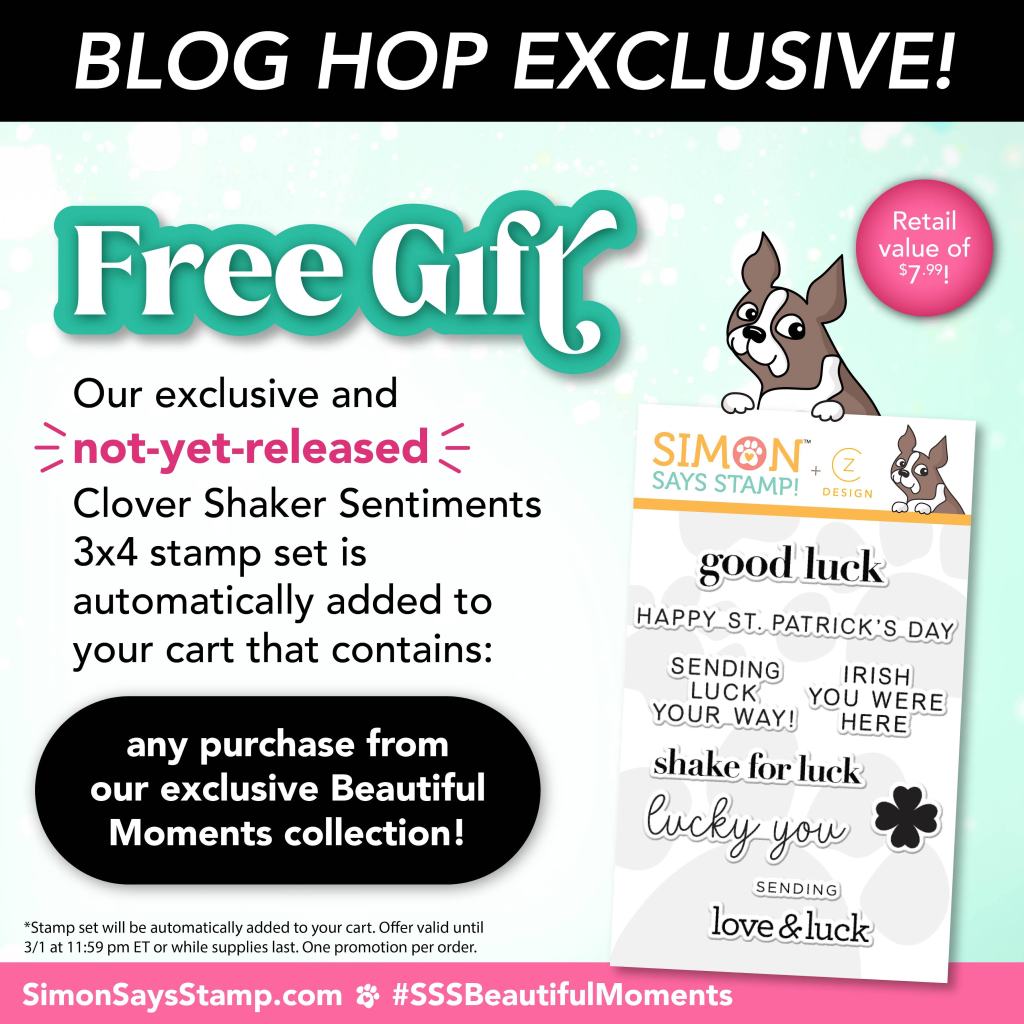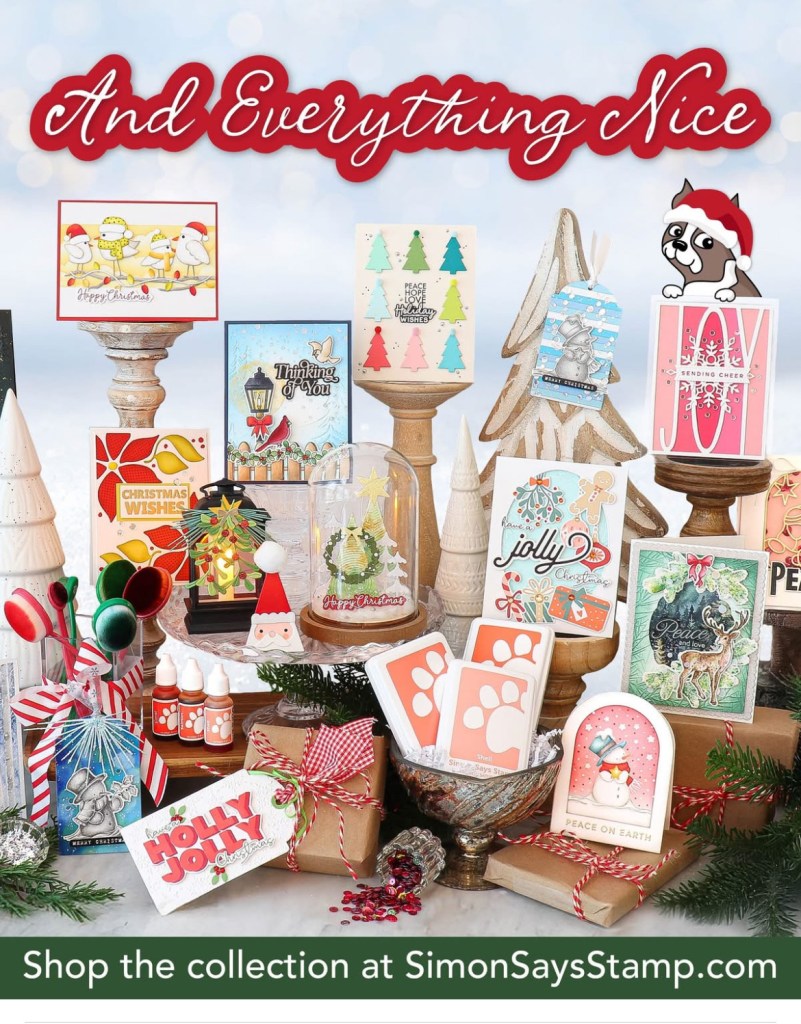
It’s release day at Simon Says Stamp! There are so many great new items for you to check out.
You can check out the whole release here: https://www.simonsaysstamp.com/collections/every-happiness
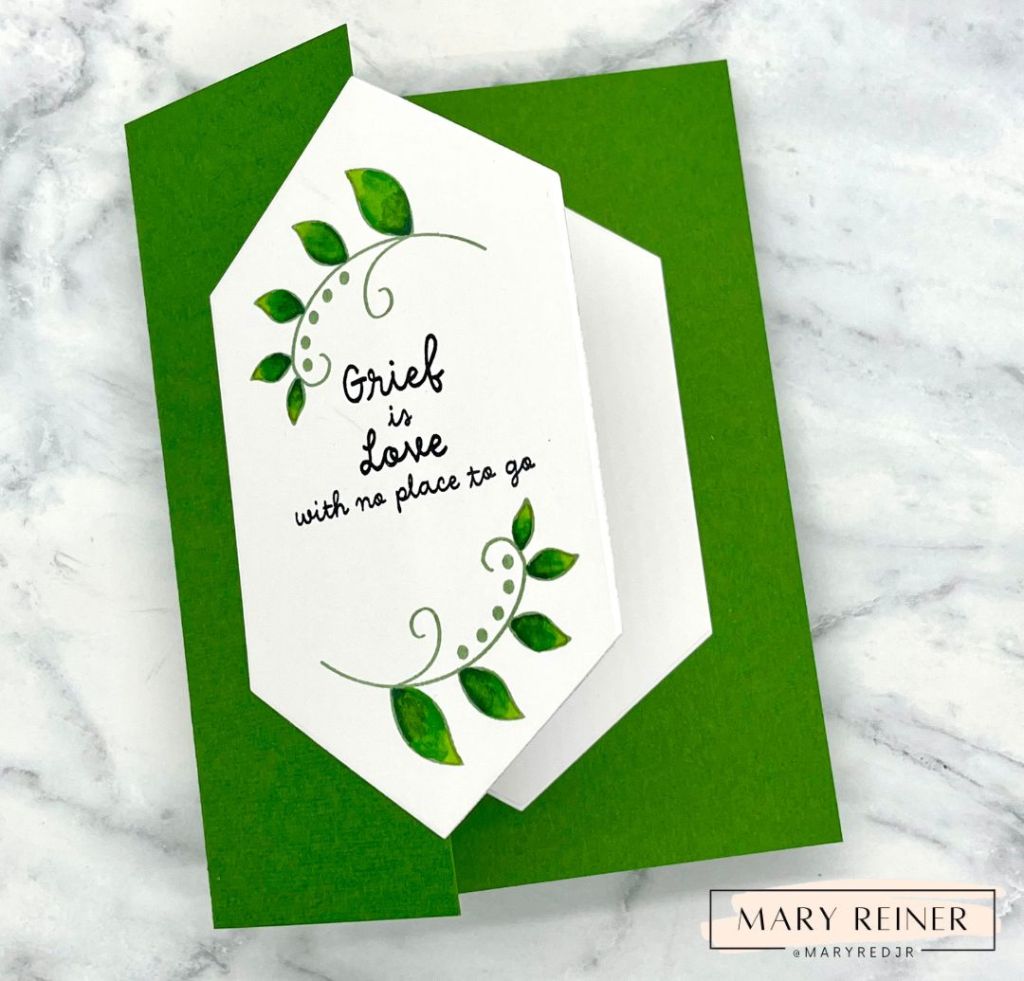
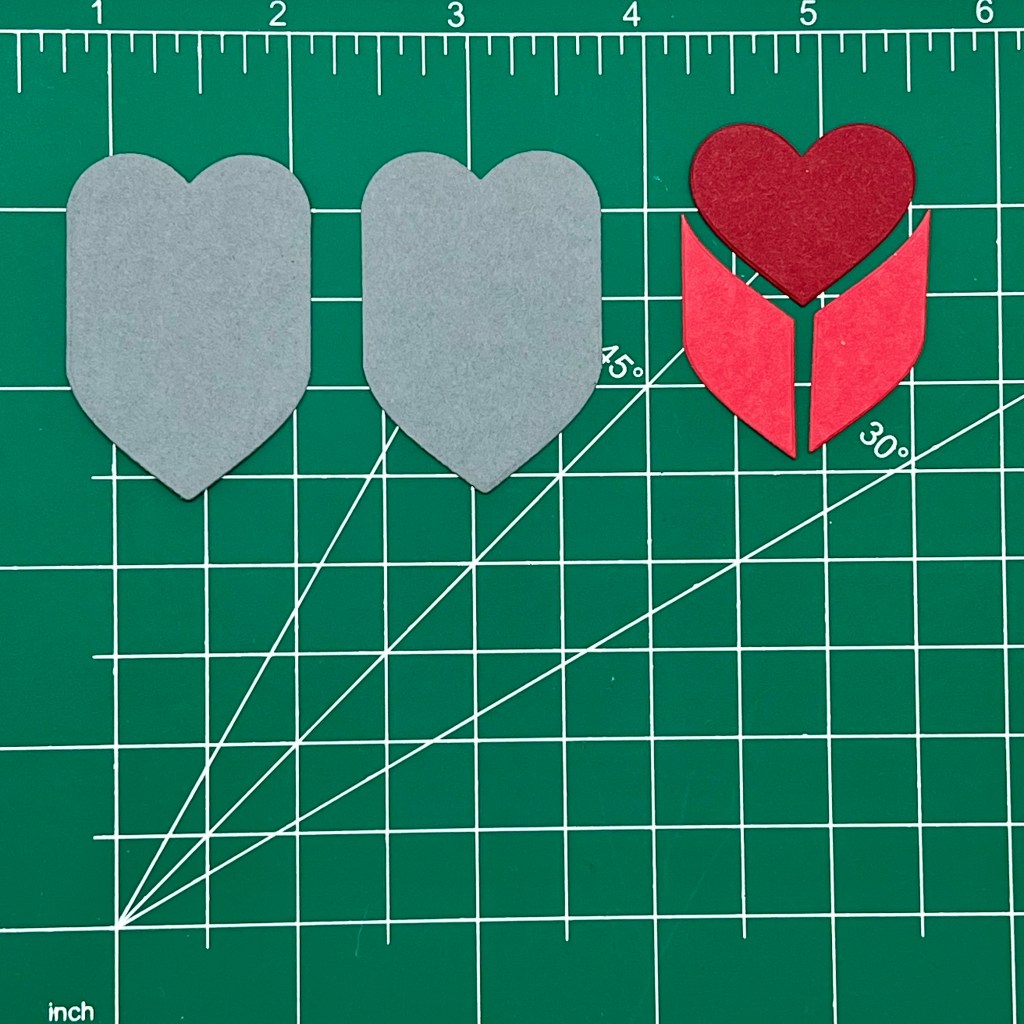
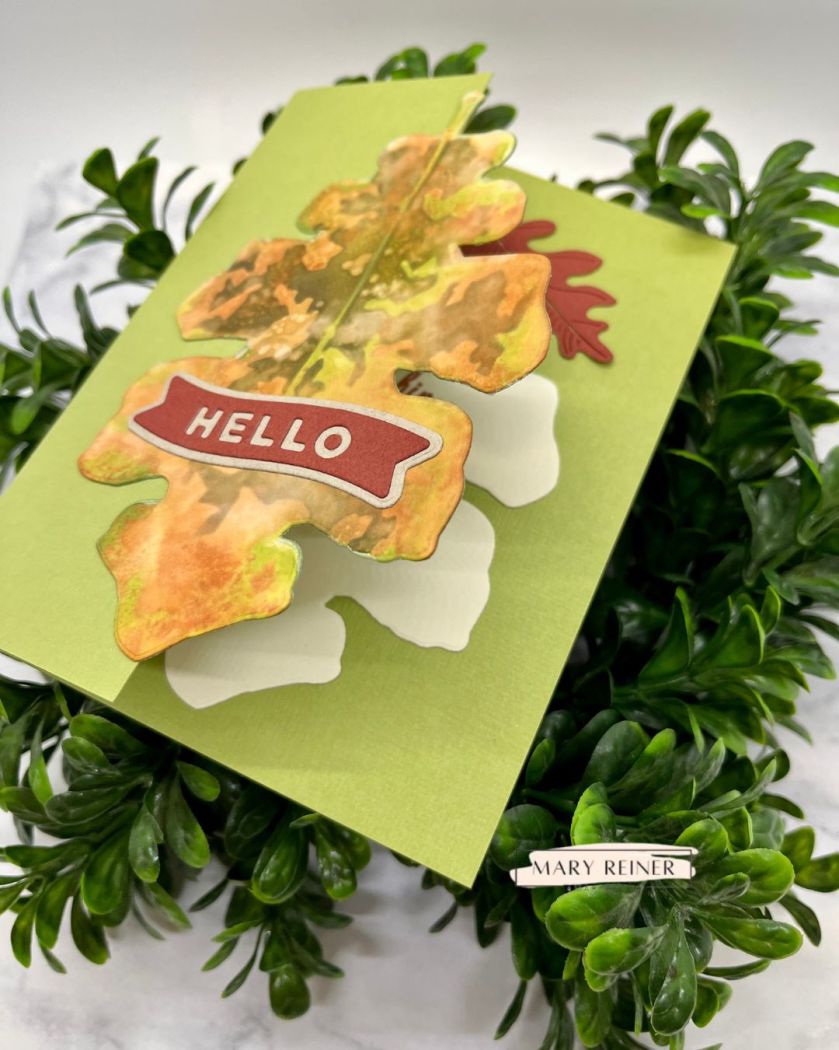
Today, I am featuring cards I created using the Oak Leaf die and stencil. To be honest, I made a bunch of these leaves and played around with different colors and techniques to get a realistic looking leaf. The stencils are so cool!
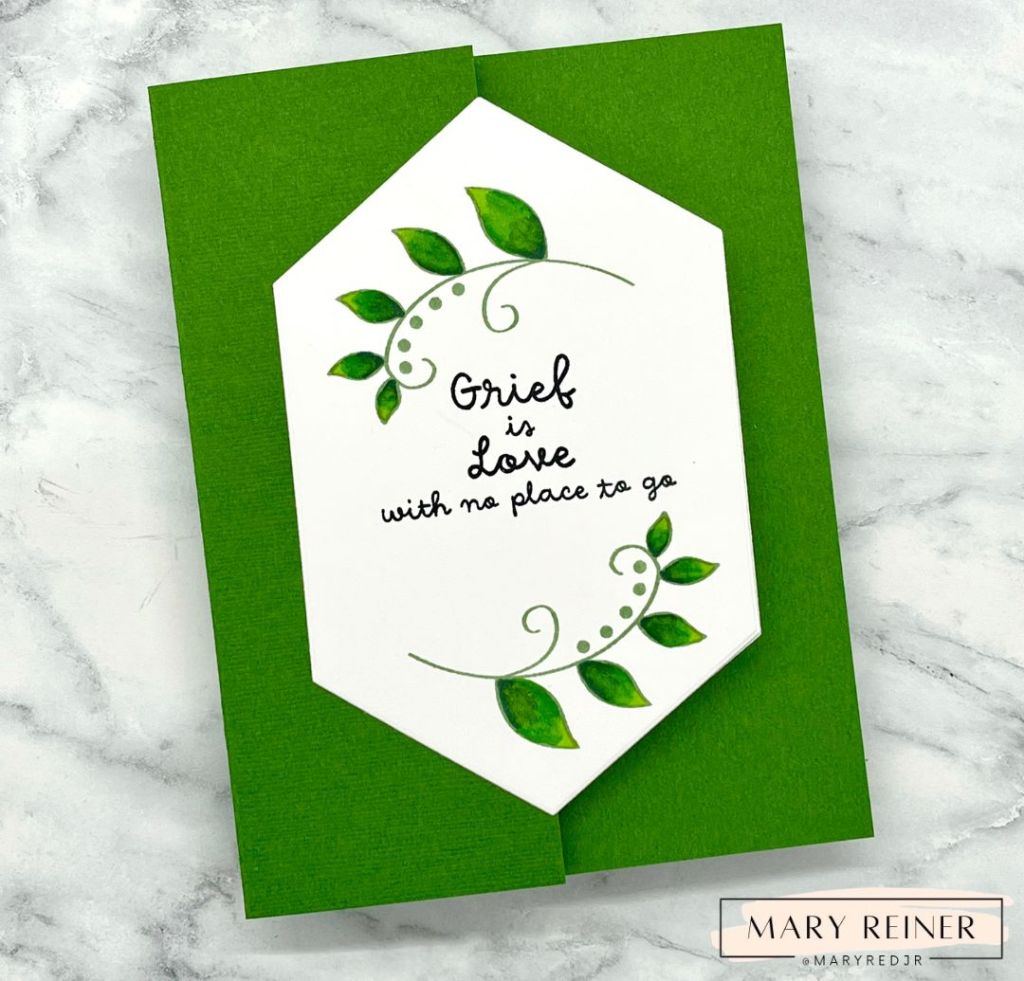
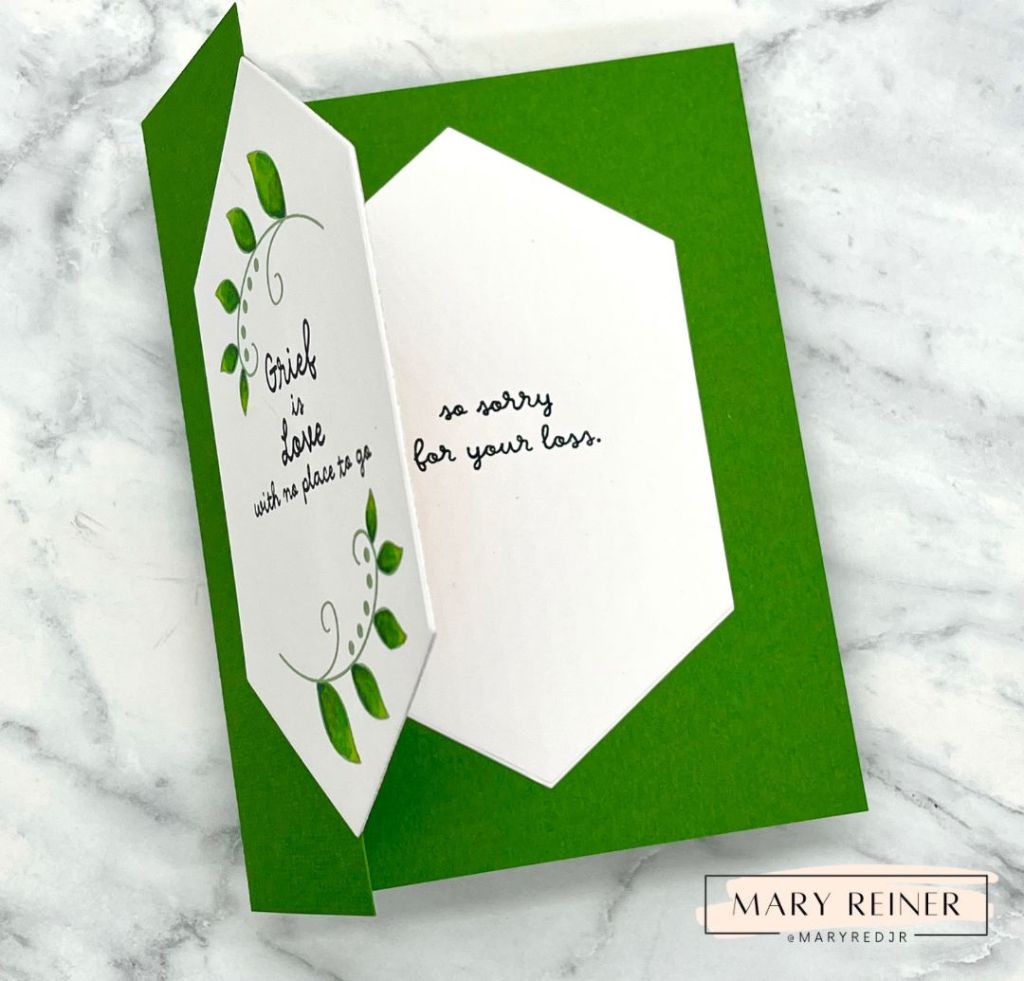
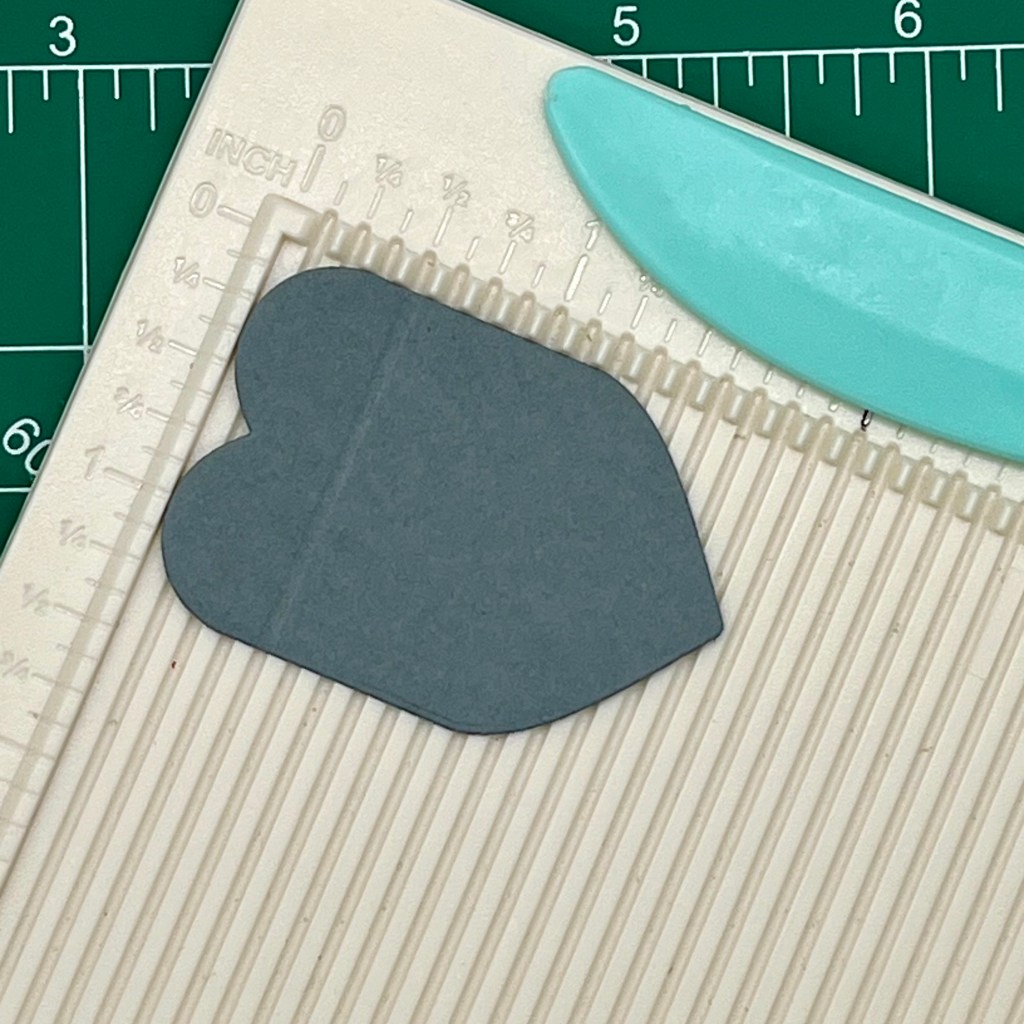
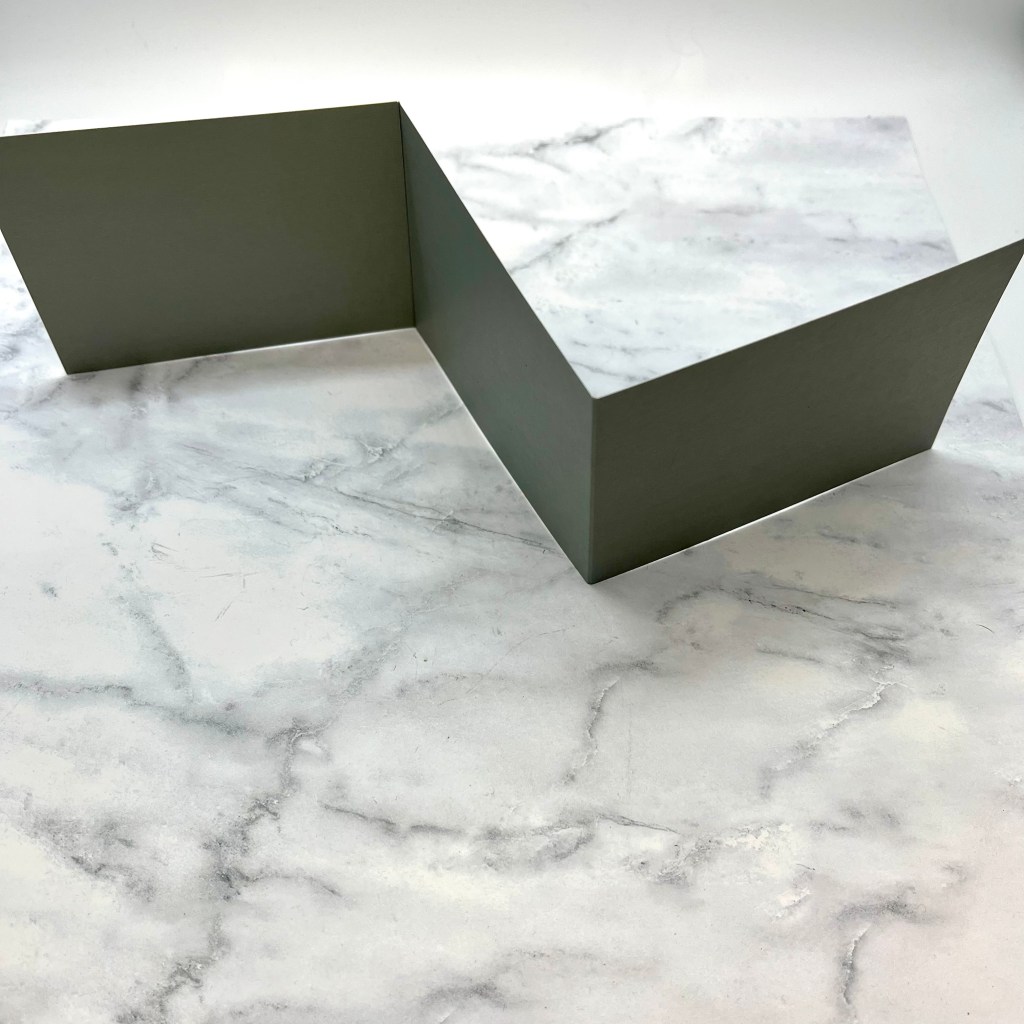
For my first card, I wanted it to have a unique opening. I created a side folding A2 card and then removed half of the front panel (2 1/8″). I adhered the leaf so the stem lined up in the center.
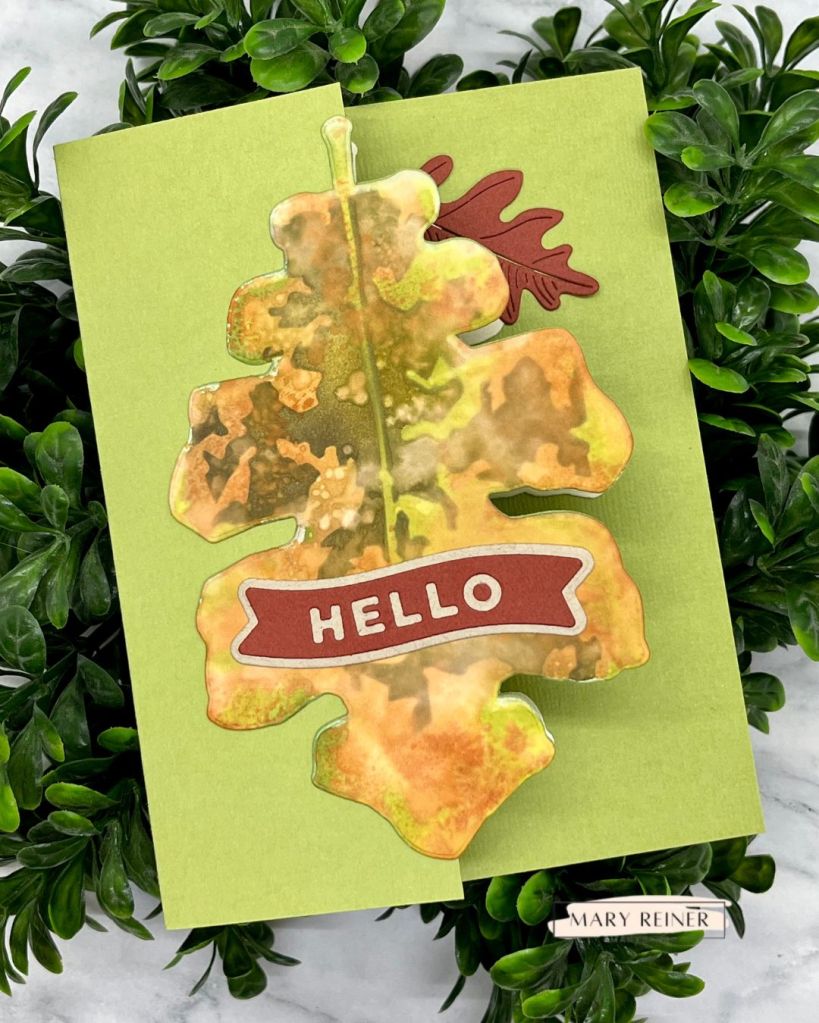
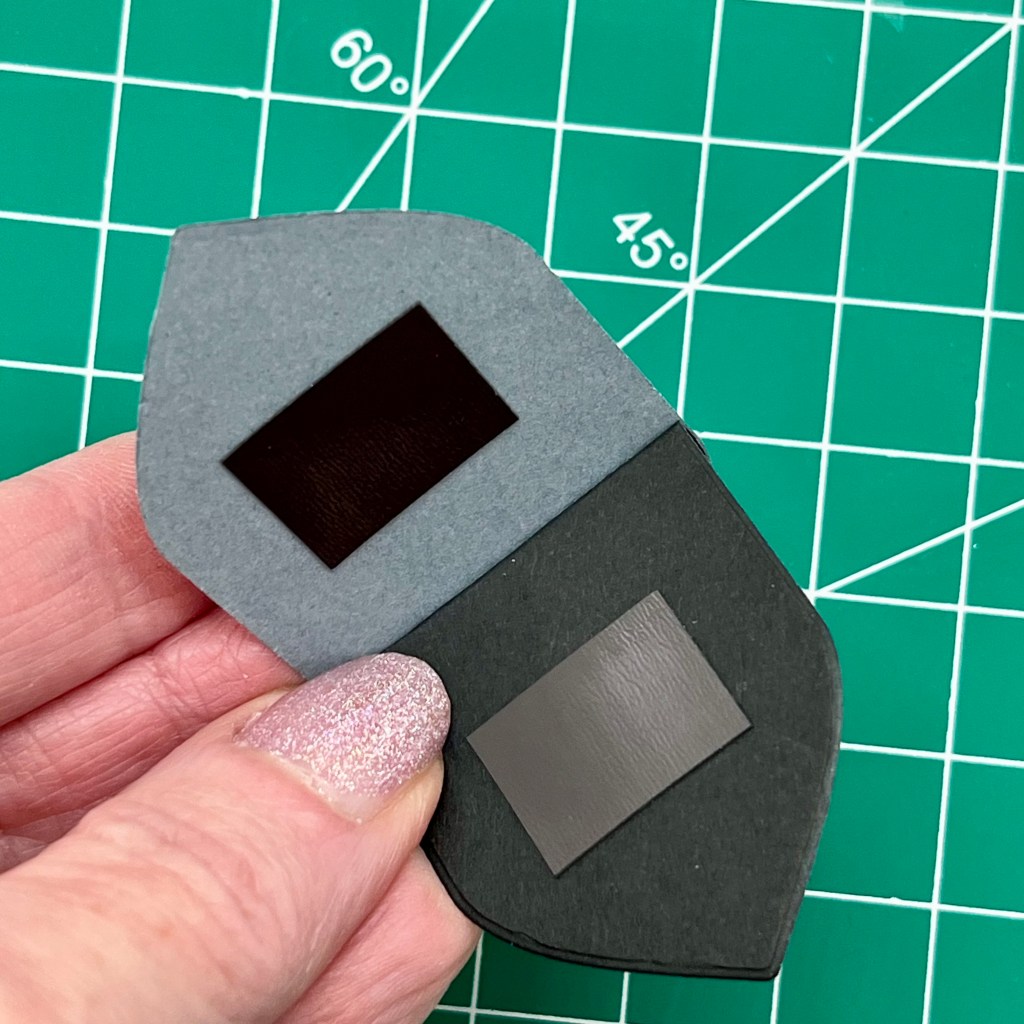
I die cut a cream colored leaf as well as a green leaf (to match the card base). I adhered the green leaf to the back of the front panel being sure to line it up with the leaf on the front.

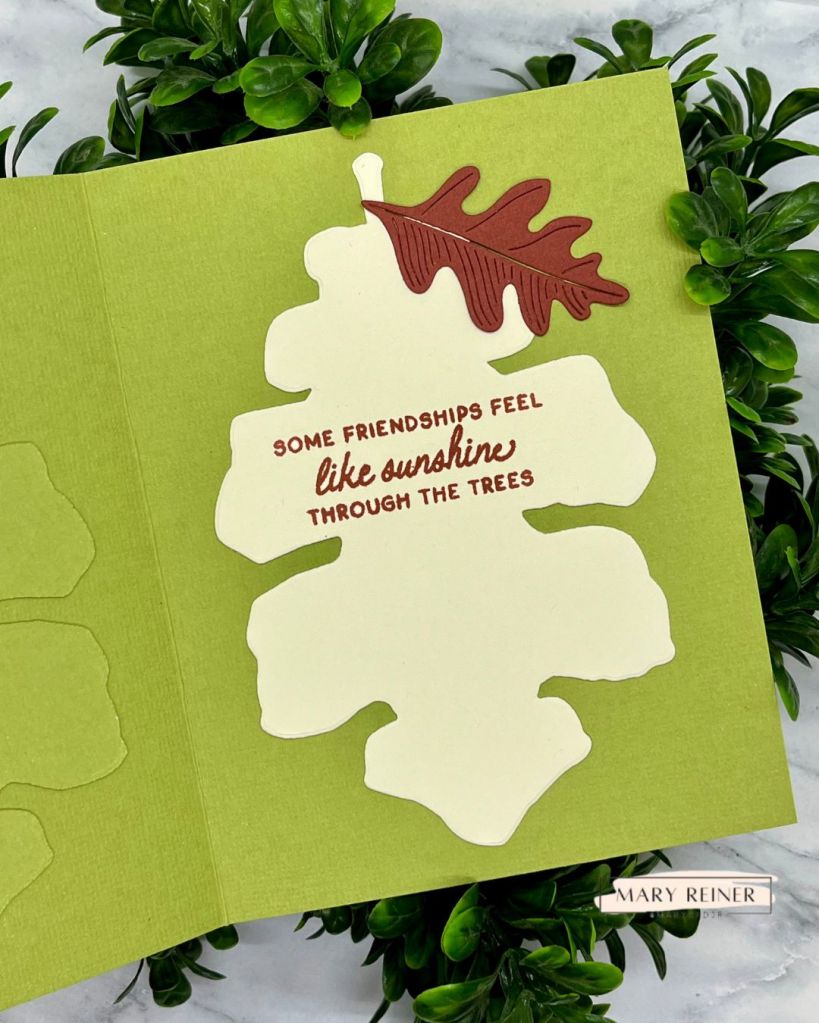
Next, I lined up the cream colored leaf with the other leaves. I added glue to the back of it and shut my card. This way the leaves were all in the same place. I stamped the sentiment which is from the brand new Woodland Friends stamp set. Then, I added a smaller leaf (Etched Oak Leaves die set).
I love how this Fall card turned out!
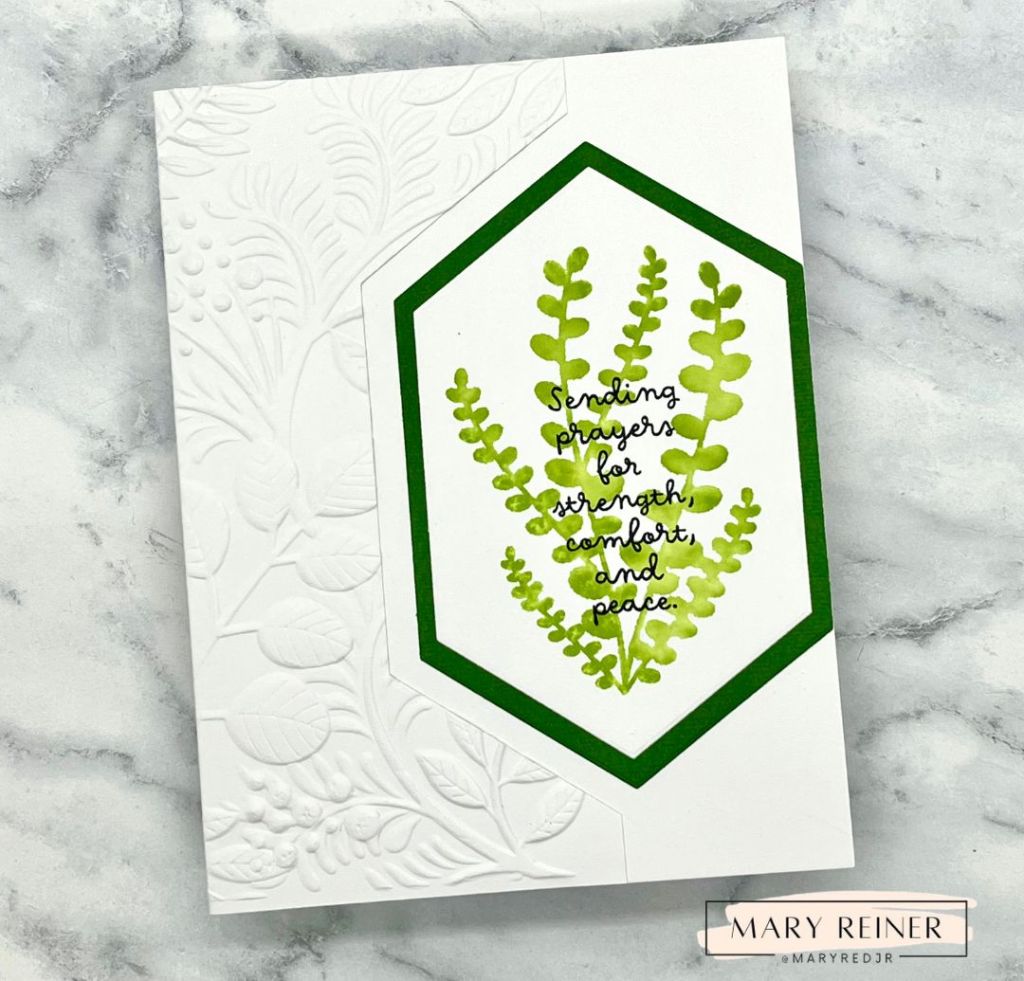
I also made another card featuring the Oak Leaf die and stencil.
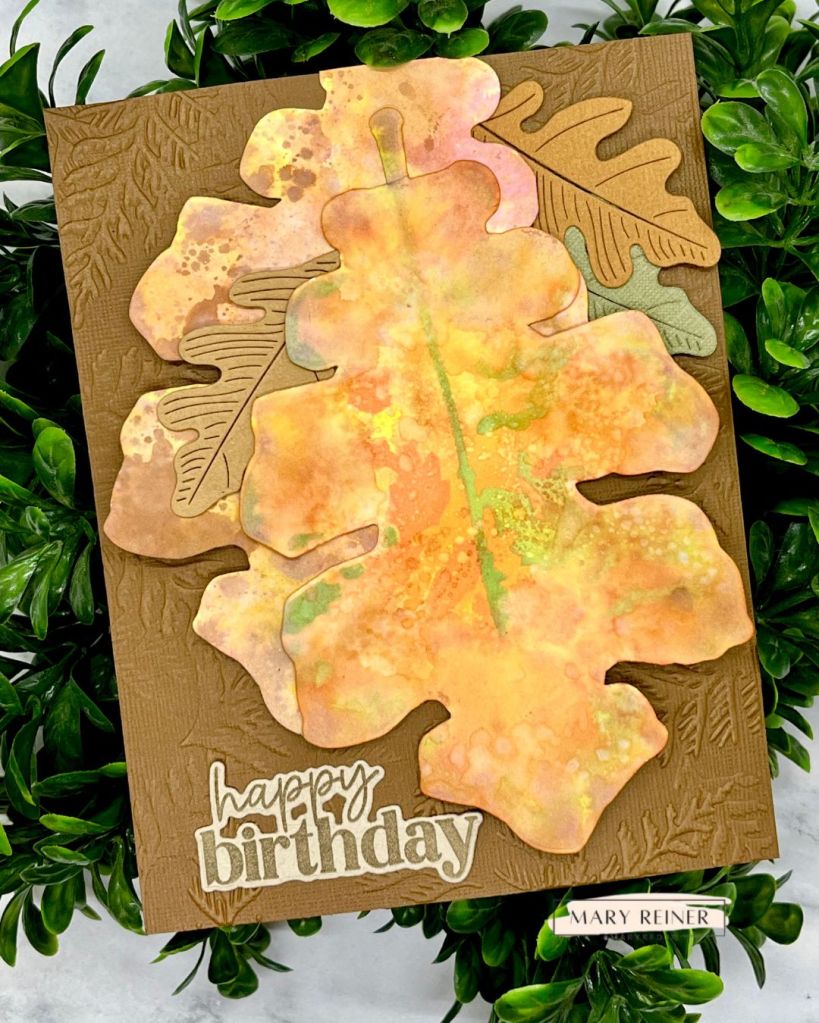
To start, I used the Cedar Sprigs embossing folder on brown cardstock. For the front of the card, I decided I would create a pile of leaves. I used two of the larger Oak Leafs and a few of the Etched Oak Leaves in varying colors. I added a birthday sentiment because I always need birthday cards.
Please take a moment and follow me on Instagram – @maryredjr and comment on this post on Instagram that you are a new follower to be entered in a giveaway. I am giving away some gently used products from Simon Says Stamp! You will get an additional entry for each friend you tag. Good luck!
Thanks for stopping by!
Mary