Posted in Cardmaking, Papercrafting

Simon Says Stamp New Release: Every Happiness

It’s release day at Simon Says Stamp! There are so many great new items for you to check out.

You can check out the whole release here: https://www.simonsaysstamp.com/collections/every-happiness

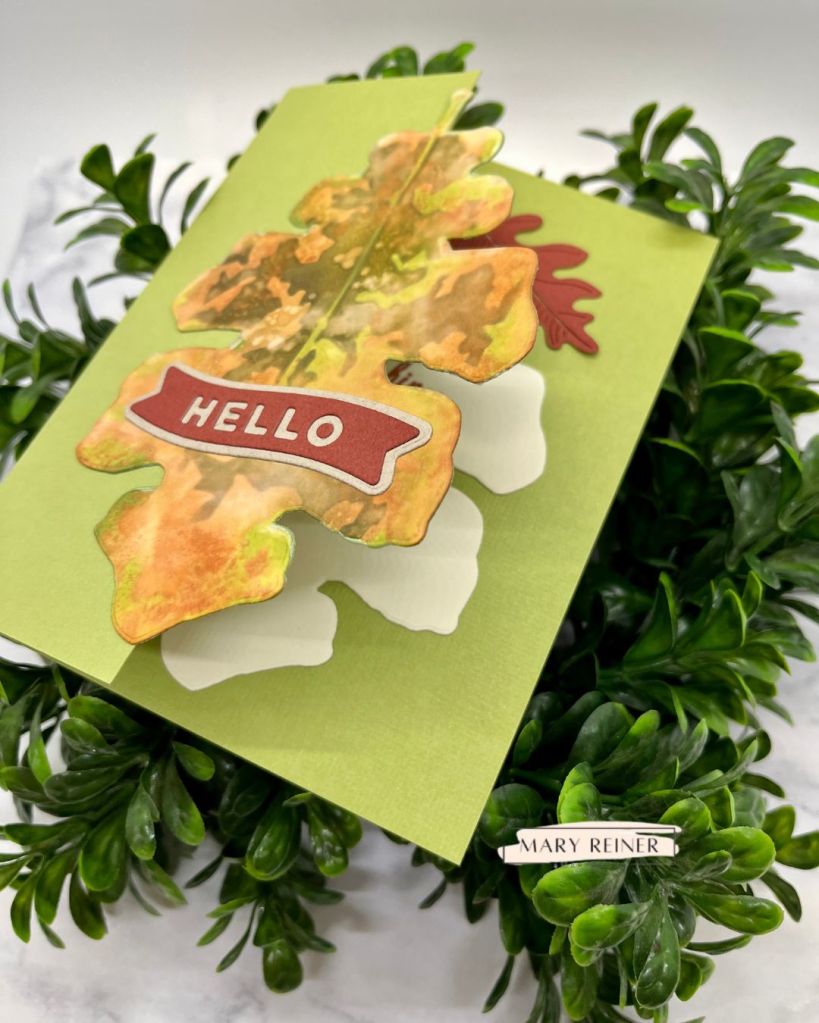
Today, I am featuring cards I created using the Oak Leaf die and stencil. To be honest, I made a bunch of these leaves and played around with different colors and techniques to get a realistic looking leaf. The stencils are so cool!

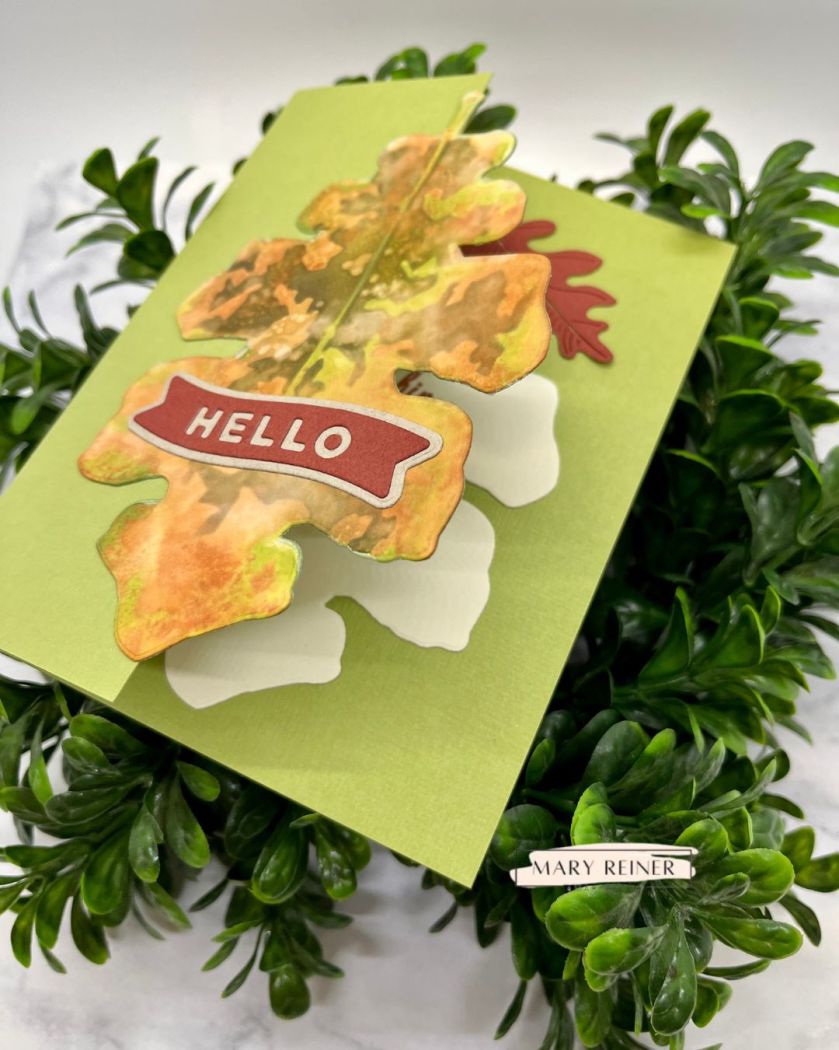
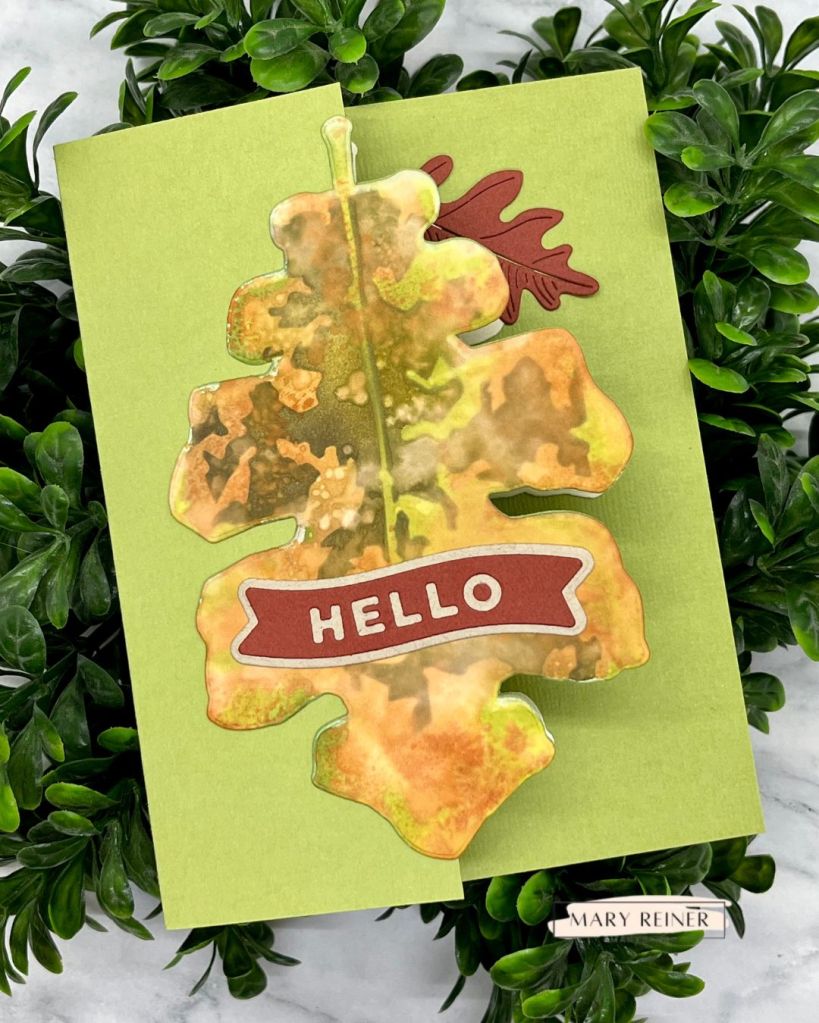
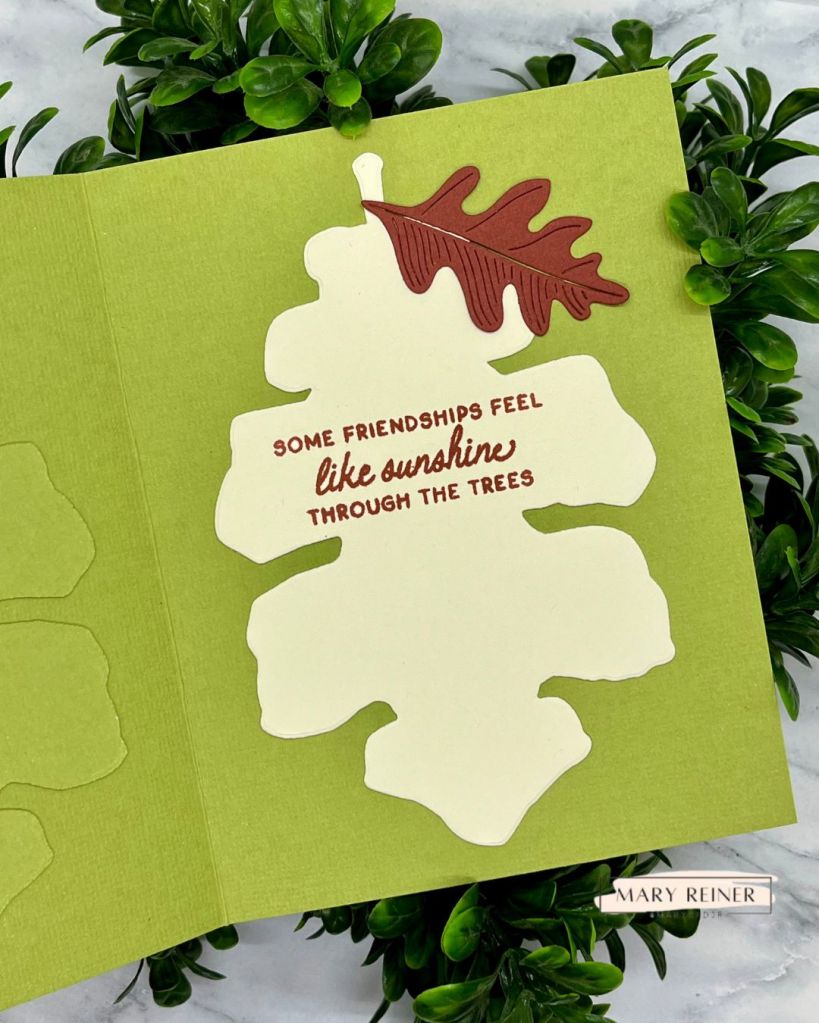
For my first card, I wanted it to have a unique opening. I created a side folding A2 card and then removed half of the front panel (2 1/8″). I adhered the leaf so the stem lined up in the center.

I die cut a cream colored leaf as well as a green leaf (to match the card base). I adhered the green leaf to the back of the front panel being sure to line it up with the leaf on the front.

Next, I lined up the cream colored leaf with the other leaves. I added glue to the back of it and shut my card. This way the leaves were all in the same place. I stamped the sentiment which is from the brand new Woodland Friends stamp set. Then, I added a smaller leaf (Etched Oak Leaves die set).

I love how this Fall card turned out!

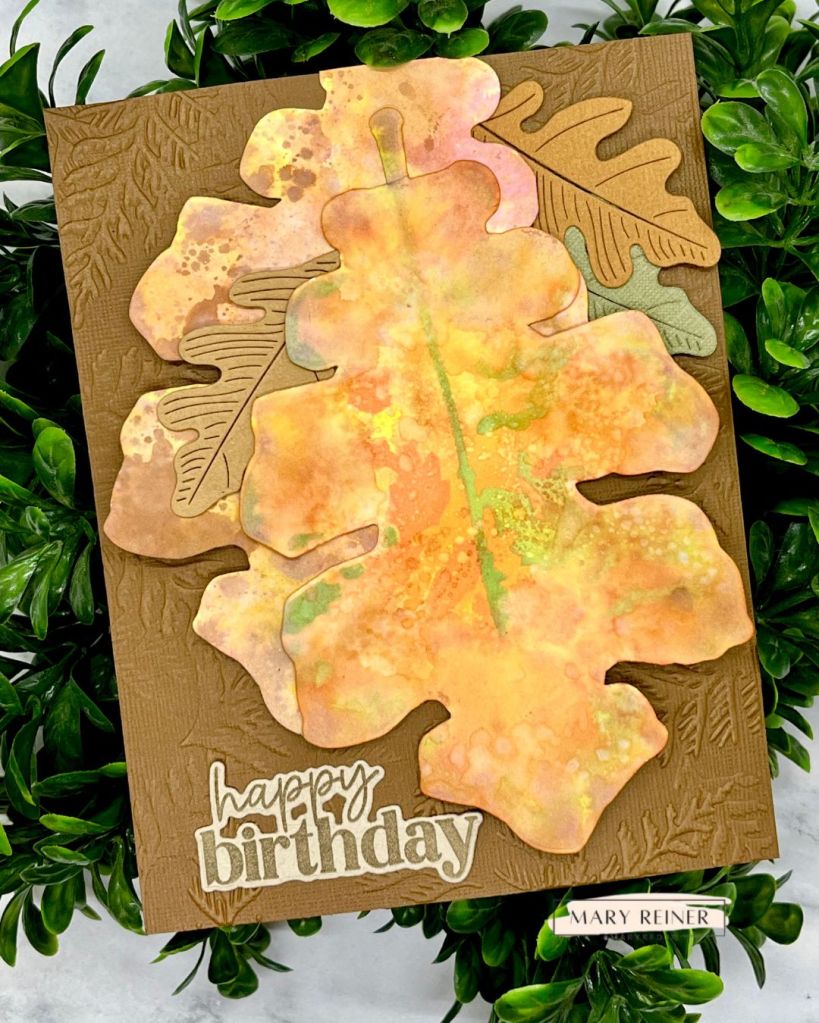
I also made another card featuring the Oak Leaf die and stencil.

To start, I used the Cedar Sprigs embossing folder on brown cardstock. For the front of the card, I decided I would create a pile of leaves. I used two of the larger Oak Leafs and a few of the Etched Oak Leaves in varying colors. I added a birthday sentiment because I always need birthday cards.

Please take a moment and follow me on Instagram – @maryredjr and comment on this post on Instagram that you are a new follower to be entered in a giveaway. I am giving away some gently used products from Simon Says Stamp! You will get an additional entry for each friend you tag. Good luck!

Thanks for stopping by!

Mary
Posted in Cardmaking, Papercrafting

Always There Release from Simon Says Stamp

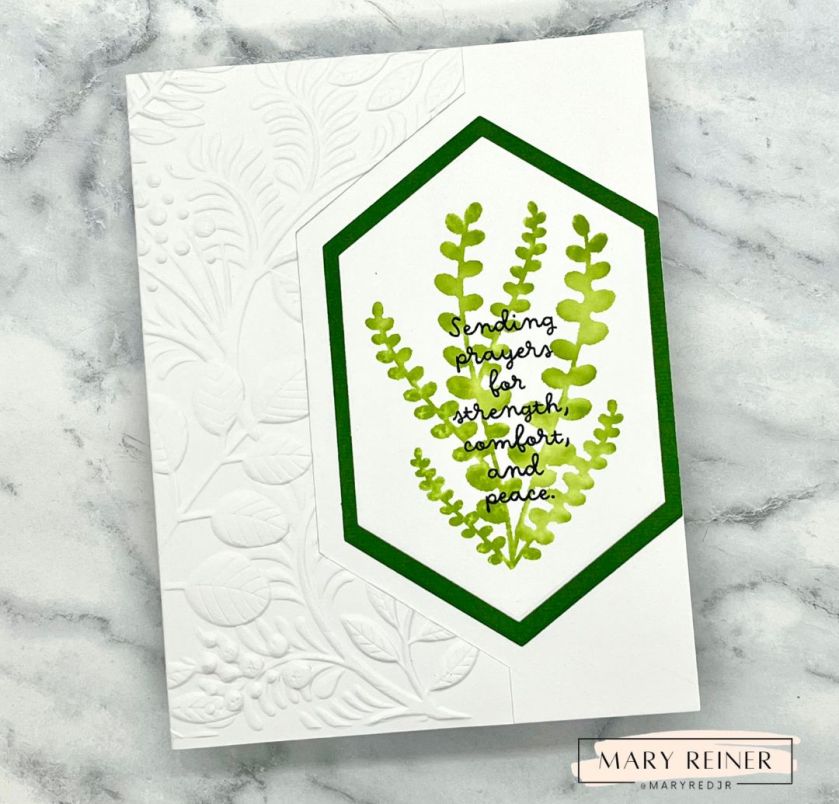
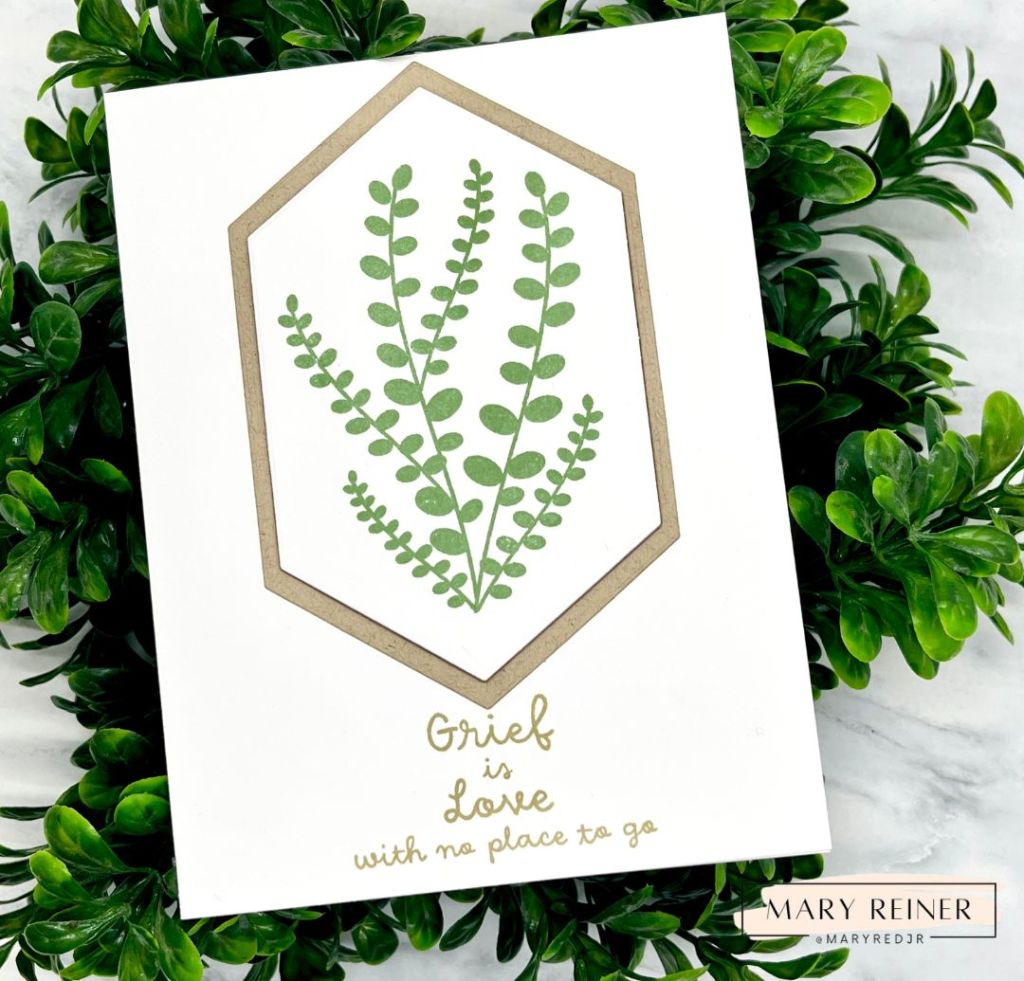
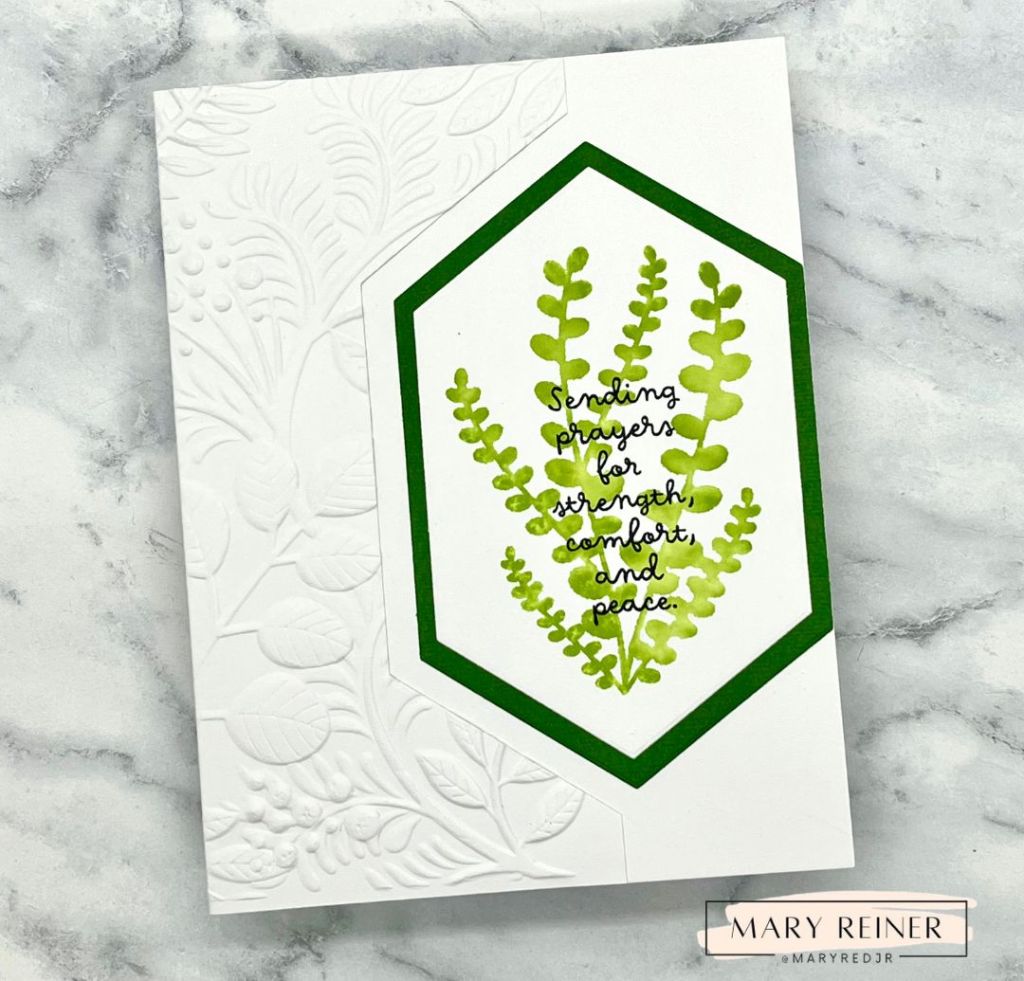
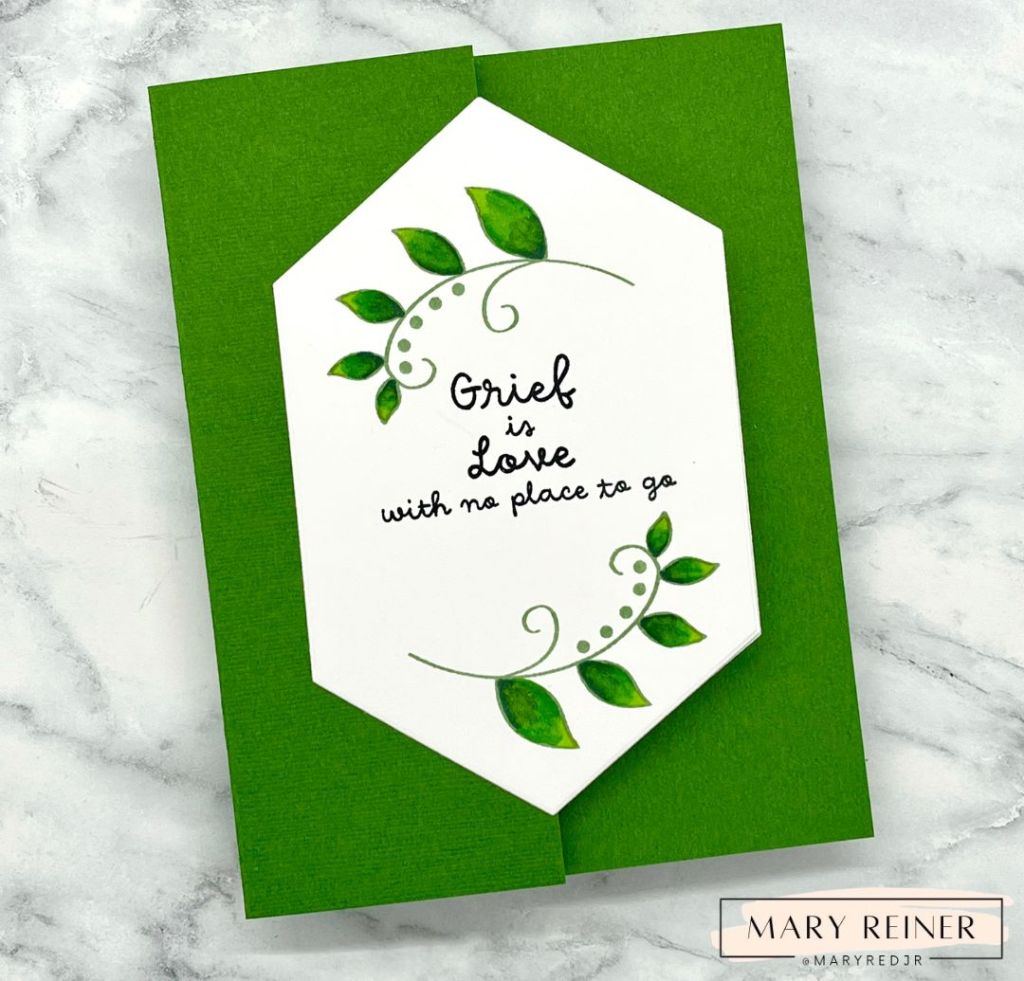
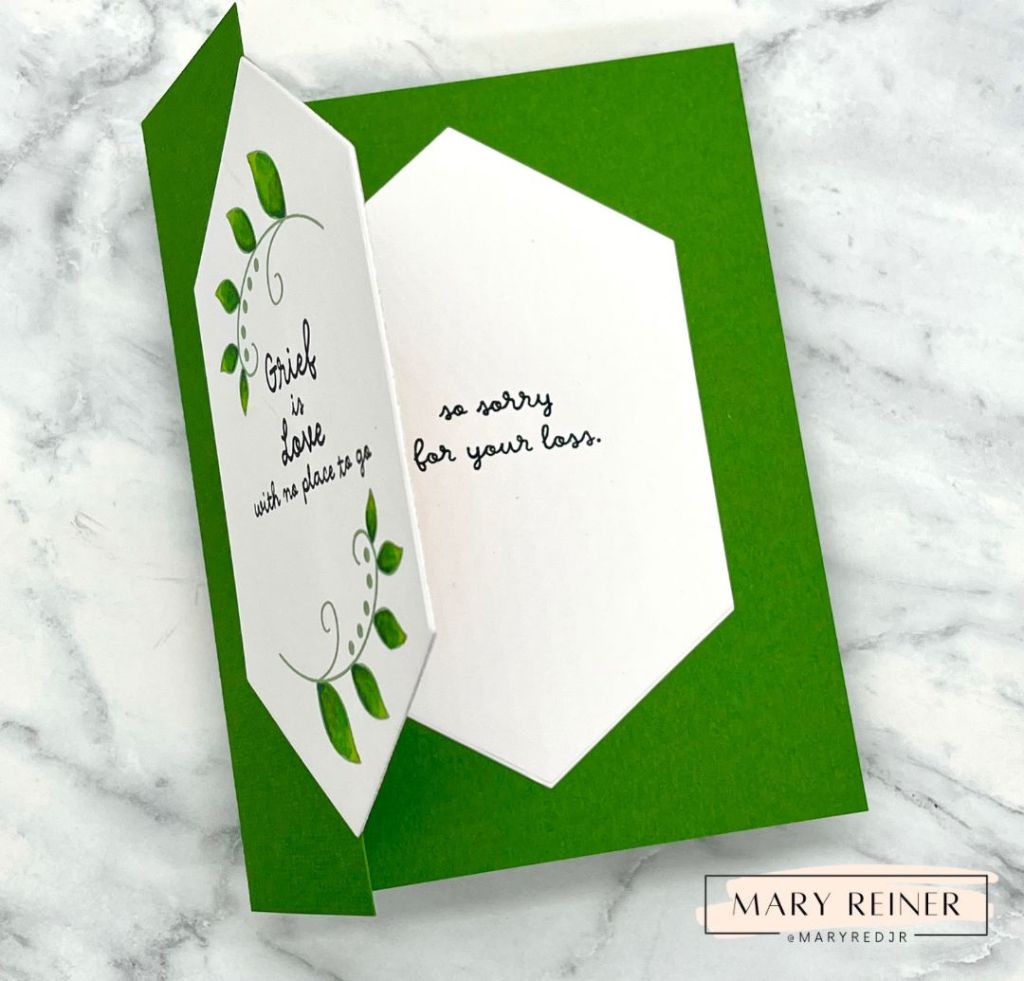
It’s time for another new release from Simon Says Stamp! Today, I am sharing a few cards I created using the With Sympathy stamp set and Elongated Hexagon dies. Sympathy cards are difficult to make – but this new stamp set has really beautiful sentiments and some lovely images.

I kept this one very clean and simple. I die cut two hexagons for layering and to add a bit of dimension.

For this one, I used the same image but I inked up the stamp and spritzed it with water. This softened the image and gave it a wotercolor-look. I also stamped the sentiment on top of the image (after it dried). I die cut a hexagon on the edge of my card panel and then used an embossing folder (Vine Canopy) to add texture. I really love how this turned out.

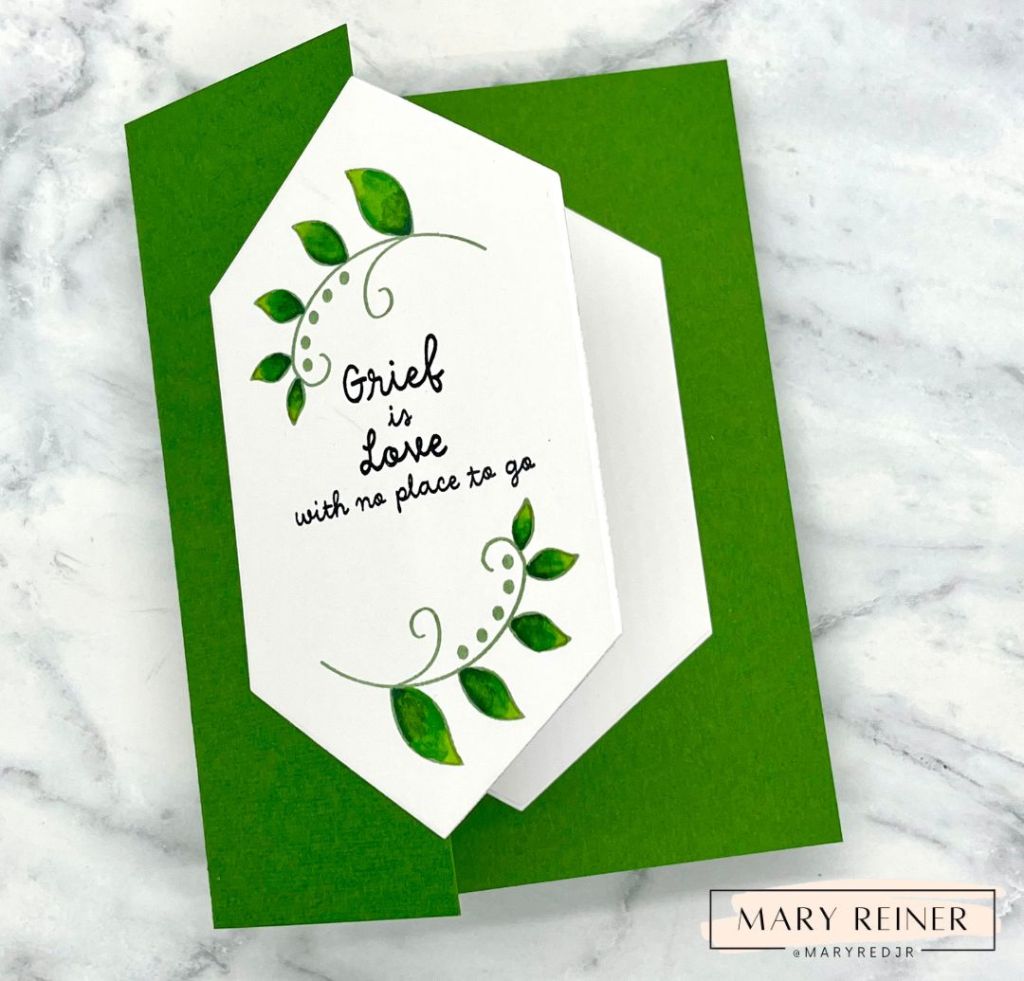
For this card, I cut 2 and 1/8″ off of the front panel and then centered the hexagon. I added another white hexegaon, with a sentiment, to the inside of the card. To create the front hexagon, I stamped the leafy images in Pearfection ink and used Copics to color in the leaves. I thought these sentiments paired nicely together to complete the card.

I hope this inspires you to create some Sympathy cards.

Check out the entire release here: https://www.simonsaysstamp.com/collections/always-there

Thanks for stopping by!

Posted in Cardmaking, Papercrafting

Beautiful Friend: Simon Says Stamp New Release

It’s blog hop day two for Simon Says Stamp’s latest release, Beautiful Moments. I hope you will hop along to see all of the amazing inspiration. Comment on each stop for a chance to win a $25 gift card to Simon Says stamp.

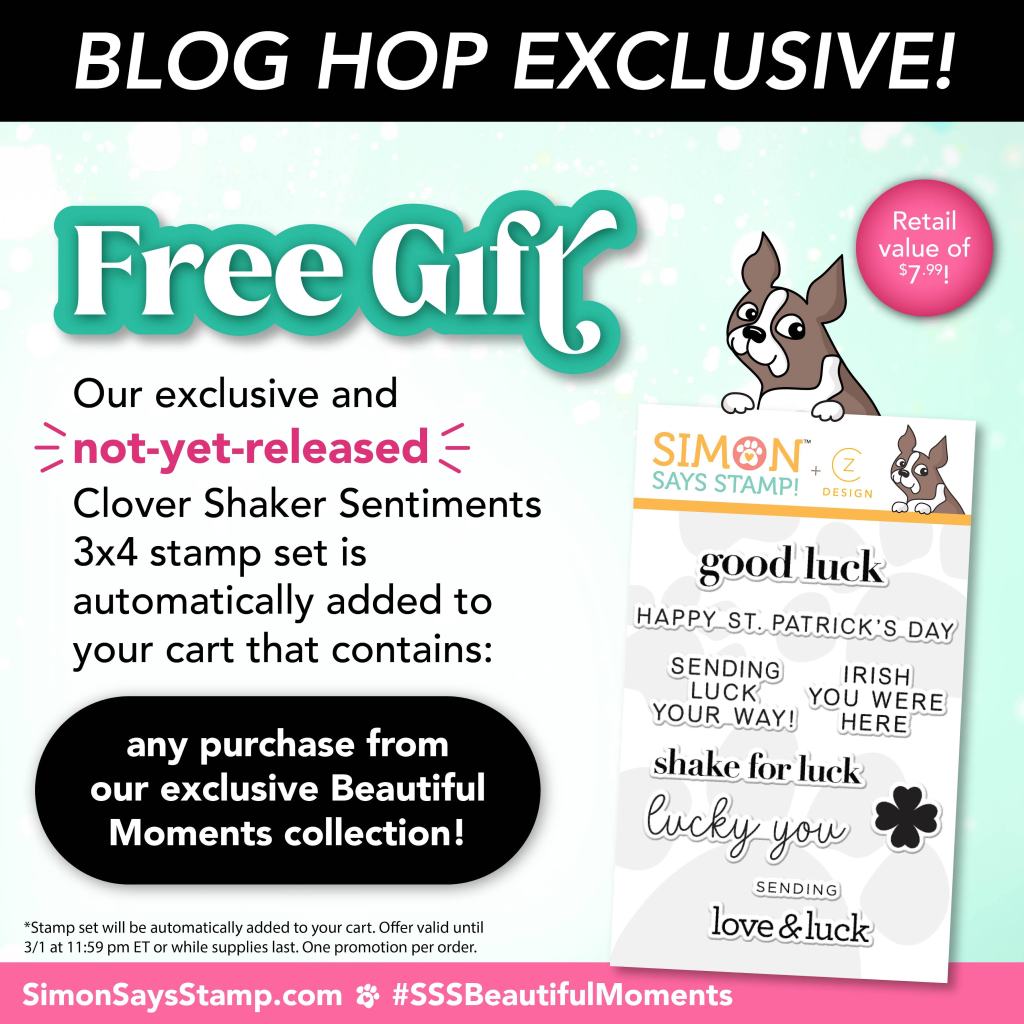
And, if you shop from the new release, this exclusive, not yet released, adorable stamp set will be added to your cart! This will be available until March 1 @ 11:59 p.m. EST or while supplies last.

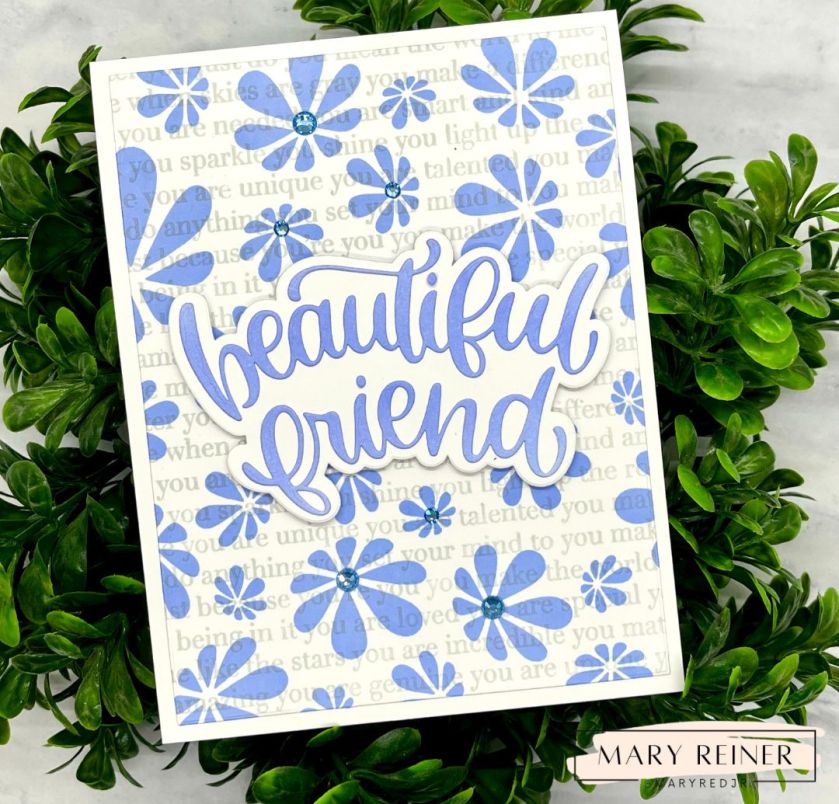
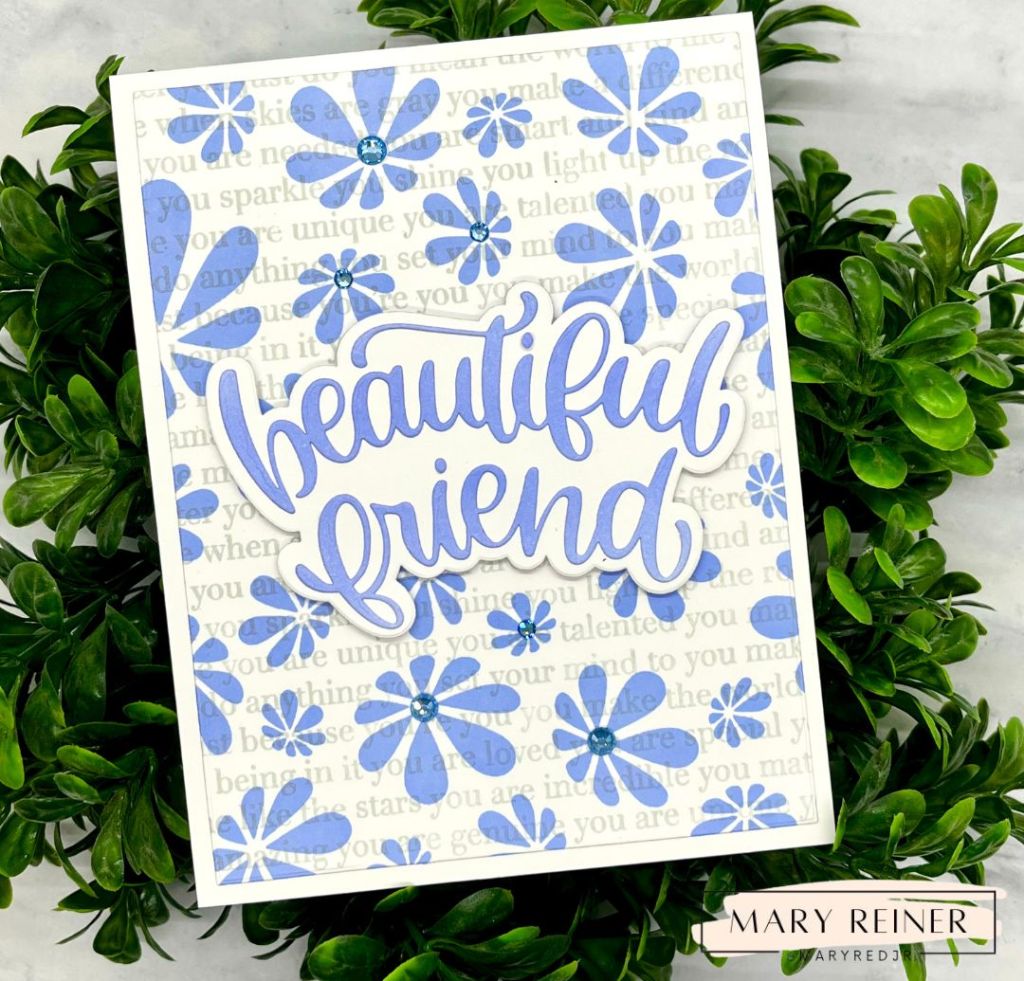
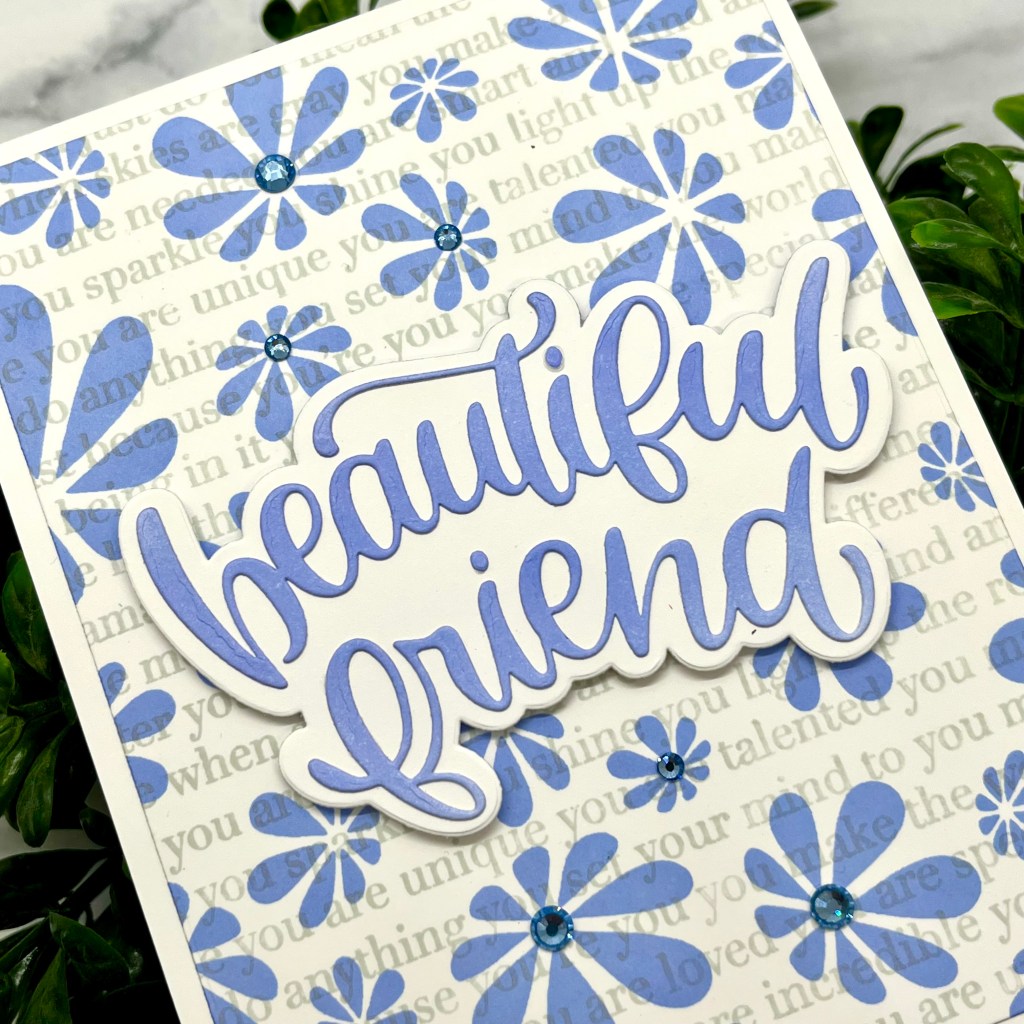
Today, I am sharing a card I created for a special friend and co-worker. She is beautiful inside and out! I love this gorgeous Periwinkle ink color! It is so pretty.

I used the following products to create this card:

~NEW~ Beautiful Friend die set

~NEW~ Groovy Daisies stamp set

~You Matter Background stamp

~A2 Rectangles

~Periwinkle and Flannel Pawsitively Saturated ink

~Dusky Pawsitively Saturated Gems

Here are the steps I used to create this card:

  1. Cut a white card stock panel to 4 x 5 1/4″
  2. Stamp the Groovy Daisies Stamp using Periwinkle ink.
  3. Over top of the daisies, stamp the You Matter Background Stamp using Flannel ink.
  4. Ink blend with Periwinkle a 4 X 4″ piece of card stock.
  5. Die cut the words from the Beautiful Friend die, out of the ink blended piece.
  6. Die cut the shadow from the Beautiful Friend die set from white card stock.
  7. Adhere the Beautiful Friend words to the shadow piece using liquid adhesive.
  8. Center and adhere the Daisy panel to a top folding, A2 card base.
  9. Adhere the sentiment, adding foam tape to the back for dimension.
  10. Lastly, add some gems to some of the the daisy centers.

I am smitten with this newly released Beautiful Friends die set. I love the pretty font and the size makes it a perfect focal point for any card project. And the Groovy Daisies made a gorgeous background.

Check out the whole release here:

https://www.simonsaysstamp.com/collections/beautiful-moments

Next on the hop is: Nicki Baxley You will love what she has created!!

And be sure to look at yesterday’s hop for more inspiration.

Thanks for stopping by! Don’t forget to comment for a chance to win and I woould love it if you followed me on Instagram @mayredjr

Posted in Papercrafting

How to Create a Magnetic Bookmark

Have you checked out the new release from Simon Says Stamp? There are so many fun products and many of them are geared towards Valentine papercrafting.

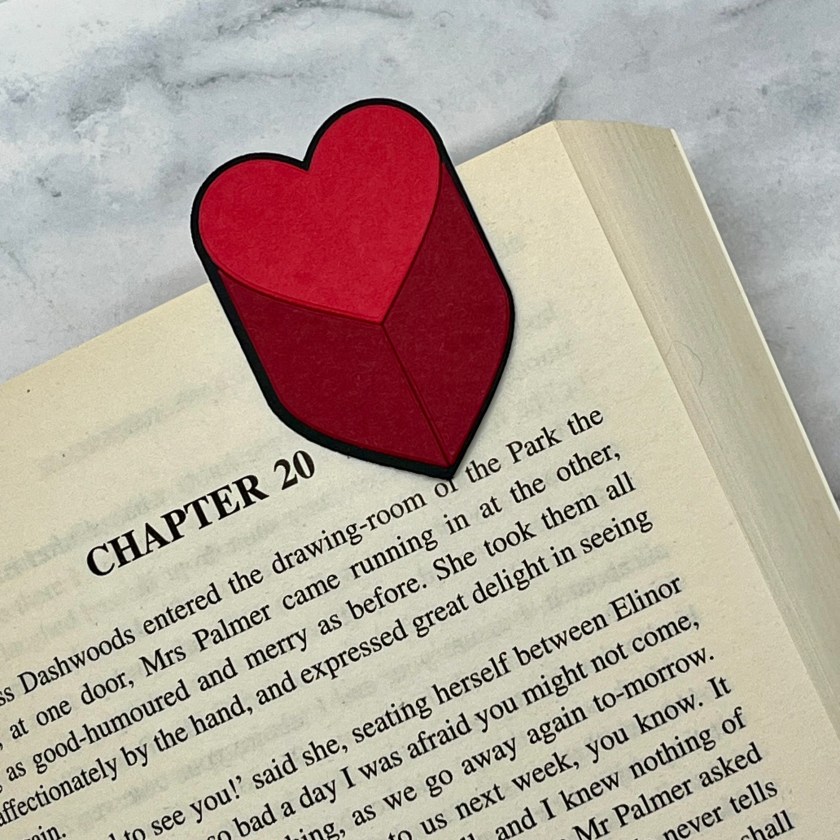
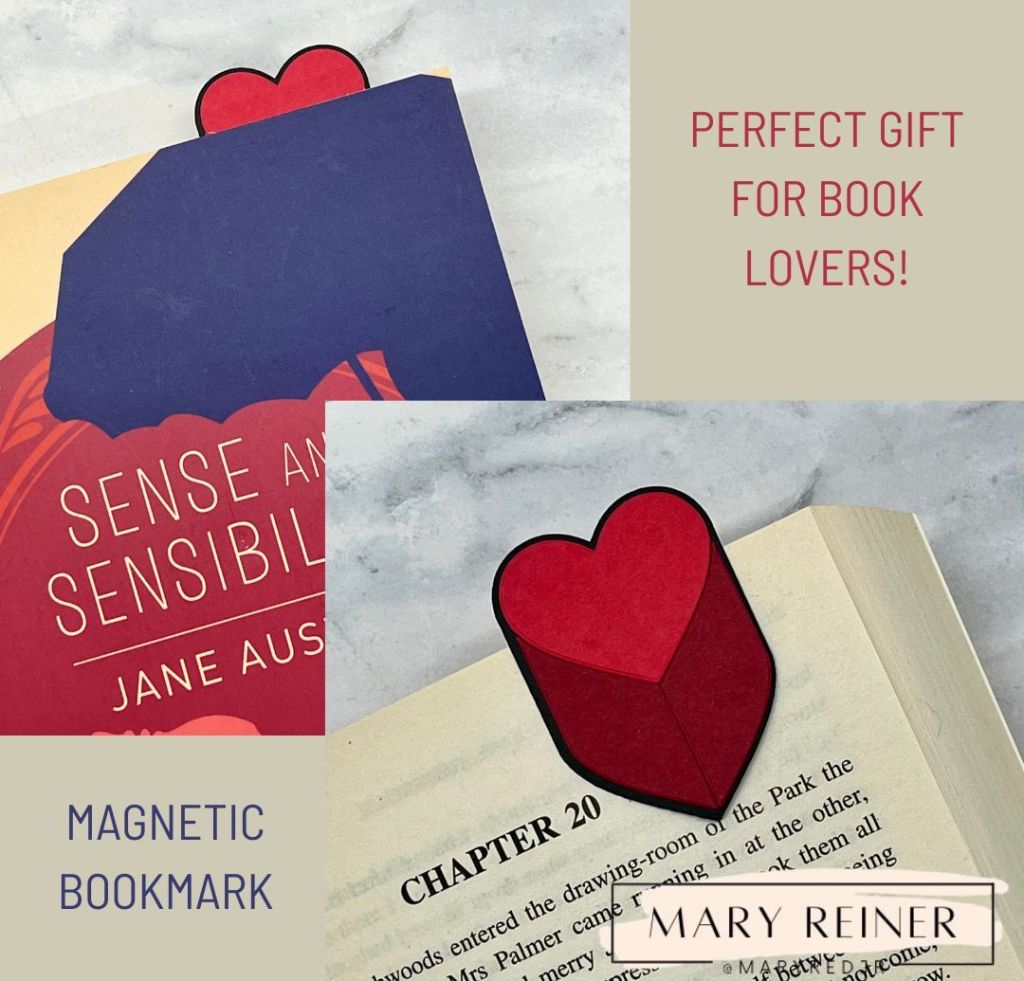
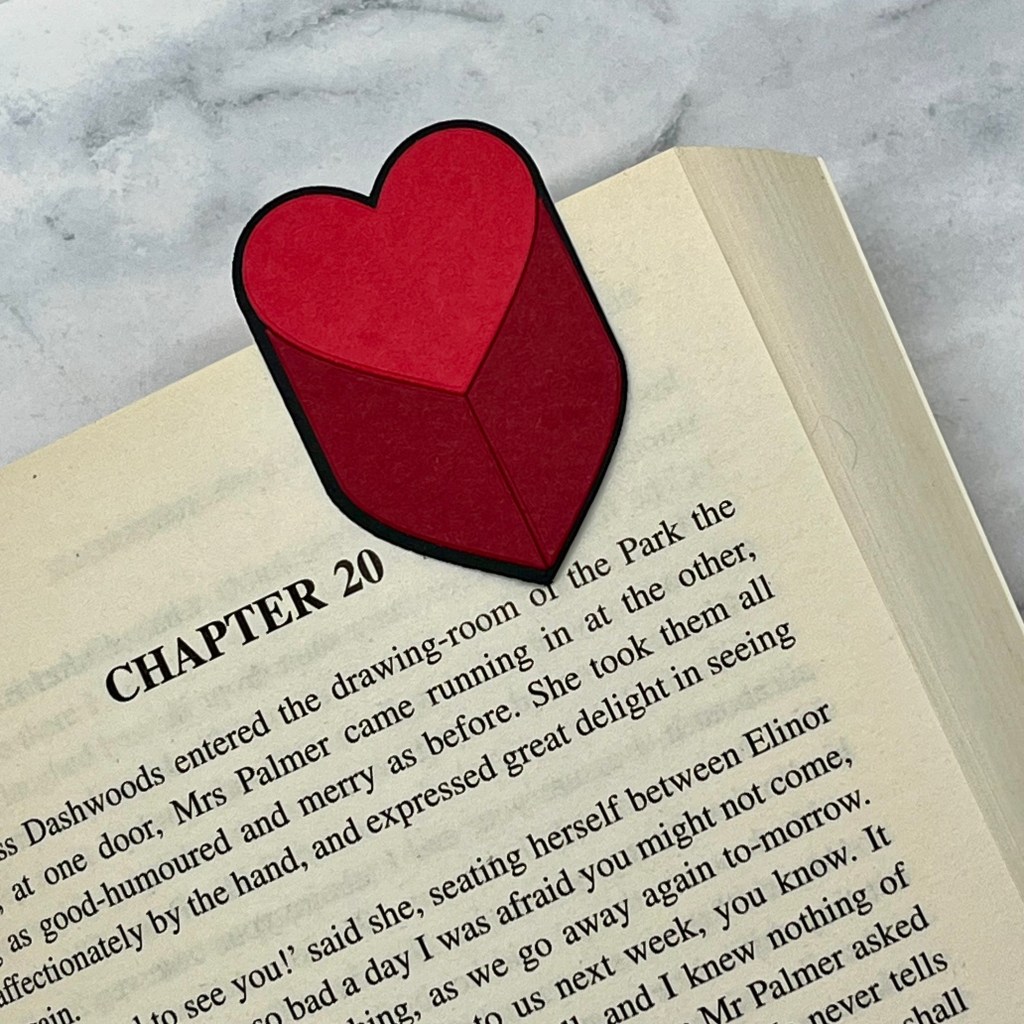
I had the opportunity to play with one of the new die sets – Love City. As soon as I saw it, I thought it would make a great magnetic bookmark. Here is how I created it.

Supplies needed:

~Love City die set from Simon Says Stamp

~3 or 4 different colors of cardstock

~thin magnetic material (can be repurposed or new – I used some packaging from Simon Says Stamp)

~Liquid glue and/or adhesive tape

Step one:

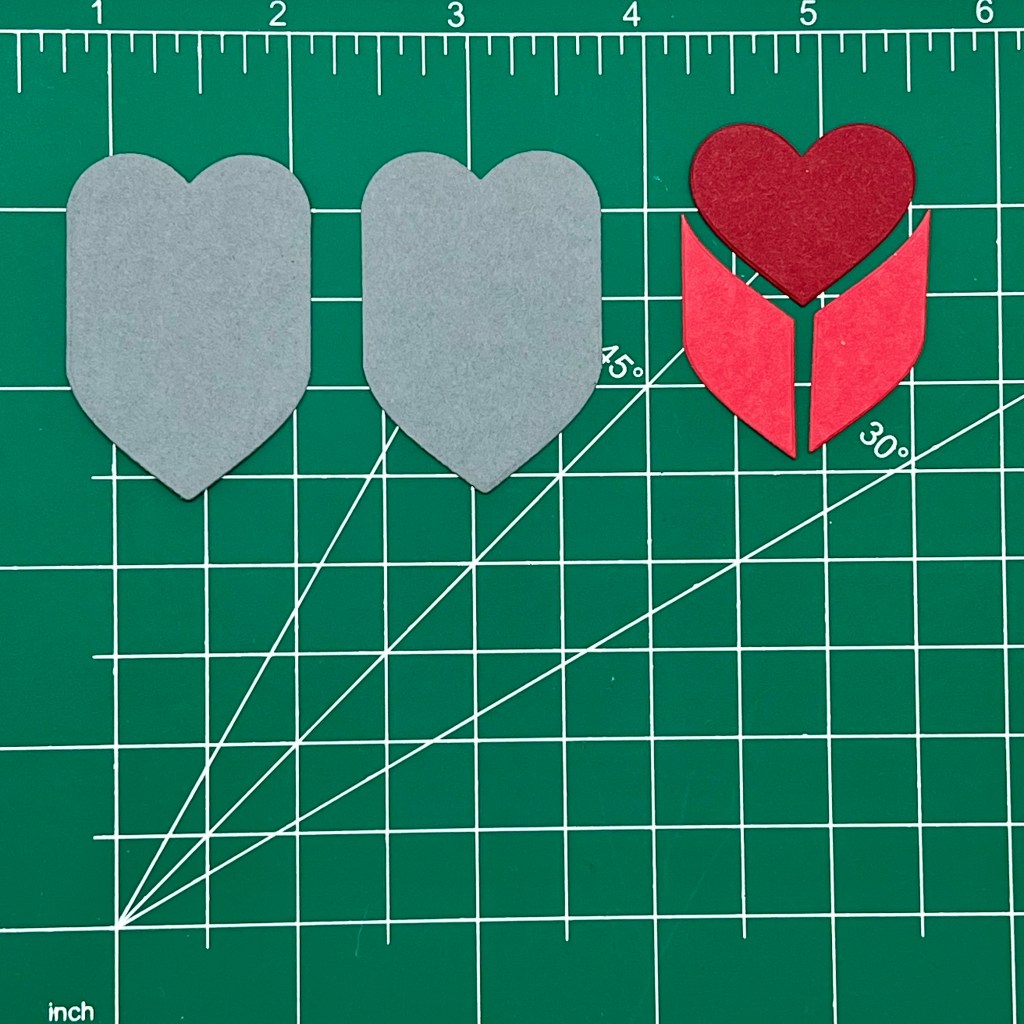
Die cut two of the base pieces and one set of the heart and sides. I would recommend using a lighter weight cardstock for the back base piece of the bookmark. You can use whatever color combination you like. I made several of these, in lots of colors and all of them looked cute. You really cannot go wrong.

Step two:

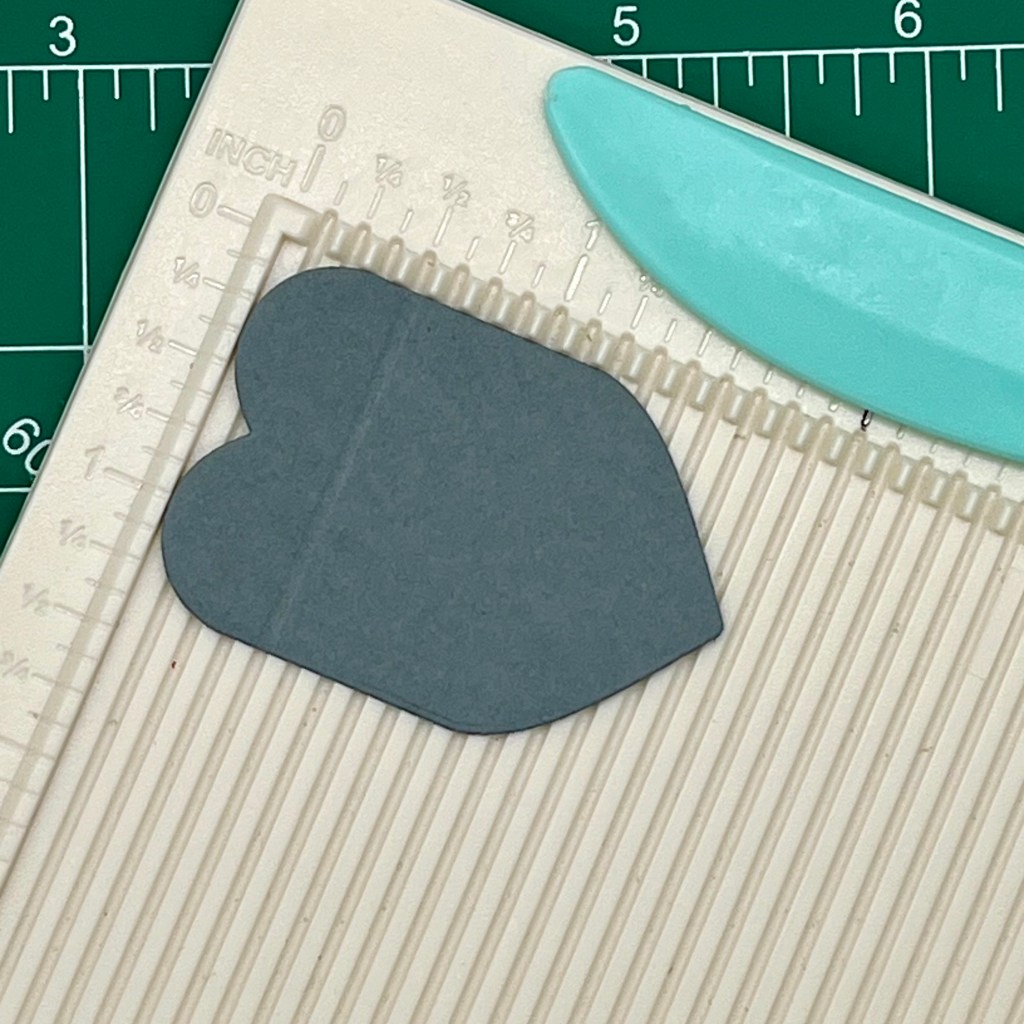
Line up one of the flat sides of one of the base pieces on a score board, and score it at the 1/2″ mark. This will be the back piece of the bookmark.

Step three:

Adhere the heart and the sides to the other backing piece (the one that is NOT scored) When I made mine, I lined up and adhered the heart piece first and then added the side pieces. Next, adhere the scored piece to the completed front of the bookmark. You will only add glue to the small, rounded scored end. This creates the hinge for the bookmark to open and close.

Step four:

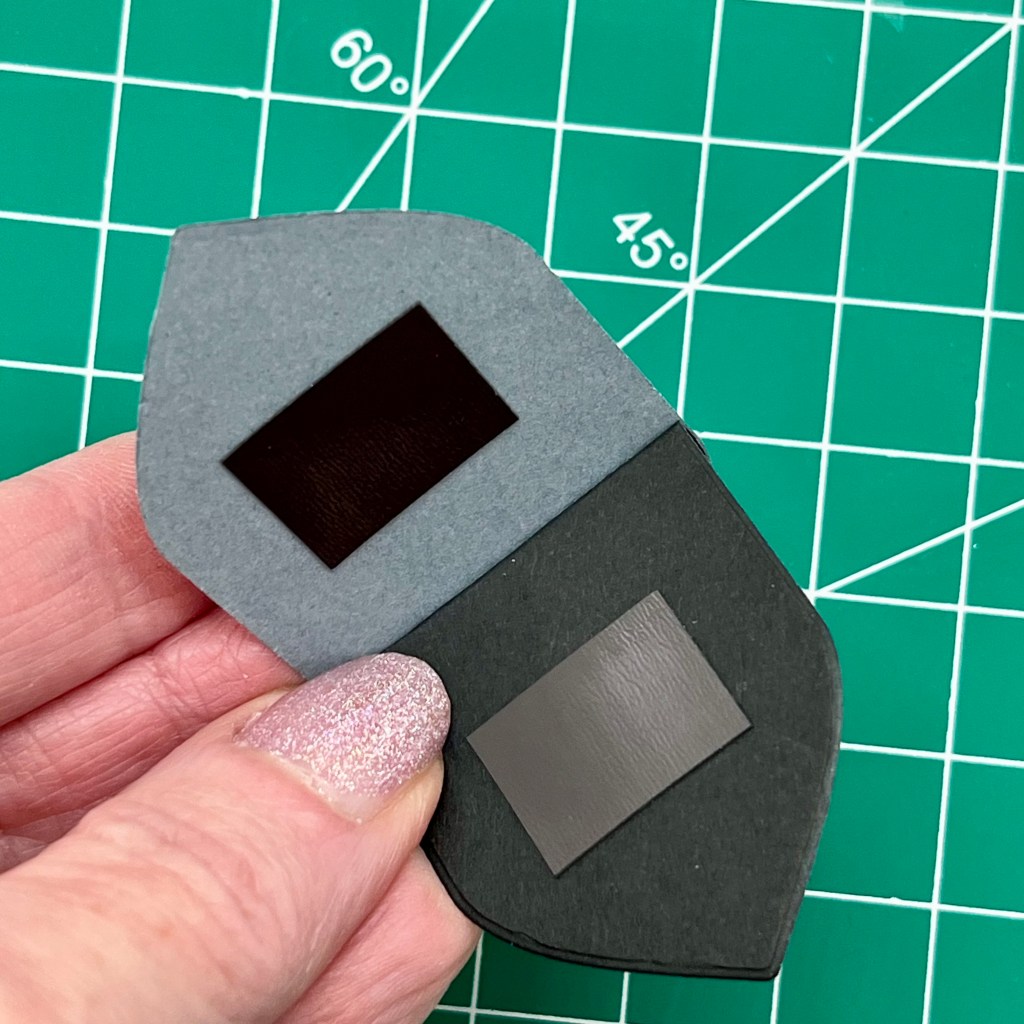
While the bookmark is drying, cut a magnet strip approximately 1″ x 1/2″. Then, cut the magnet in half so you have 2 strips. Adhere one magnet strip on the inside of the bookmark. You can use liquid glue or strong adhesive tape. If using liquid glue, allow it to dry before glueing the other magnet in place. To adhere the second magnet, I “stuck” it to the glued magnet and added adhesive to the back. Next, I closed the bookmark and held it until the second magnet adhered to the bookmark.

Your bookmark should be complete and ready to use.

These bookmarks are really quick to make and would make a fun Valentine surprise for a friend or teacher.

I hope you will make some!

Thanks for stopping by!