Posted in Cardmaking

It’s STAMPtember!!

Welcome to day one of STAMPtember, a month-long celebration dedicated to stamping, crafting, and card making. This annual event joins crafters from all over the world to explore new techniques, share inspiring projects and, of course, indulge in all things stamping. We are celebrating 15 years!

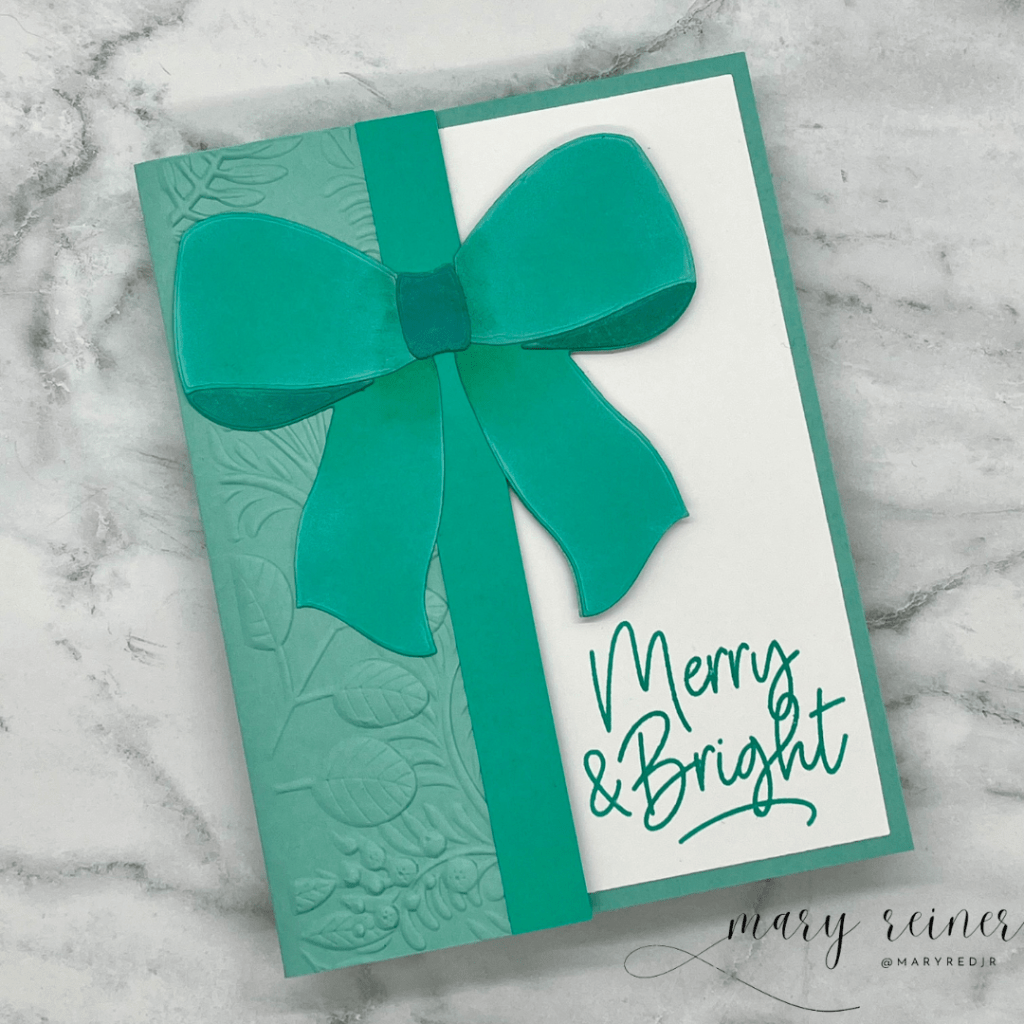
I am excited to join in the festivities again this year! Today, I am showcasing a card featuring two fabulous new products from Simon Says Stamp: the Big Bow die and Big Holiday Words stamp set. These products are perfect for adding a bold and festive touch to your holiday cards.

I used a teal color palette to create a modern and refreshing split-front, holiday card. The Big Bow die is the star, and I love how it pops against the white background. I ink blended the bow to give it a velvet-like appearance. I love how it turned out. This bow die can be used for various occasions beyond the holidays. And it is easy to assemble.

For the sentiment, I used the Big Holiday Words stamp set. This stamp set includes many bold script greetings with simple sub-sentiments. The “Merry and Bright” sentiment fits perfectly with the bow and adds a cheerful message. I stamped it in Simon Says Stamp Pawsitively Saturated Ink in Ocean to tie the whole design together.

To add texture, I embossed the front panel with the Vine Canopy embossing folder. This subtle detail enhances the overall design without overpowering the main elements.

This card was fun to create and I can’t wait to see what everyone makes with these amazing new products. Whether you are creating holiday cards, gift tags, or scrapbook pages, the Big Bow die and the Big Holiday Words stamp set will make great addition to your craft room.

Click this link to shop: https://shareasale.com/r.cfm?b=199868&u=3017887&m=24698&urllink=&afftrack=

Thanks for stopping by!

Posted in Cardmaking

It’s Release Day for Simon Says Stamp and I’m Cheering for You!

Welcome back! In a world that could always use a little more positivity, we are thrilled to introduce our latest release: Cheering for You. Join us as we unveil products designed to inspire and uplift. I will be sharing a couple of products from this new release from Simon Says Stamp.

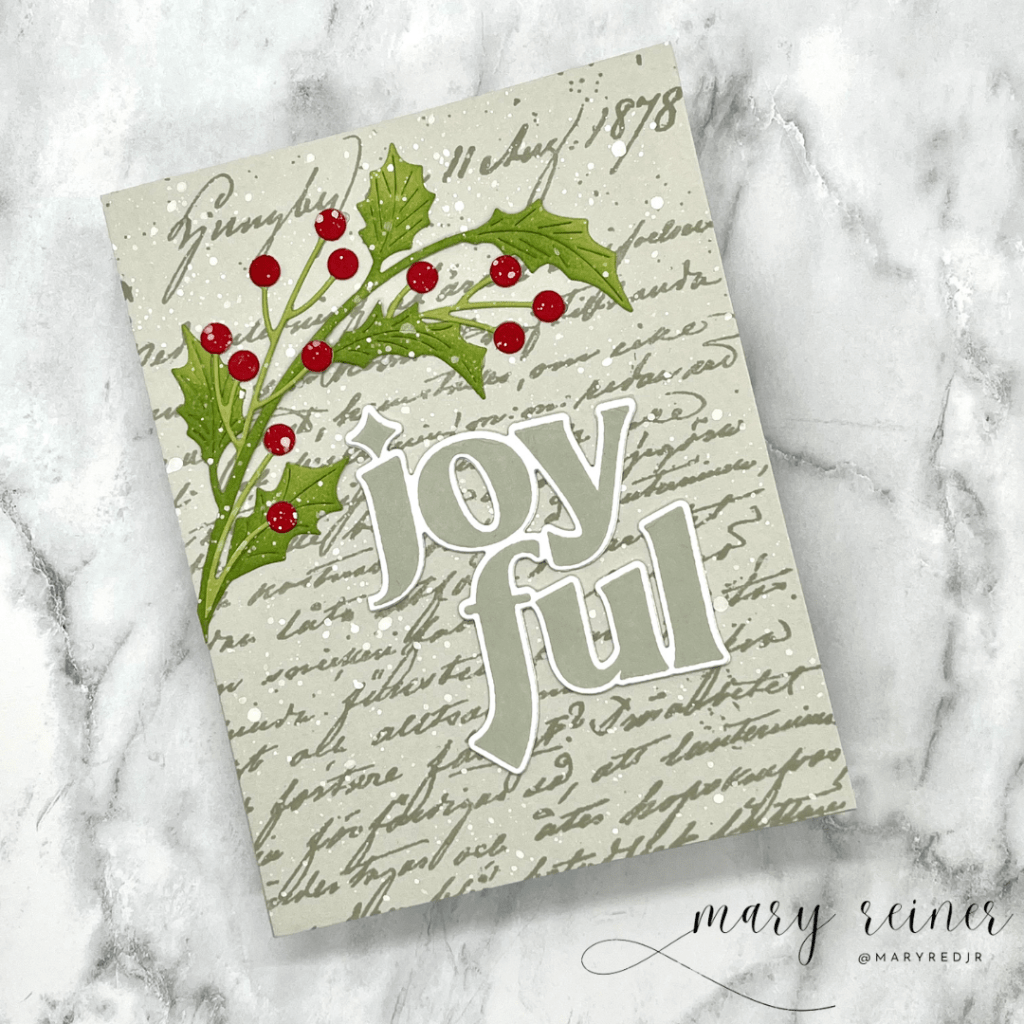
How pretty is this background? It was created using the newly released Old Letter cling stamp and white pigment ink. I have a feeling I will be using this a bunch for backgrounds. I love the subtle writing!

And I couldn’t help myself…I had to create a holiday card, too. This time I stamped it in Cozy ink onto Fog card stock. I absolutely love how this one turned out.

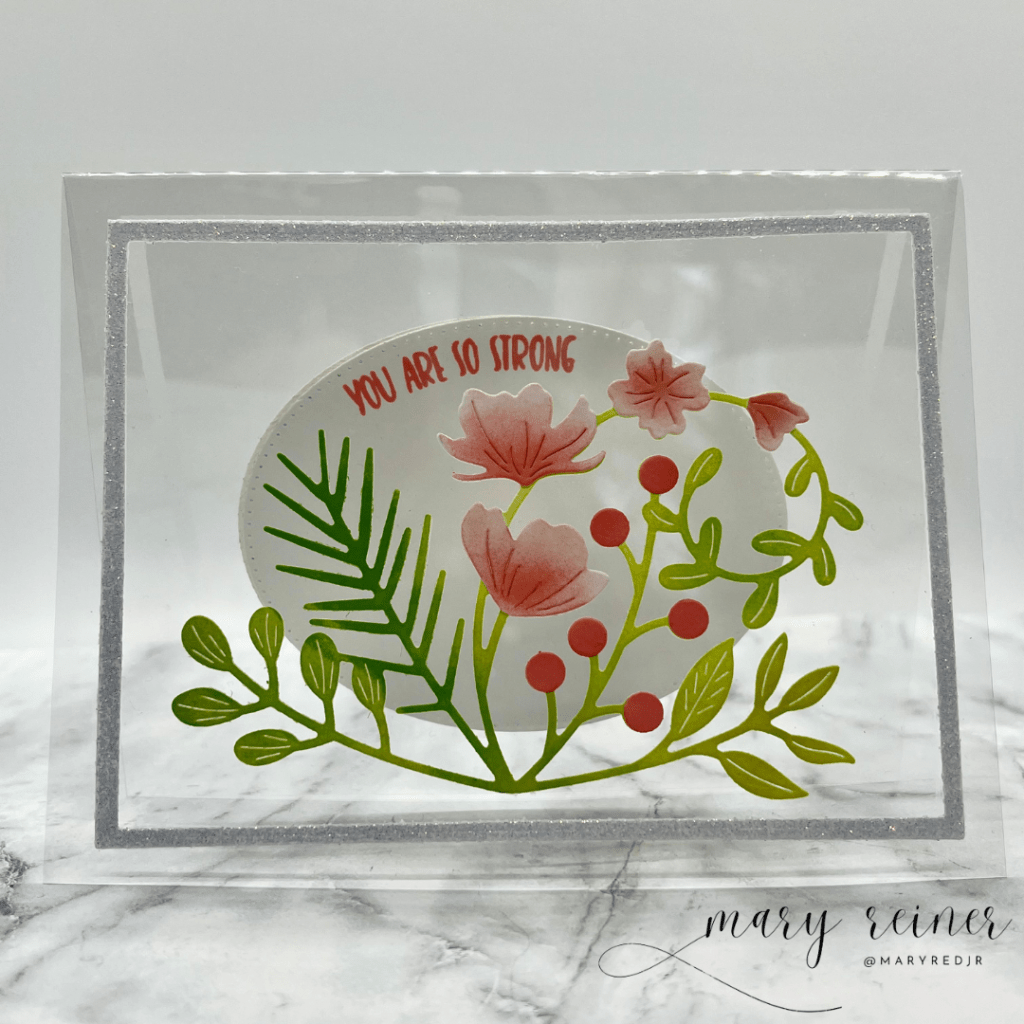
I was also sent a set of acetate cards. I really like them! High quality and already folded and ready to go. These would be a fun addition to your card stock stash.

I will admit, these are hard to photograph! But in real life, this looks really pretty. I added another oval die cut to the back of the card for write my message on. I think the recirient will think this is a unique card.

All of the products used to create my cards are from SImon Says Stamp:

~Old Letter cling stamp

~Hello die

~Holiday Sprigs wafer die

~Joyful Greetings stamps and dies

~Meadow Swag die

~Fine Floral Stem die

~Windswept Leaves die

~Fog card stock, White Glitter card stock, A2 Acetate cards

~Pawsitively Saturated inks: Sage, Aspen, Pucker, Cheeky, Blush, Field, Fairway and Sprout, Cozy and White Pigment ink.

Check out the entire release here: https://shareasale.com/r.cfm?b=199868&u=3017887&m=24698&urllink=&afftrack=

Thanks for stopping by!

Posted in Cardmaking

Simon Says Stamp Sunny Vibes Release Day

You know it’s going to be a good day when Simon Says has a new release. And you will not be dissapointed!

I got to play with the Beautiful Blooms stamp set. And I sure did have fun! Today, I am sharing several cards I created with this adorable set. This versatile stamp set features an array of blossoms, leaves and sprigs, allowing you to create beautiful floral arrangements tailored to your artistic vision.

I love the sweet sentiments and flowers. For this card, I simply stamped the images randomly and added the sentiment.

This stamp set also includes larger flowers that are really fun to color. And if you want to simplify the coloring, there are coordinating stencils availble too! I added Ranger Glossy Accents to the flower centers.

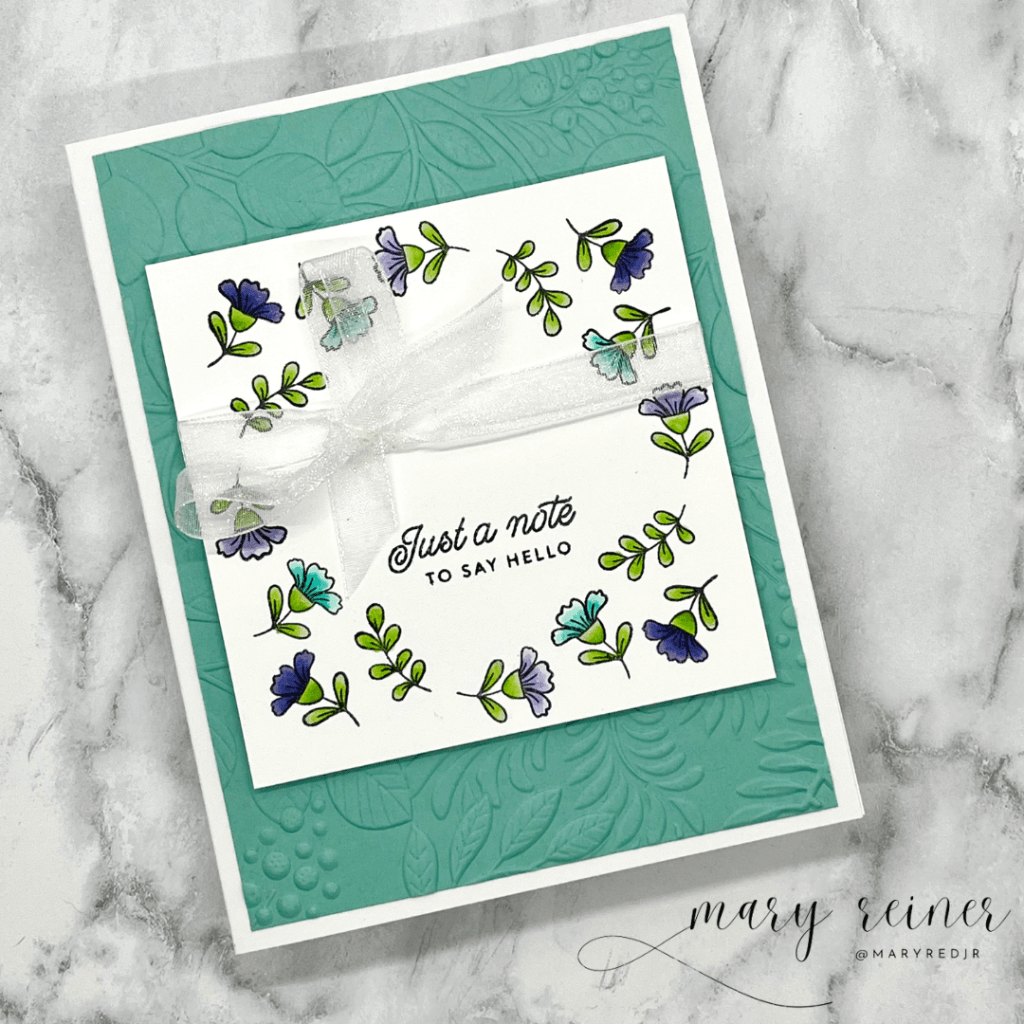
For this card, I used GinaK’s wreath builder to create this sweet note. The blue panel was created with the Simon Says Stamp Vine Canopy Embossing folder. I added a bit of foam tape to the back and tied a ribbon to finish it off.

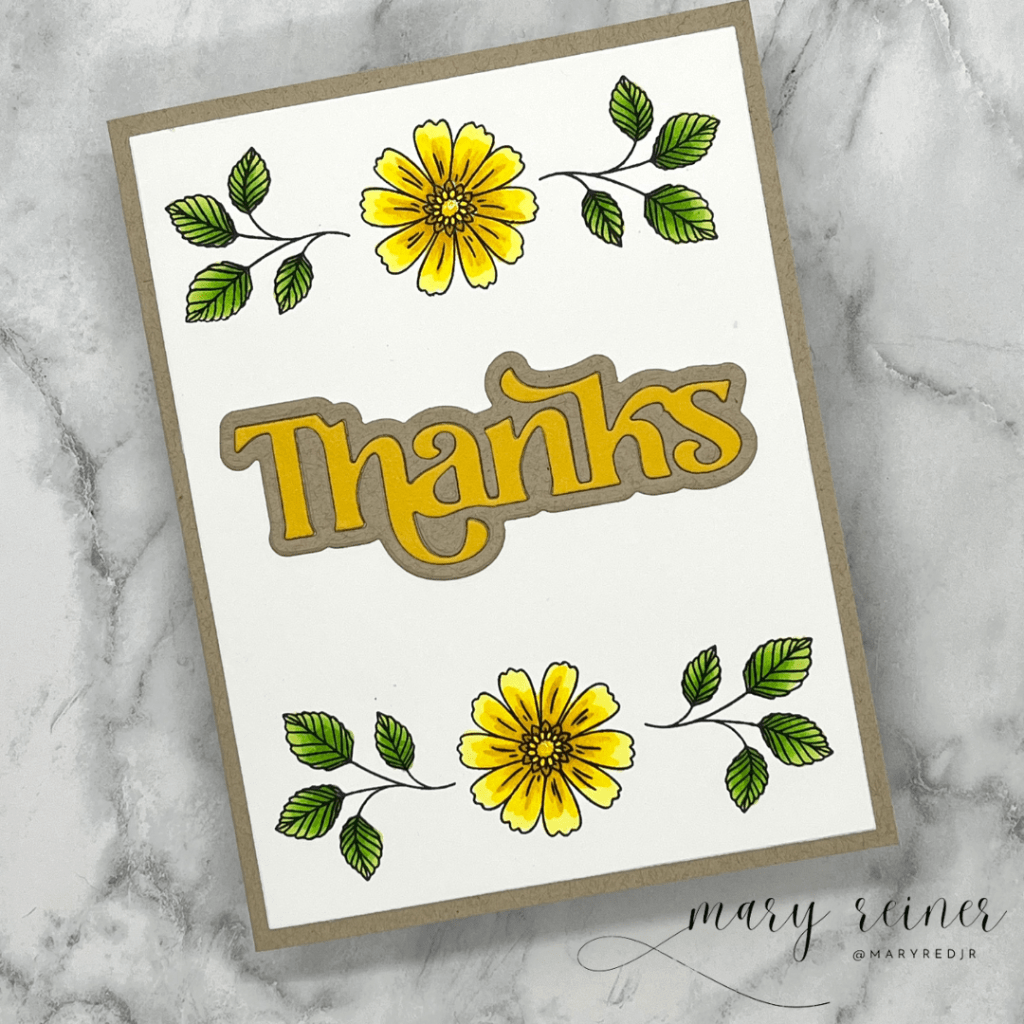
This card has a completely different feel than the other cards I created. I guess that just shows how versatile this little stamp set really is! This card is giving off Fall vibes. The sentiment is Simon Says Stamp’s Thanks wafer die set.

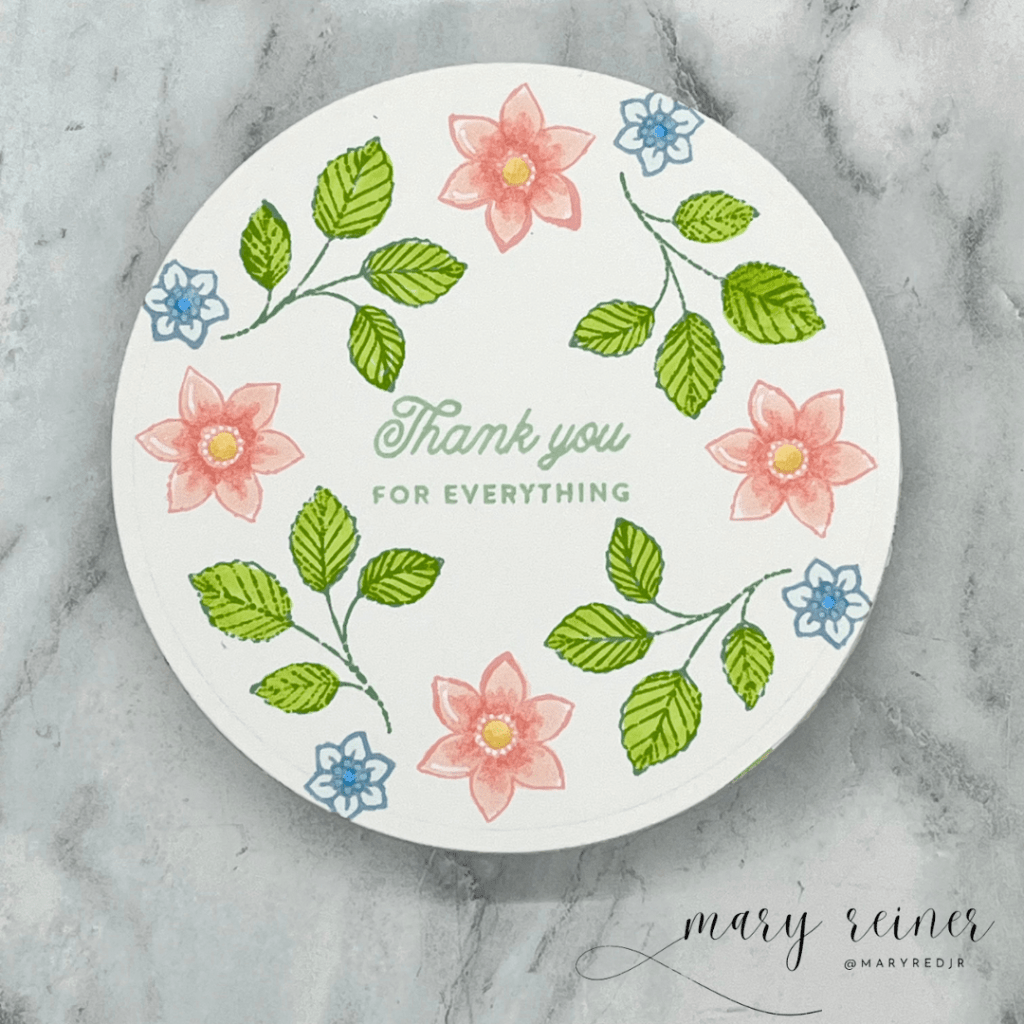
This card is a rocker card. (You’ll have to check out my Instagram for the reel I created for this card) Again, I used the wreath builder to create the circular pattern. This time, I stamped the images in Simon Says Stamp Pawsitively Saturated Cheeky, Morning and Aspen inks and colored with Copic Markers. I really like the softness this created.

I have provided a link for you to check out the whole release and to get shopping! I appreciate your support:

https://shareasale.com/r.cfm?b=199868&u=3017887&m=24698&urllink=&afftrack=

See you soon!
Posted in Cardmaking

Be Bold Release from Simon Says Stamp

It is time once again for another awesome release from Simon Says Stamp. The Be Bold release has lots of fun products to inspire your creativity. Here is a link to the whole release: https://tinyurl.com/v7zch938

Card #1:

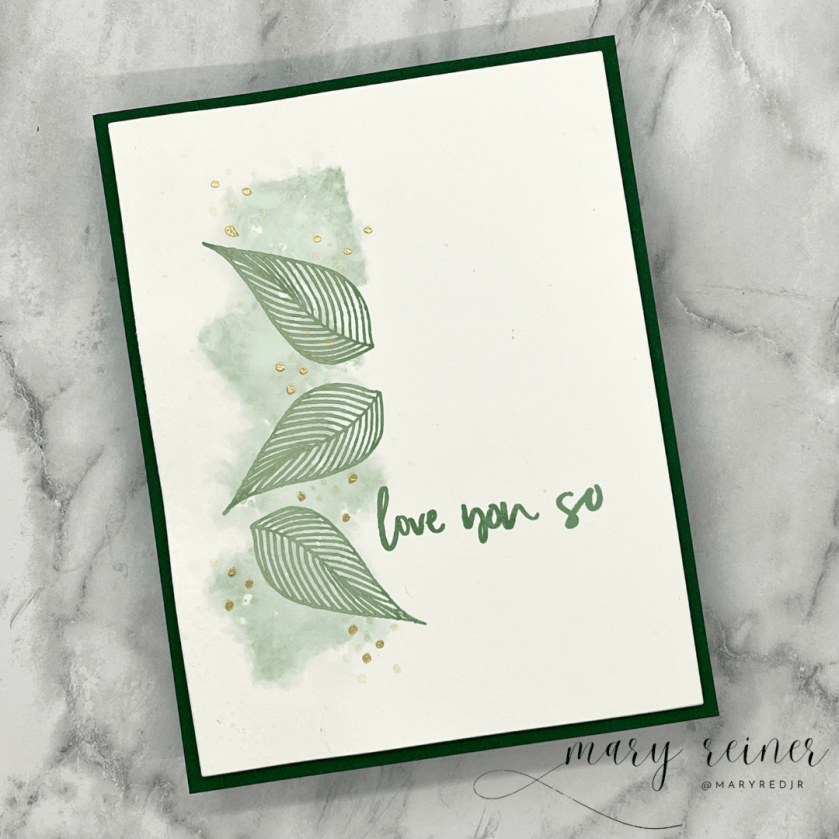
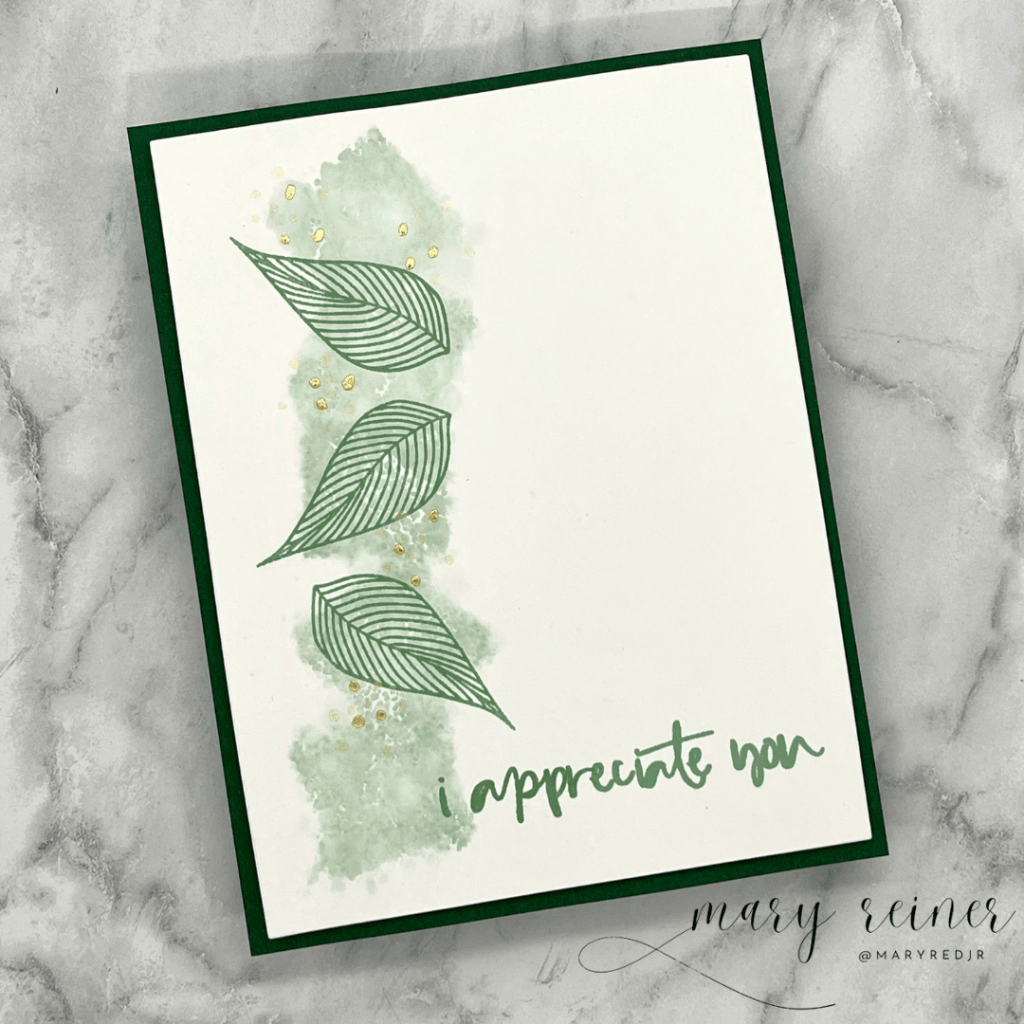
I played with the new Dreamy Leaves stamp set. I think this is a very versatile set! The images would be appropriate for almost any occasion, and the sentiments are so sweet too. I created two similiar cards.

Card #2:

I used the following products to create my cards:

~Simon Says Stamp Dreamy Leaves stamp set

~Simon Says Pawsitively Saturated Aspen and Sage inks

~GinaK Ultrafine Gold Embossing Powder

~Delicata Gold Ink

Card #3:

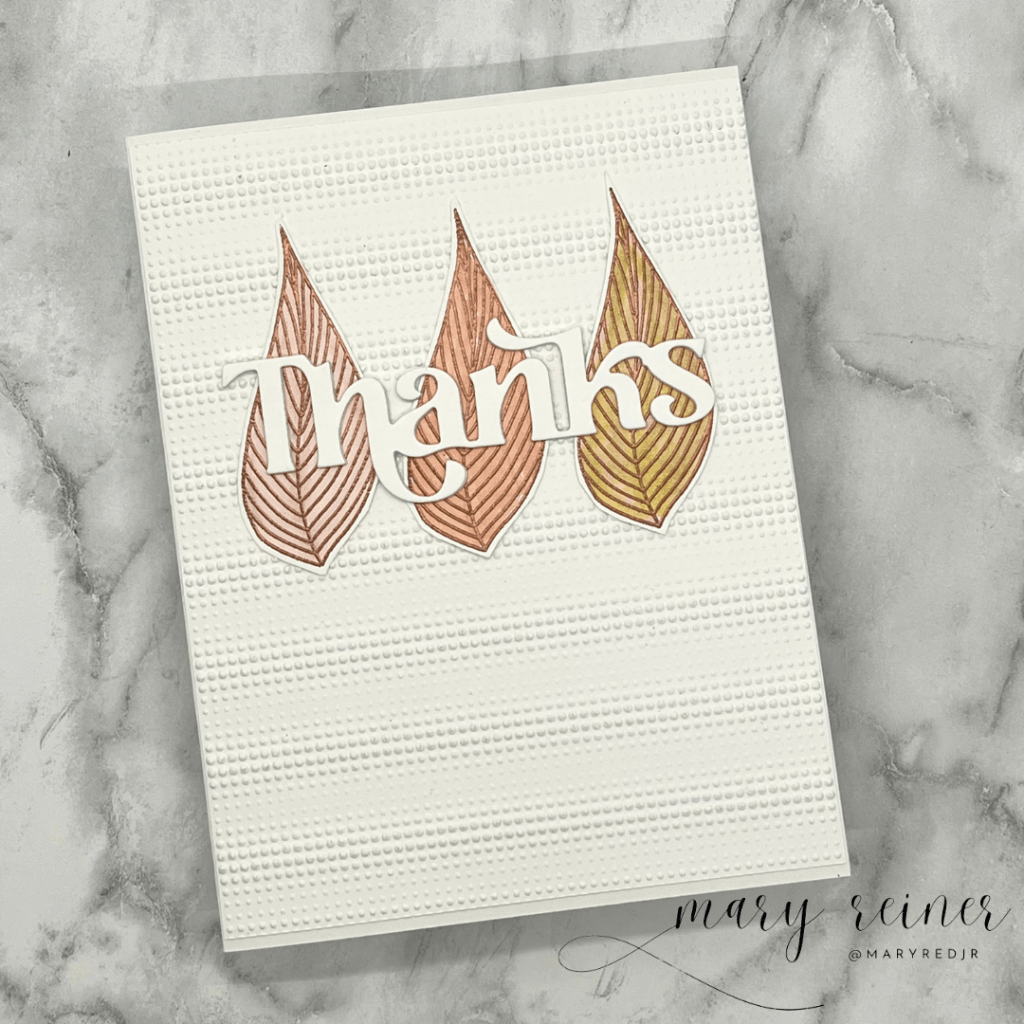
For this card, I used the following products:

~Simon Says Stamp Dreamy Leaves stamp set (dies are available too!)

~Simon Says Stamp Fancy Thanks die (I layered 3 of these together)

~Simon Says Stamp Gradient Dot Embossing Folder

~and a few Copic Markers to color the leaves

If you would like to shop the new release, or just need some supplies, I’d love it if you used my link. https://shareasale.com/r.cfm?b=882137&u=3017887&m=24698&urllink=&afftrack= Thank you so much!

I’m really happy with how all of these cards turned out. Which one is your favorite?

Thanks for stopping by!!

Posted in Cardmaking

Let’s Celebrate National Hot Cocoa Day

I thought I would celebrate by creating a hot cocoa card!

Have you ever had trouble with your embossing powder? I have read that after some time, some powders can go bad. Have you experienced this? I used my go-to white embossing powder, but I did not like how it embossed. It looked bubbly and didn’t melt well. I tried embossing again and had the same result. So I ended up re-stamping and embossing with a brand new powder. I liked the results much better! I think it’s time for me to get rid of that older powder

For my card, I used the following products:

~My Favorite Things Hug in a Mug stamp set for the sentiment

~Two different sets from Pixie Dust Designs: Snowman Mug and Reindeer Mug

~Ranger Stardust Stickles

~Ink on 3 Arctic White Ultra Fine Embossing Powder

~Ranger Distress Ink in Peeled Paint

How will you celebrate National Hot Cocoa Day?

Posted in Cardmaking

Coffee Lovers Blog Hop Fall/Winter

It’s time once again for the Coffee Lovers Blog Hop! Be sure to link up your newly designed, caffeinated project to the blog for a chance to win a prize from one of our super sponsors. Check out the Coffee Loving Cardmakers Blog for all of the details! http://coffeelovingcardmakers.com

My card features a bunch of products from super sponsor Newton’s Nook Designs. They have several coffee/tea themed sets that worked perfectly for my design.

Here are the Newton’s Nook products I used:

~Newton’s Mug stamps and dies

~Love Cafe stamps and dies

~Newton Loves Coffee stamp set

~Coffee House Stories 6×6 paper pad

I colored the images with Copic Markers and Spectrum Noir Tri-Blend Markers. The nose on the kitty is colored with a Sakura Black Glaze pen. The sentiment is stamped in GinaK Dark Chocolate ink and the steam is third generation stamping also in Dark Chocolate ink. I added foam tape to the back of the red mug to add dimension.

I hope this inspires you to create your own caffeinated project for Coffee Lovers Blog Hop!

Hugs and mugs,

Mary

Posted in Cardmaking

Out of This World Release

It’s that time again. Time for another fabulous release from Simon Says Stamp.

Today I am featuring a new 3D embossing folder and cutting die set called Splendid Daisies. I have been enjoying playing with this cool product. I was recently talking with some crafty friends and one of them mentioned that she thought embossing folders were making a comeback. I could not agree more! I love them for several reasons. First, the price point is reasonable, which makes it desirable. Next, embossing folders are a very versatile tool! Lastly, embossing folders add so much texture to our cards. And who doesn’t want an easy, quick way to add interest? Today I will be sharing just 2 ways you can use your embossing folders.

Card #1:

For my first card, I embossed the daisy background onto a piece of white cardstock. Then, I die cut the three different daisies out of white cardstock. Next, I placed them inside the embossing folder and ran it through my diecutting machine. This added some gorgeous texture to the blooms. I used Copic markers to color each of the daisies. These are the colors I used: W00, W2, W3, Y02,Y08, Y24 and E99. I used a stippling technique for the flower centers to emphasize the texture the embossing folder adds.

Then, I adhered the embossed panel to an A2, top folding card base and went through my stash of Simon Says Stamp sentiment strips to find the perfect sentiment. I cut the sentiment strip and adhered it to the embossed panel. Lastly, I added the die cut daisies to the panel.

Card #2:

Did you know there is a plant called African Daisy? I did not know about this until I started looking for color ideas for the daisies. Below is a photo of a Pink African Daisy plant that was helpful in selecting my colors.

I really like how these turned out! This card was put together almost exactly like the first card – except I stamped the sentiment from SSS Rainbow is My Favorite Color stamp set in Concord and 9th Briar Rose ink. I colored the daisies with the following Copic markers: RV00, RV11, RV32, RV55, E04, E13 and E21.

Card #3:

I really had fun creating this card! I started by inking the inside of the embossing folder with Speckled Egg Distress Ink. I used a brayer to apply the ink. Next, I lightly spritzed the folder and placed my 100# white cardstock inside. I ran it through my die cutting machine a few times. I thought about reapplying the ink and running it through again, but I didn’t want a solid background…I was happy with the splattered look I acheived. Next, I trimmed it down and adhered it to a top folding, A2 cardbase. For the sentiment, I used the SSS Thanks die. I die cut it out of white and blue cardstock to match the background.

Which card is your favorite? I hope I have inspired you to play with your embossing folders.

Below is an affiliate link, if you would like to shop the new release or pick up some other supplies.

Thanks for stopping by!

Mary

Posted in Cardmaking

Simon Says Stamp Beautiful Days Release

It’s time for another wonderful release from Simon Says Stamp. The whole release can be found here:  https://bit.ly/4314N9j

My cards feature the brand new Rose-Winged Butterfly Die. It is such a pretty die and I love it’s size too.

I created two cards with this new die:

I die cut the butterfly out of blue card stock, then inked it up with Uncharted Mariner and Speckled Egg Distress Oxides. Using an embossed, Speckled Egg spattered panel, I adhered the butterfly with foam tape. I added the Scripty Hello to finish it off.

For this card, I simply die cut the butterflies from 3 different colors of card stock. I adhered the purple and the orange butterflies directly onto my spattered card base. Then, I used foam tape to pop up the bright, pink butterfly. I did not add a sentiment as I thought this would work for a variety of occasions including Mother’s Day.

I am in love with this versatile butterfly die! Please click here to shop the whole release: https://shareasale.com/r.cfm?b=199868&u=3017887&m=24698&urllink=&afftrack=

Are you planning on attending Simon Says Stamp Create? You need to be there! It is going to be so much fun. I would love to meet you and say hello. Below are some details about the event.

  • Who: Crafty people (and even people who don’t think they are creative!)
  • What: Create It Take Its from 25+ of your favorite vendors (including Simon Says Stamp)
  • Where: Nationwide Hotel and Conference Center, Lewis Center, OH
  • When: April 21 & 22
  • On-site store with products right there for you to touch and buy.
  • See lots of cards and projects on display in the store.
  • Hob nob with some of the biggest names in the industry.
  • Link to more information: http://bit.ly/SSSCreate2023

Can’t wait for Create! Hope you’ll be there too!

Posted in Cardmaking

Simon Says Stamp Be Creative Release

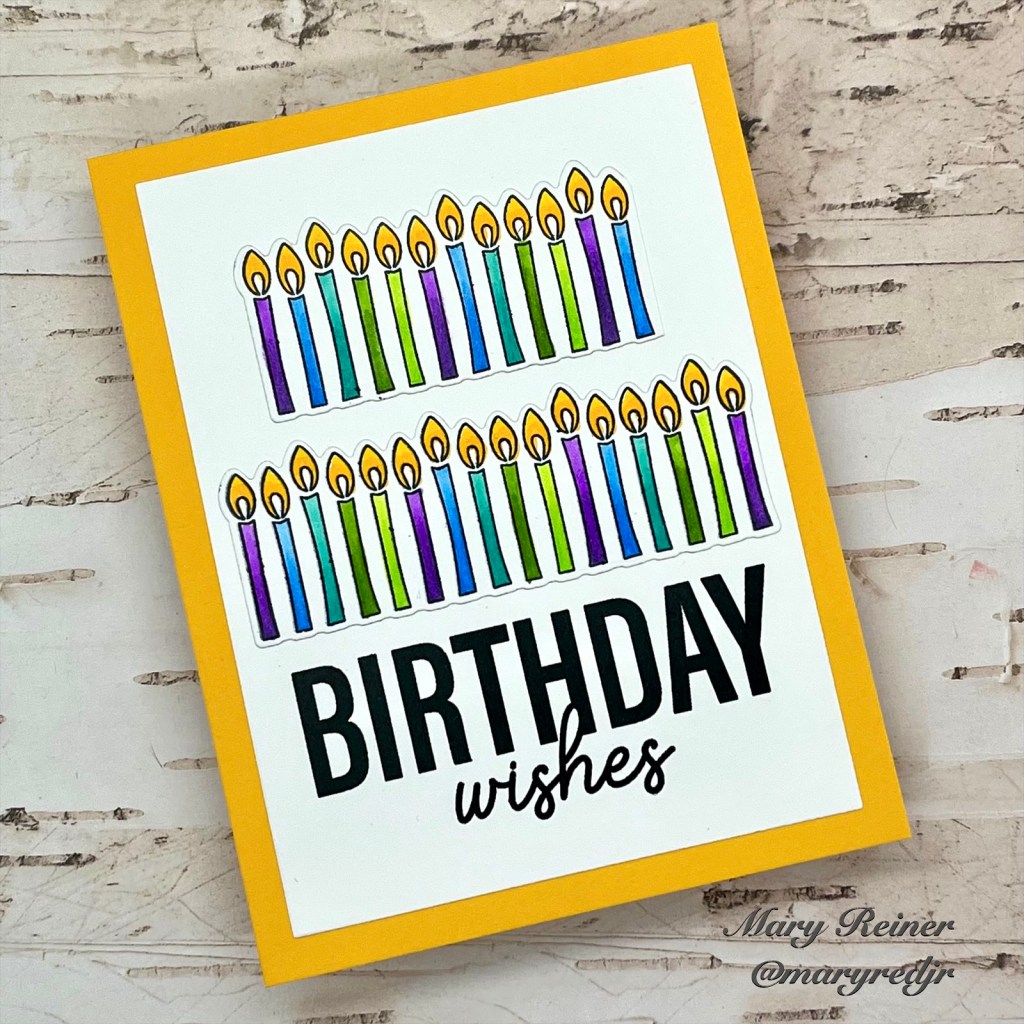
The latest release from Simon Says Stamp is so fun! I had the opportunity to play with the CZ Design Big Old Birthday stamp set. This is a must have stamp set for all cardmakers – we always need more birthday cards! The bold sentiments paired with the smaller phrases make a fantastic and quick card.

My first card features the CZ Design Big Old Birthday stamp set along with the Simon Says Stamp Birthday Borders stamp. I love this sentiment so much! I wanted to keep this card simple and graphic, since the sentiment is big and bold. I stamped everything and then Copic colored the candles in rainbow colors. Lastly, I added Ranger Glossy accents to add some shine to the candle flames.

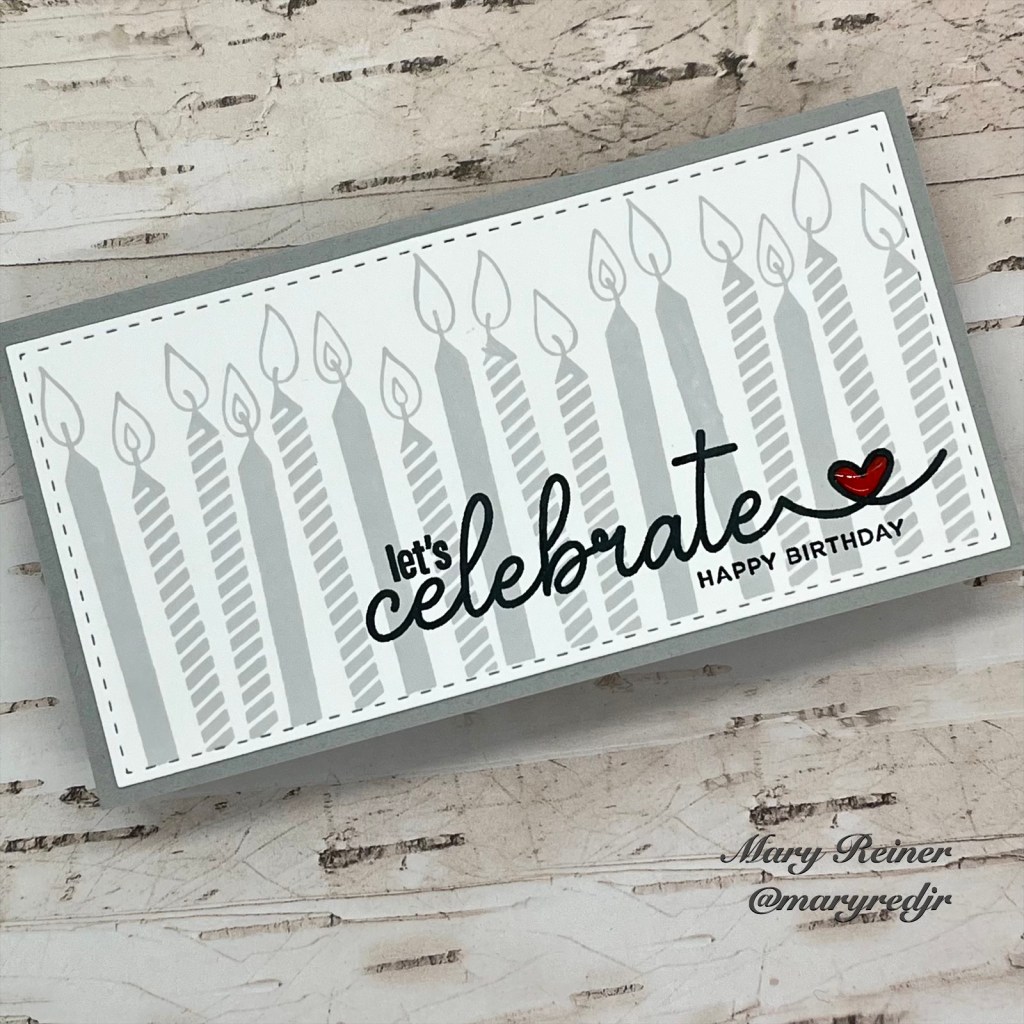
For my next card, I made a mini slimline. I used the Simon Says Stamp Candles Cling Stamp to create my background. I stamped it in Lost Shadow Distress Ink. I think this is the perfect grey. I’ll be using it a bunch on future cards. Next, I stamped the sentiment from the Big Old Birthday stamp set in black ink. I colored the heart red and then added Ranger Glossy Accents to the heart. After it dried, I adhered it to a Simon Says Stamp Fog card base that I created.

How pretty is this sentiment? Cathy Zielske designs the best sentiments. I wanted to create another graphic card and my goal was to make it look like a cake. This time I stamped the candles and then die cut them, just to add another layer to my card. I really like the colors I used on this card. What do you think?

Please be sure to check out the entire new release. It’s a great day to treat yo’self!

I would greatly appreciate it if you did your shopping through my affiliate link. Thanks so much!

Posted in Cardmaking

You’re My Gal

Hello and welcome back. The Hugs Release is now available from Simon Says Stamp and my cards today feature one of the new stamp sets, “You’re My Gal.” It is such a fun set, especially for making cards for your gal pals!

I wanted to make a quick Valentine and this set makes it super easy. To create this, I die cut a white panel with one of my stitched, rectangle nesting dies. Next, I stamped the sentiment from the You’re My Gal stamp set with Moment Tuxedo Black Ink. Then, I die cut a little envelope and a little heart. I adhered the envelope above the sentiment and then added the heart. Lastly, I adhered the white panel to an A2 top folding card base. Easy peasy!

To start my card, I stamped the little envelope image from the stamp set in GinaK Soft Stone Ink to create my own patterned paper. Next, I stamped “Hey Girl” in Picked Raspberry Distress Oxide. I set the ink by drying it with my heat tool. Then, I stamped it again (using my MISTI) in clear embossing ink. I sprinkled Picked Raspberry Distress Embossing Glaze over it and heat embossed it. I love that you can still see the background through the sentiment. Next, I stamped the smaller sentiment in Momento Tuxedo Black Ink. I decided to add a few small hearts. I made those by inking and embossing a piece of paper to match the sentiment. I die cut the heart and added them to the card. Lastly, I adhered the panel to an A2, side folded card base that I made from Fog cardstock from Simon Says Stamp.

This one is my favorite! To create the background, I misted a panel of Canson Watercolor paper with water and then sprayed it with Tart Cranberry Mica Stain. I set that panel aside to dry while I worked on the rest of the card elements. Next, I used the Simon Says Stamp Stacked Hearts die to cut out the grey heart pattern. I adhered it to the red panel and kept one of the little hearts in place. I added red Wink of Stella to that small heart to give it some sparkle. Then, I cut a 1″ x 5″ piece of vellum. I used my Rabbit Hole Cottontail Embossing Tool and then stamped the sentiment in embossing ink. I sprinkled Ranger Black Embossing Powder and heat embossed it. Next, I figured out where I wanted the sentiment and then folded the excess vellum around the back of the red panel and adhered it on the back. Lastly, I adhered the red panel to a white, A2 top-folding card base. I love how this card turned out!

Which card is your favorite?

Thanks so much for stopping by!