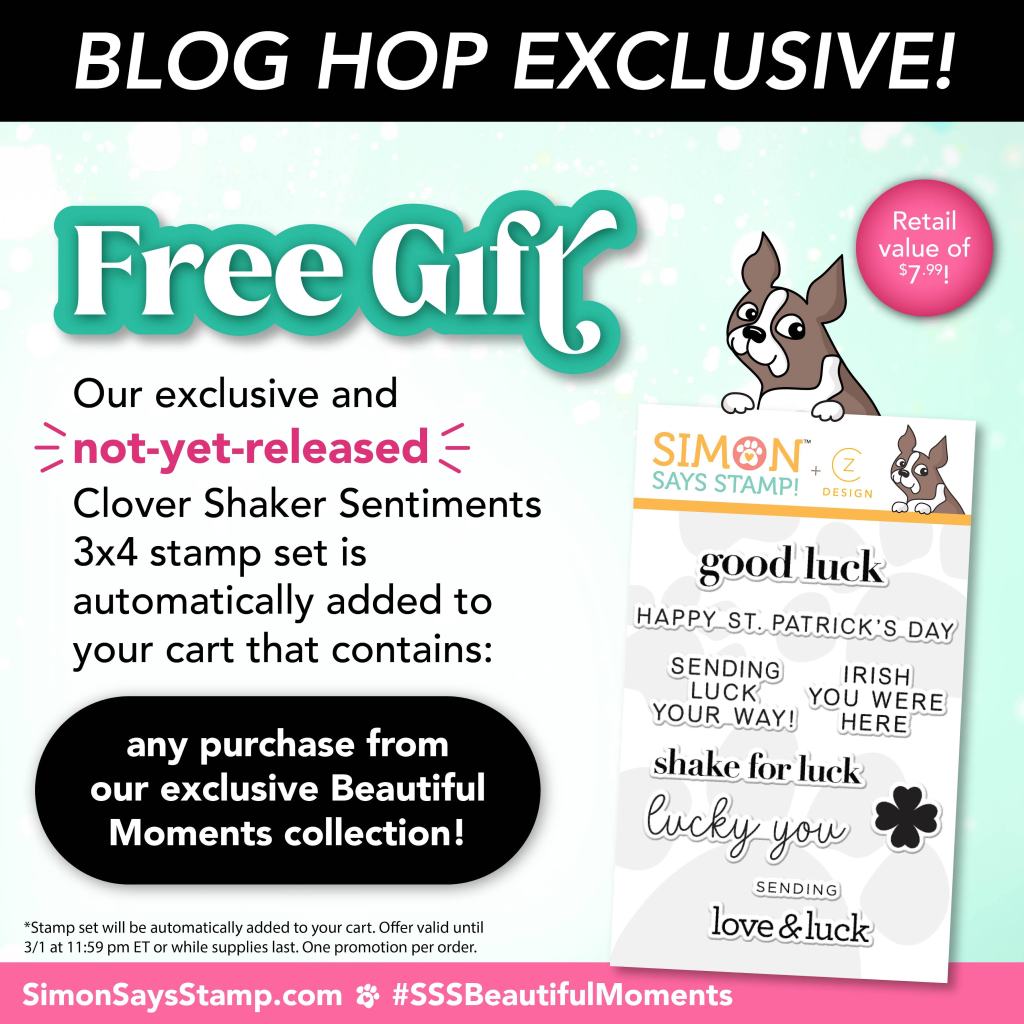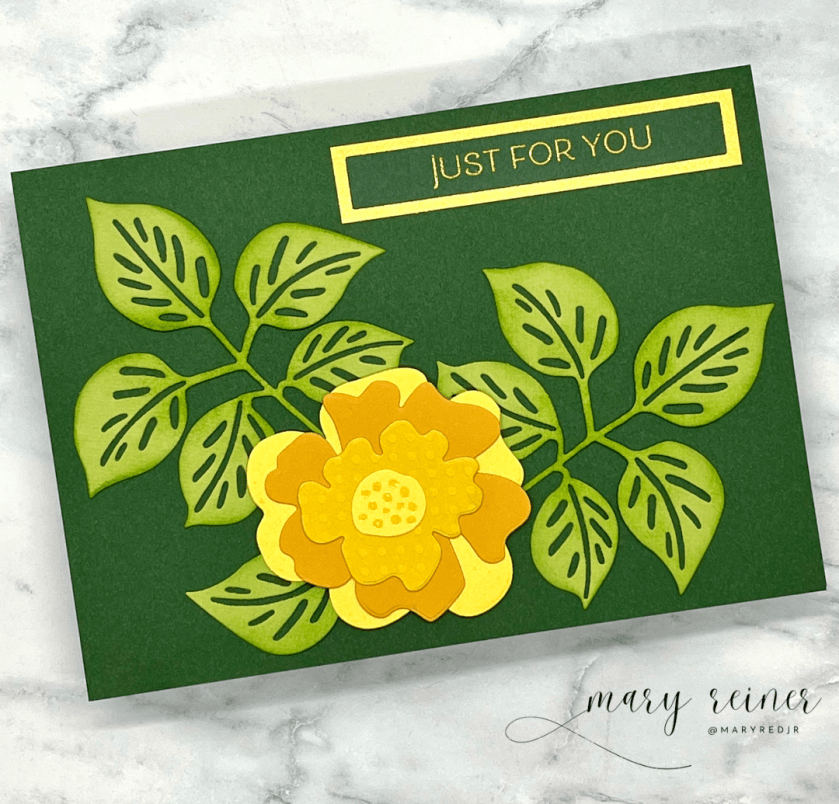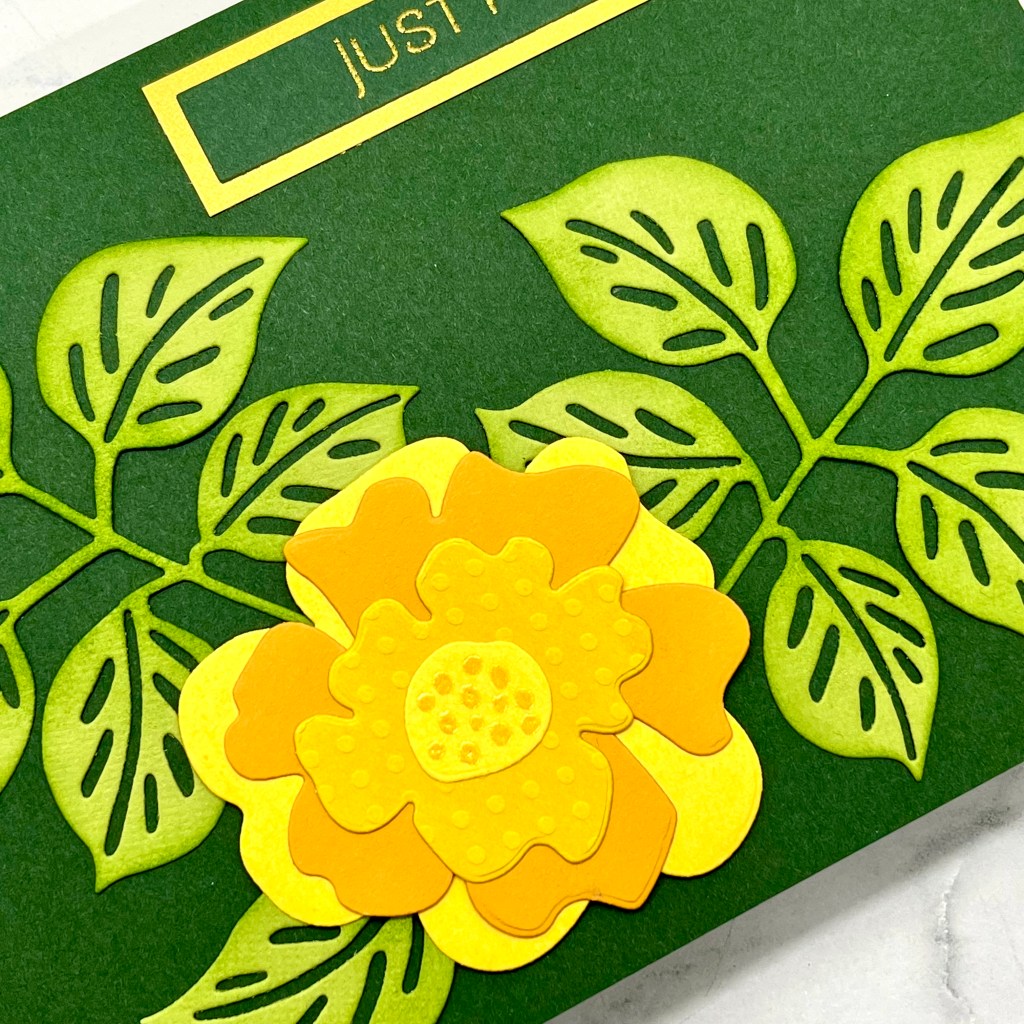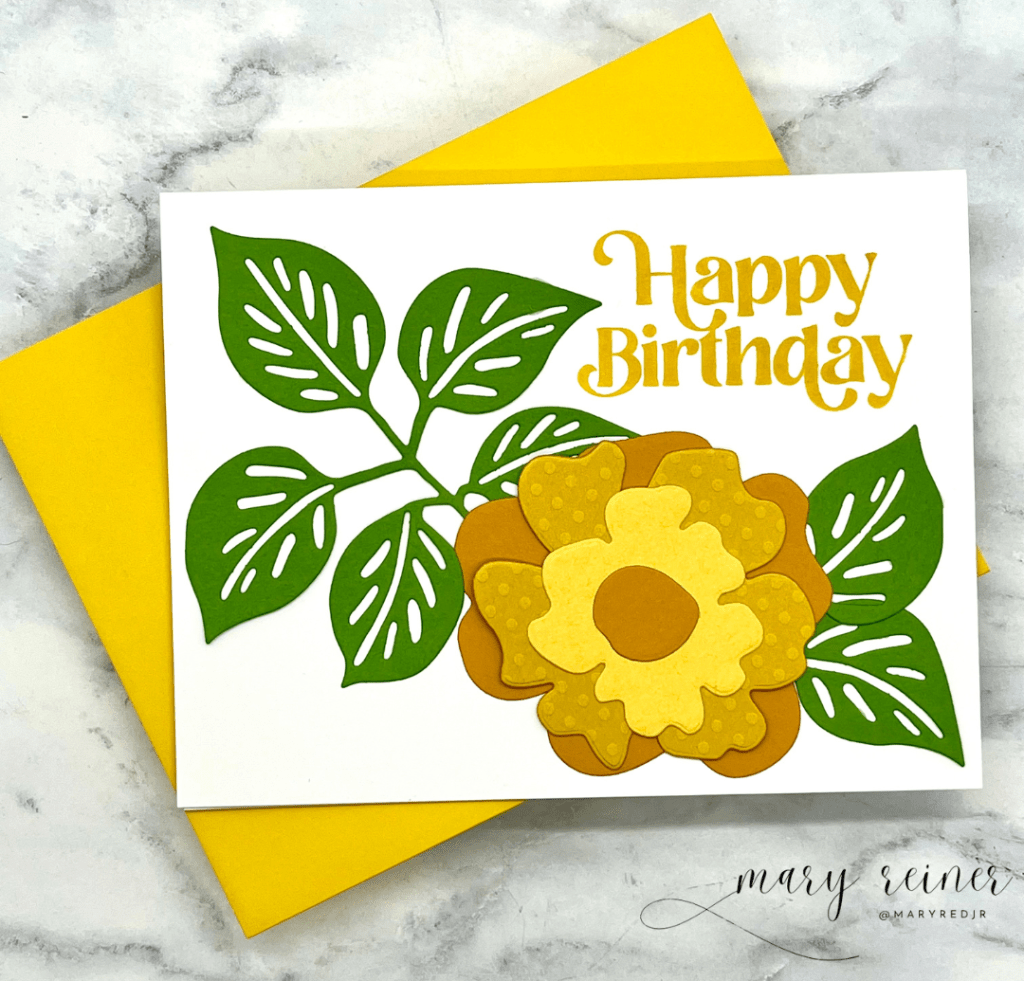
It’s time for another new release from Simon Says Stamp! Today, I am sharing a few cards I created using the With Sympathy stamp set and Elongated Hexagon dies. Sympathy cards are difficult to make – but this new stamp set has really beautiful sentiments and some lovely images.
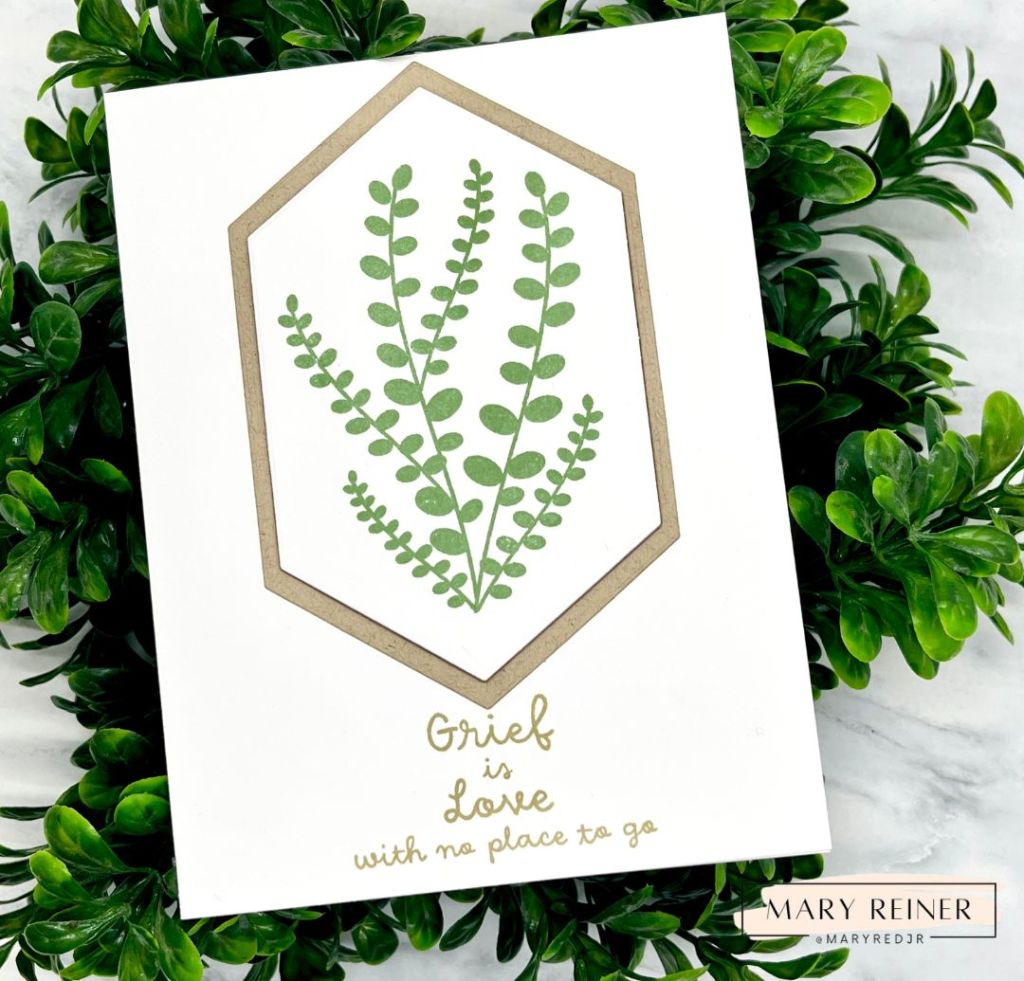
I kept this one very clean and simple. I die cut two hexagons for layering and to add a bit of dimension.
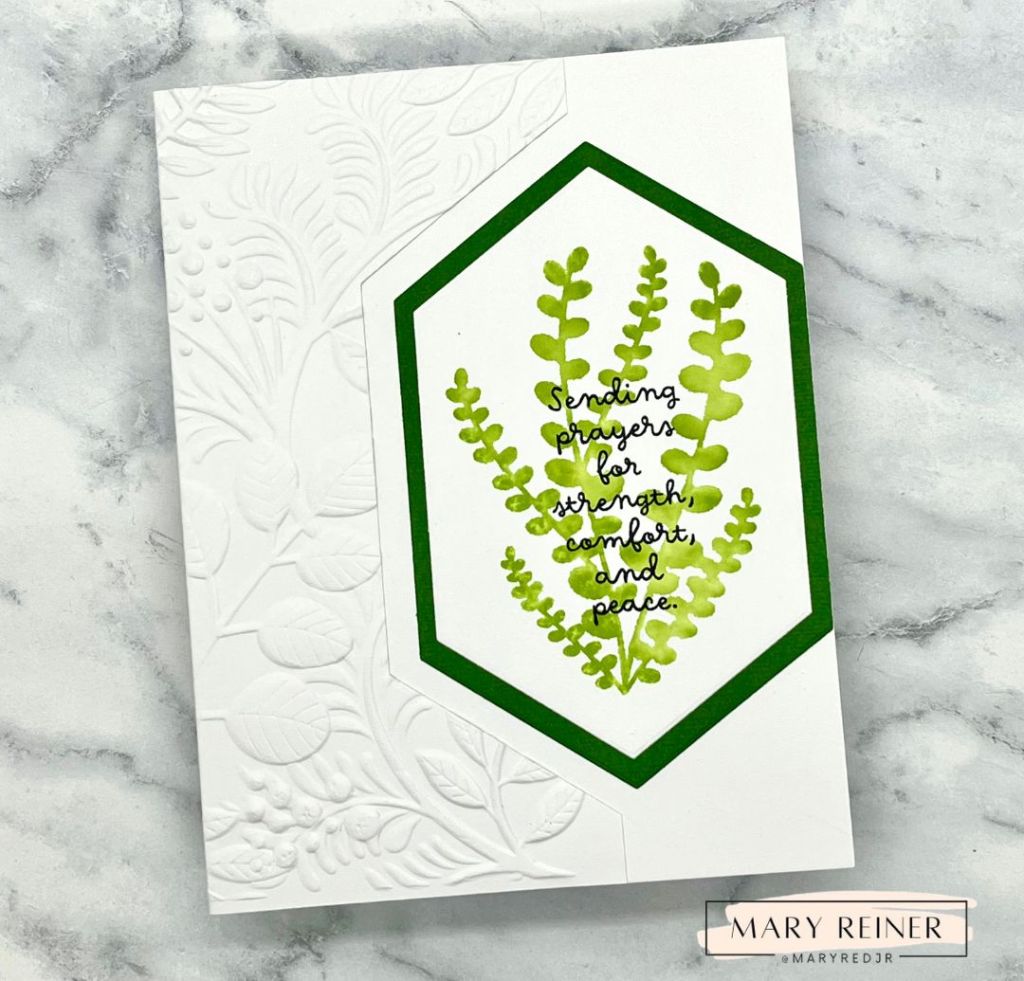
For this one, I used the same image but I inked up the stamp and spritzed it with water. This softened the image and gave it a wotercolor-look. I also stamped the sentiment on top of the image (after it dried). I die cut a hexagon on the edge of my card panel and then used an embossing folder (Vine Canopy) to add texture. I really love how this turned out.
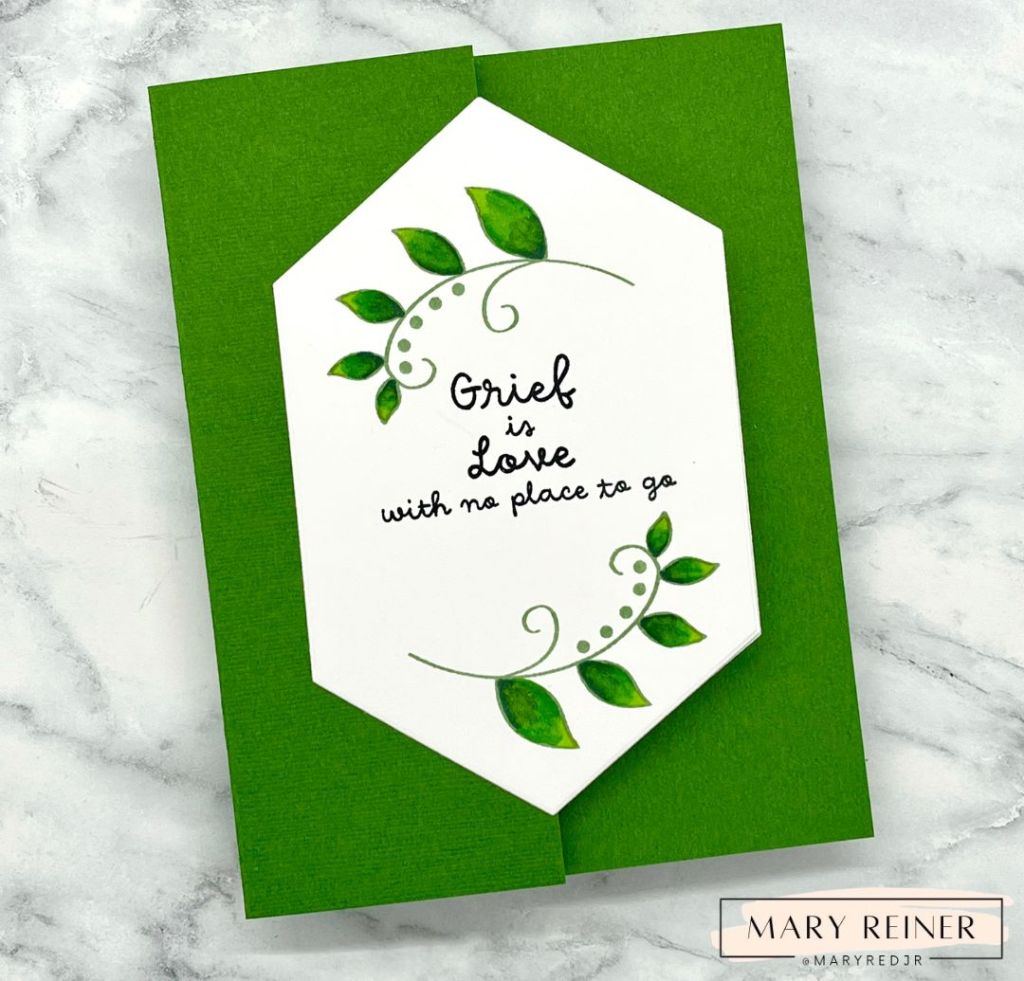
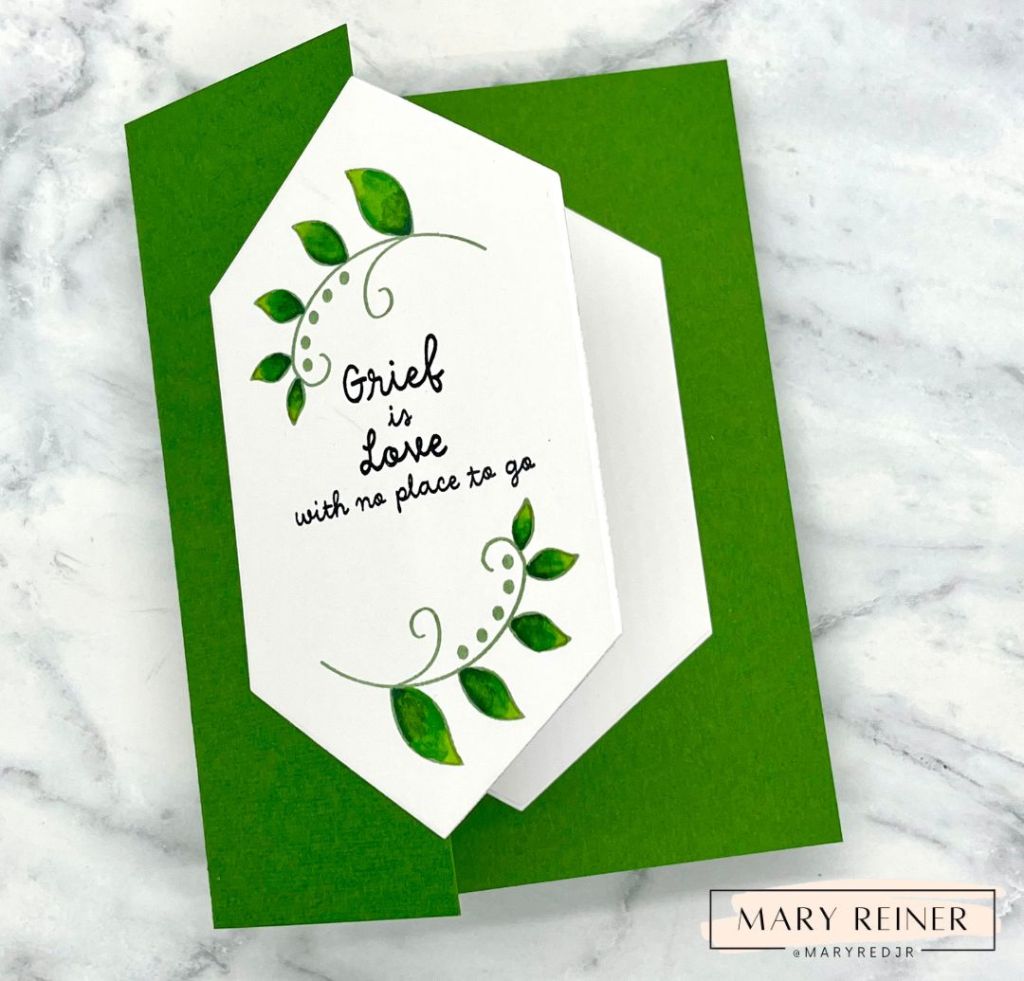
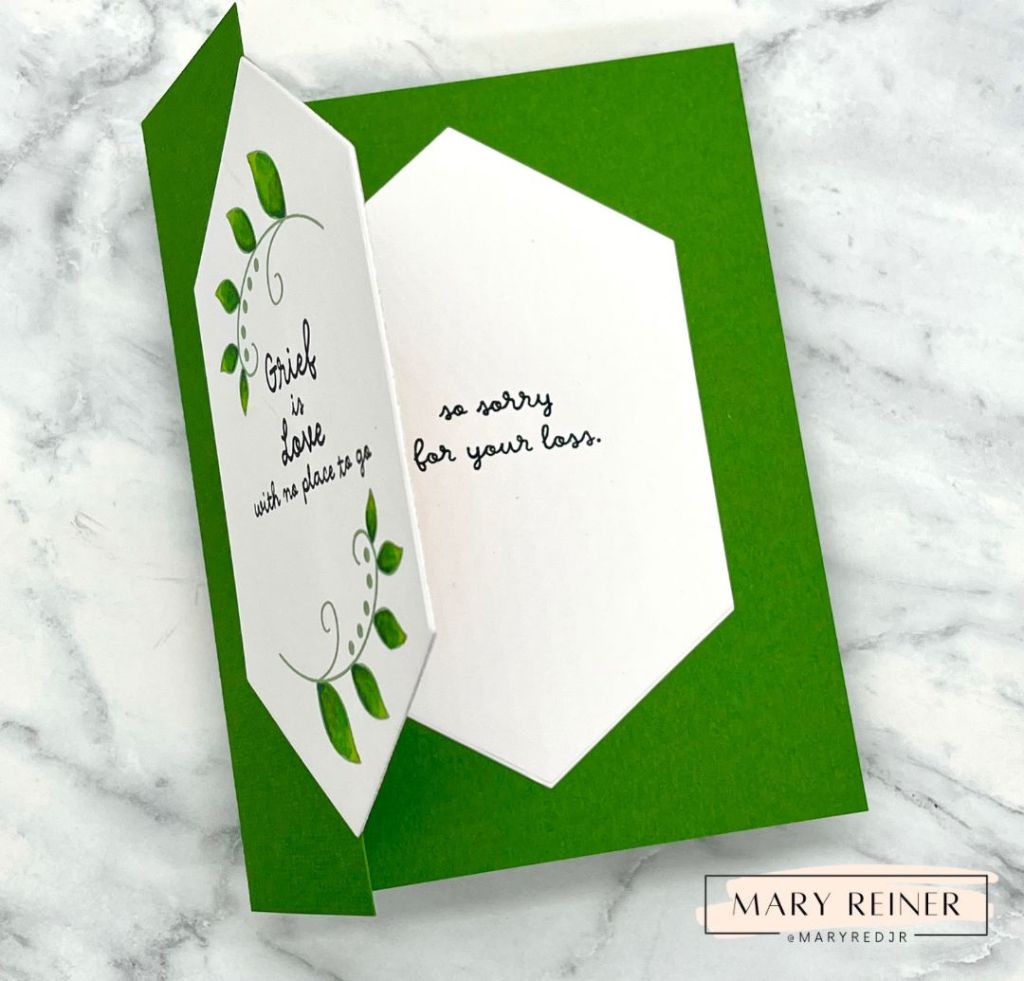
For this card, I cut 2 and 1/8″ off of the front panel and then centered the hexagon. I added another white hexegaon, with a sentiment, to the inside of the card. To create the front hexagon, I stamped the leafy images in Pearfection ink and used Copics to color in the leaves. I thought these sentiments paired nicely together to complete the card.
I hope this inspires you to create some Sympathy cards.
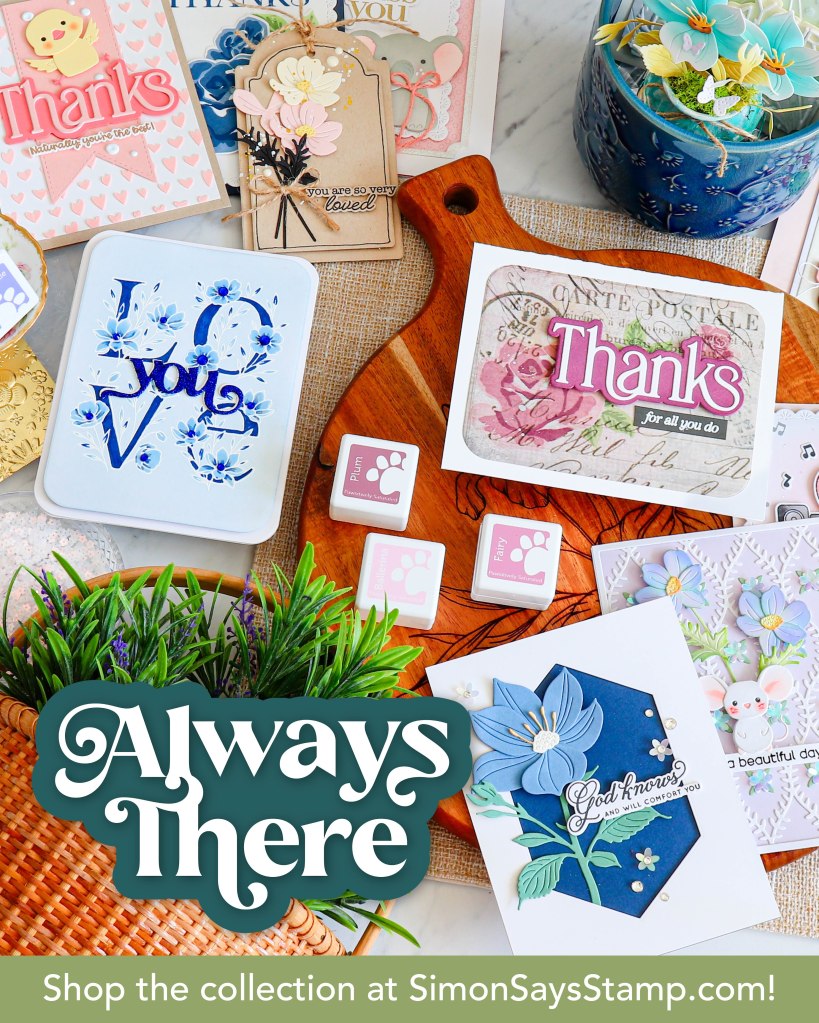
Check out the entire release here: https://www.simonsaysstamp.com/collections/always-there
Thanks for stopping by!