I love kindness sentiments. I work at an elementary school and our first goal is to “be kind to kids.” So I am always on the lookout for sets that include kindness quotes. I made this card for one of our brand new teachers. I hope she likes it.
This card features the Elsa Girl stamp from Unity Stamp Company. I simply stamped the image in Momento Tuxedo Black ink and then colored with my Copic markers. The sentiment I used is included in this stamp set. The other sentiment is “stay warm and cozy.” Both sentiments are very versatile, don’t you think?
Please leave a comment for your chance to win one of two $20 gift cards from Unity Stamp Company. I have really enjoyed reading your comments! And don’t forget to check out their end-of-year clearance sale.
I had a blast this week creating with Unity products. I am, and will always be a huge fan!
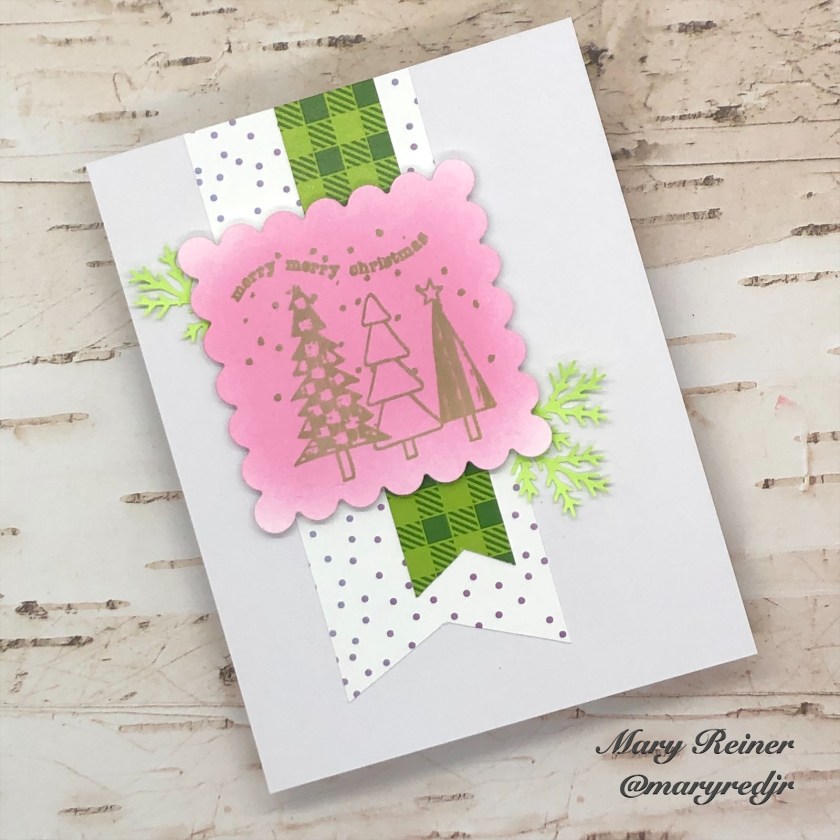
Today I am once again featuring an Itty Bitty from Unity. This one is called Merry Christmas Treeline. I believe it was free with a purchase a few years ago. I think it is adorable.
My card was inspired by a co-worker’s sweatshirt.
She purchased the sweatshirt from Sam’s Club! I thought it was cute. Below is the card it inspired.
To create my card, I ink blended Ranger Distess Oxide in Kitsch Flamingo on a piece of card stock. Then, I die cut it with one of my nesting scalloped edge dies. I added foam tape to the back of it, too. Next, I stamped the image in GinaK Fresh Asparagas ink. I stamped it a few times to get the coverage I wanted. I created two different sized banner shapes to add to my card and adhered them to an A2 top folding card base. I placed the pink stamped square on top of the banners. Lastly, I used my pine punch and cut out a few sprigs to add behind the pink square. I think this turned out pretty cute.
Where do you find inspiration for card making? Leave a comment for a chance to win $20 to the Unity Online Store!
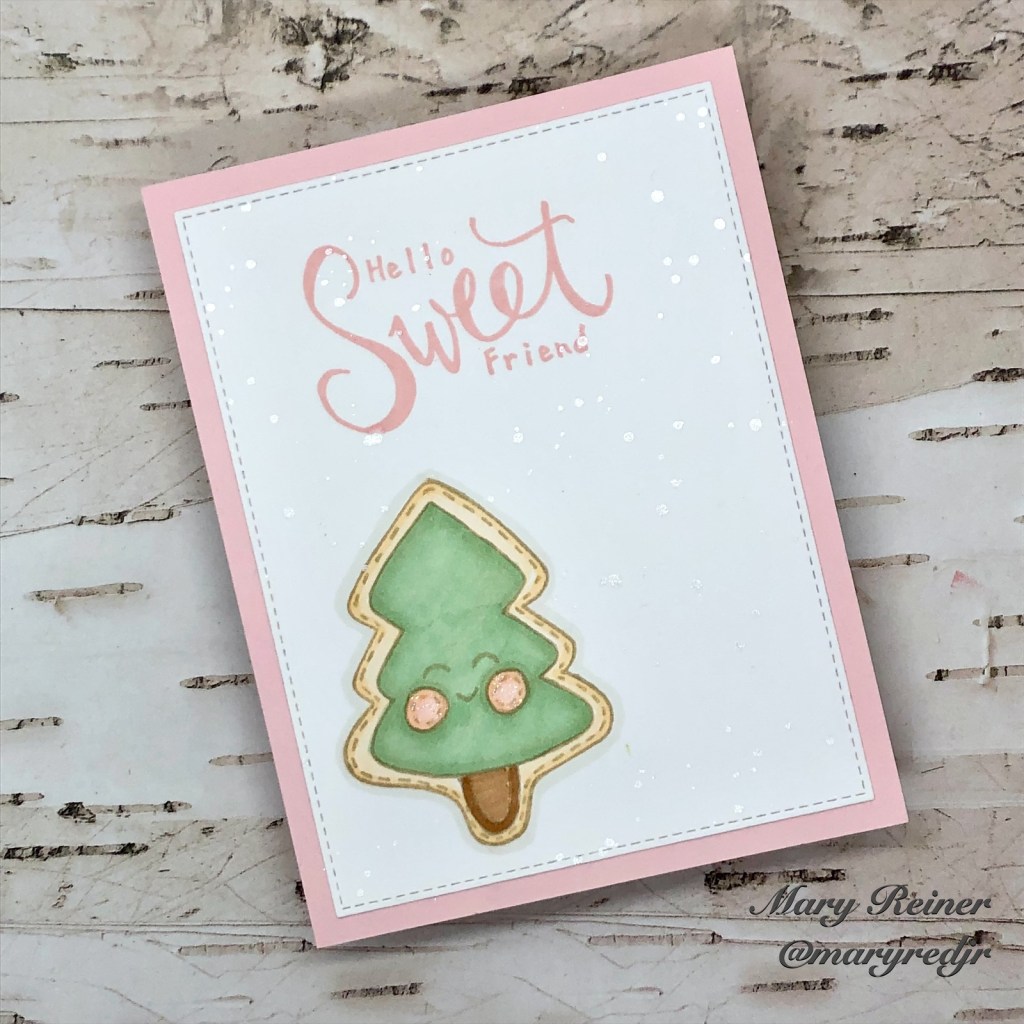
Welcome back for day two! Today, I am featuring another cute Itty Bitty stamp from Unity Stamp Company.
Have you noticed that pastel colors seem to be very on-trend for Christmas this year? Because of that, I am using lots more in my holiday cardmaking.
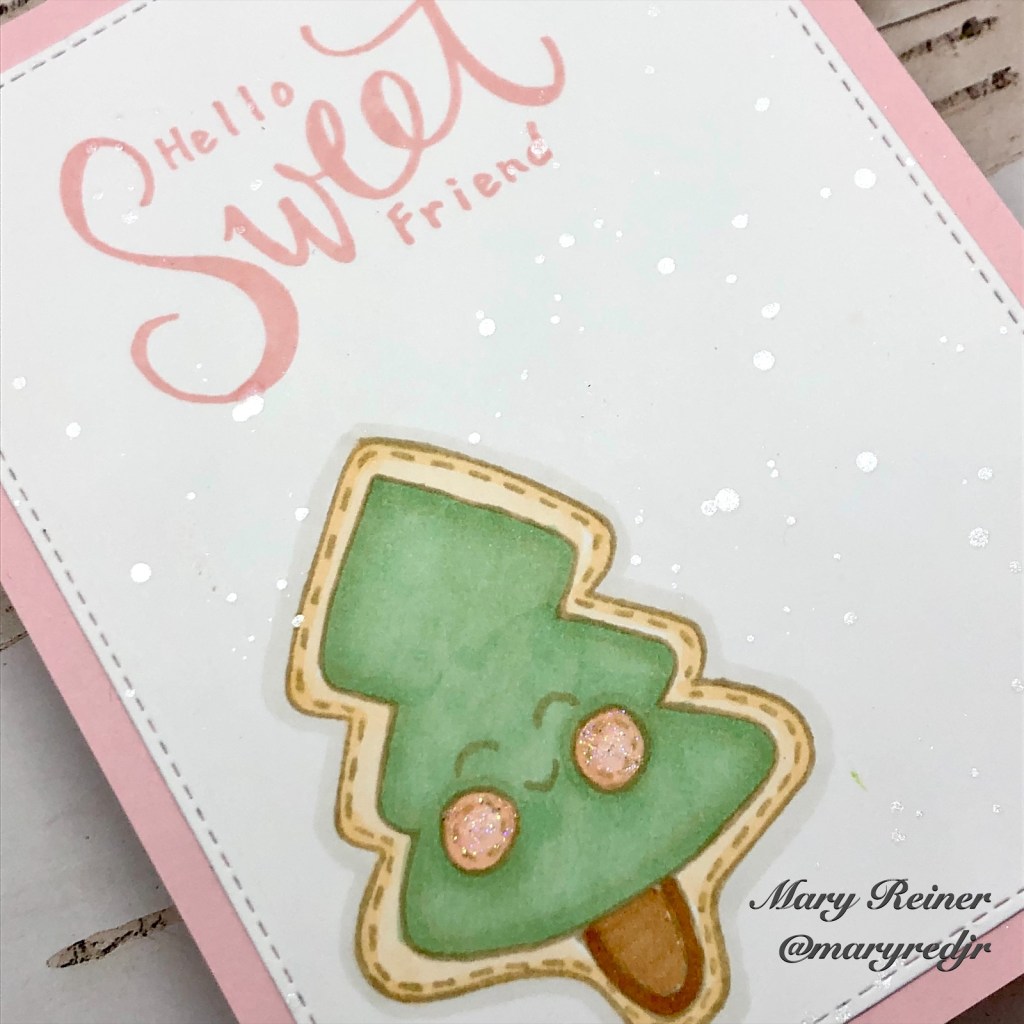
For my card, I stamped the Felt Christmas Tree Itty Bitty in GinaK Kraft ink. I did mask the string, because I wanted this to look like a Christmas cookie. I colored the image with Copic markers and I added Lawn Fawn Sparkle Glaze to the cheeks. The sentiment is from the July 2017 Time to Enjoy Life Kit of the Month. I stamped it in GinaK Innocent Pink ink. Lastly, I spattered Ranger Perfect Pearls to add sparkle to my background.
Don’t forget to leave a comment for your chance to win one of two $20 gift cards to the Unity online store. I’d love to know if you like pastel colors for holiday cards!
It sure is hard to believe that it is already December! But, we all have lots to look forward to – like DieCember at Simon Says Stamp!
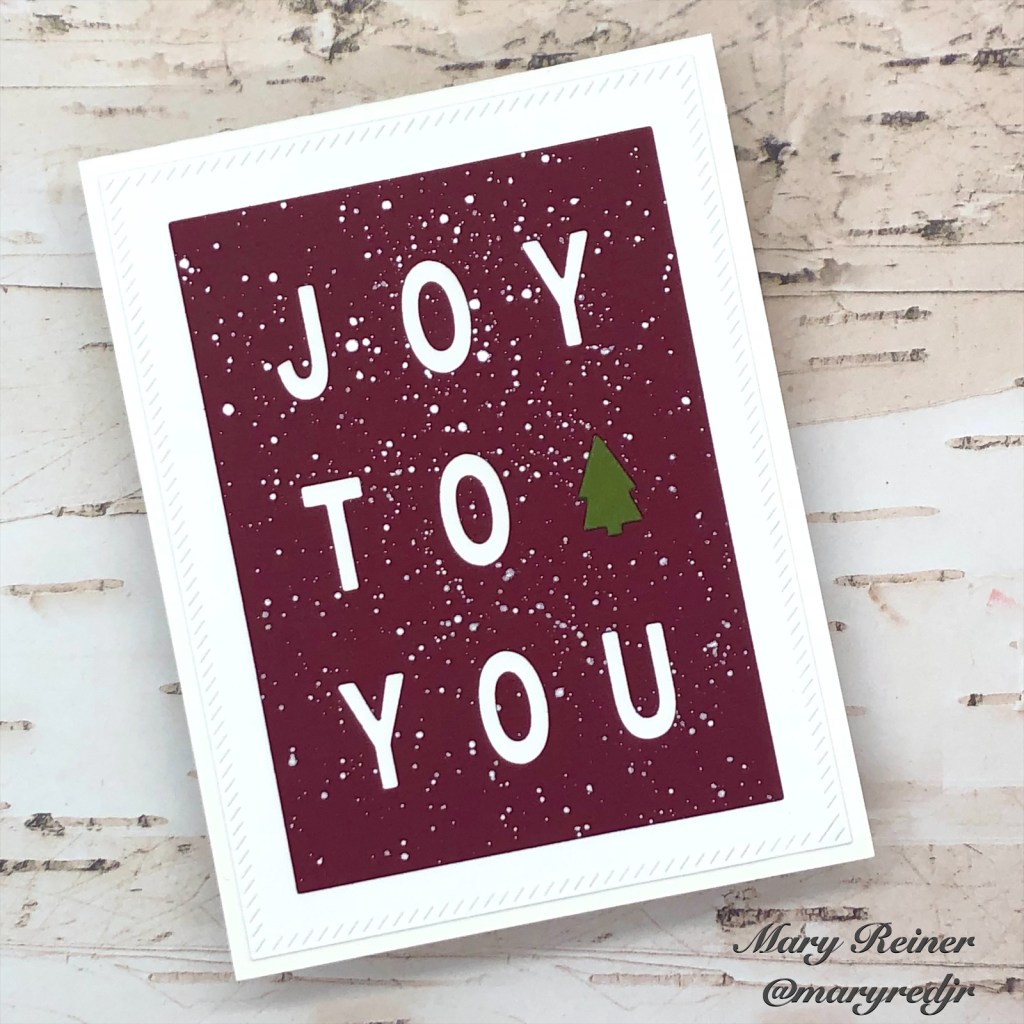
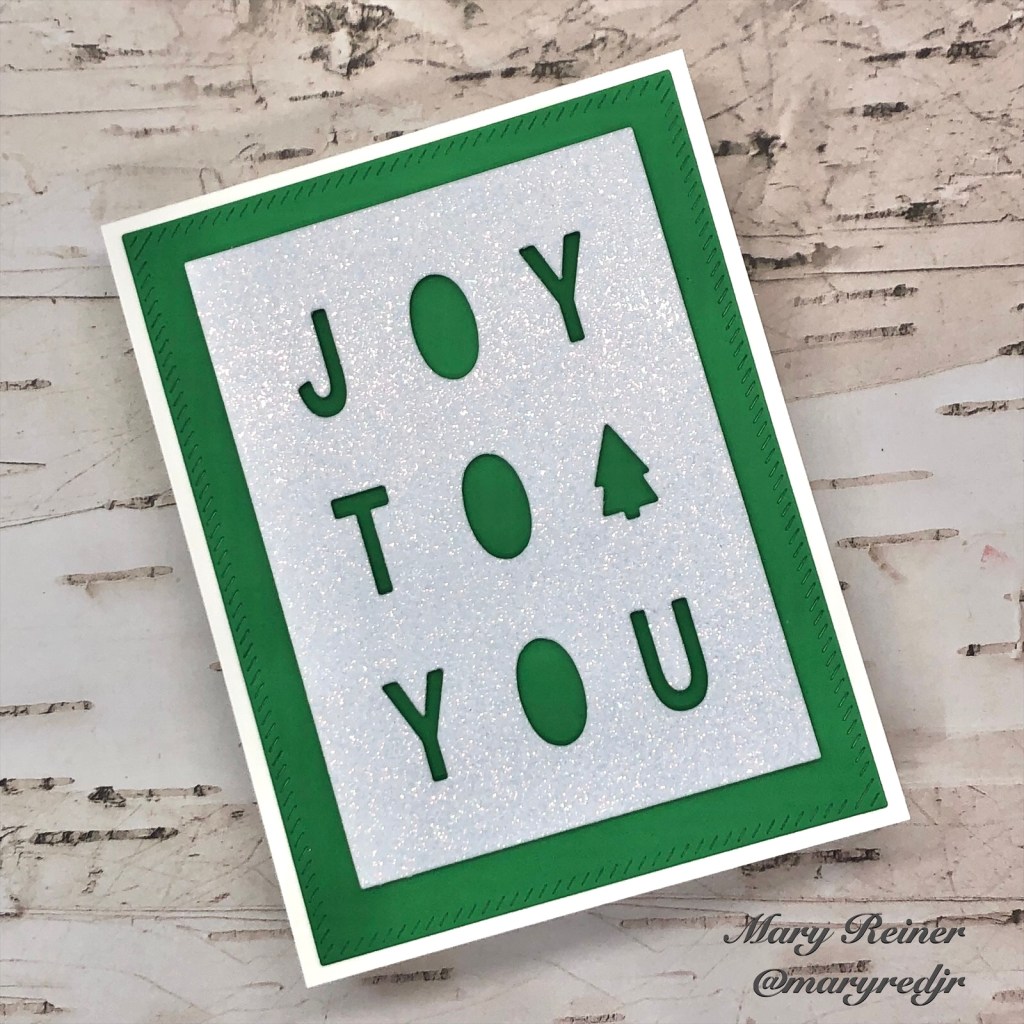
I was thrilled to get the chance to create with this new die from Simon Says Stamp “Joy to You” cover plate. I made several cards and a fun banner.
For my first card, I started by using the cover plate to die cut some deep, red cardstock. I splattered white acrylic paint to add snow to my background. Next, I die cut green cardstock so I could inlay a green tree on this card. I layered it onto a white panel and adhered it to a white, top folding A2 card base.
For this card, I used the letters from the previous card to determine my color palette. I found some pretty plaid patterned paper in my stash that I thought would work perfectly for this card. I used the cover plate to die cut some white cardstock. Next, I inlayed the red letters. I also used the cover plate to die cut some silver paper so I could get a silver tree to inlay. This was such a quick card to create, and I love how it turned out!
This next card really came together quickly! I die cut the cover plate from Simon Says Stamp silver glitter cardstock. Next, I added foam tape to the back, to give this panel some dimension. I die cut a green panel and adhered it to a white, top-folding A2 card base. Lastly, I adhered the silver panel. So sparkly and pretty!
This card is probably my favorite. I simply die cut the cover plate 3 times out of white cardstock. I adhered them all together and then rubbed the edges onto my embossing ink pad. Next, I sprinkled gold embossing powder and heat embossed the edges. Then, I splattered Lawn Fawn Liquid Stardust on the base panel. I adhered the die cut panel to the base panel and added them to a top-folding A2 card base. Lastly, I inlayed a green tree. I love how this card turned out!
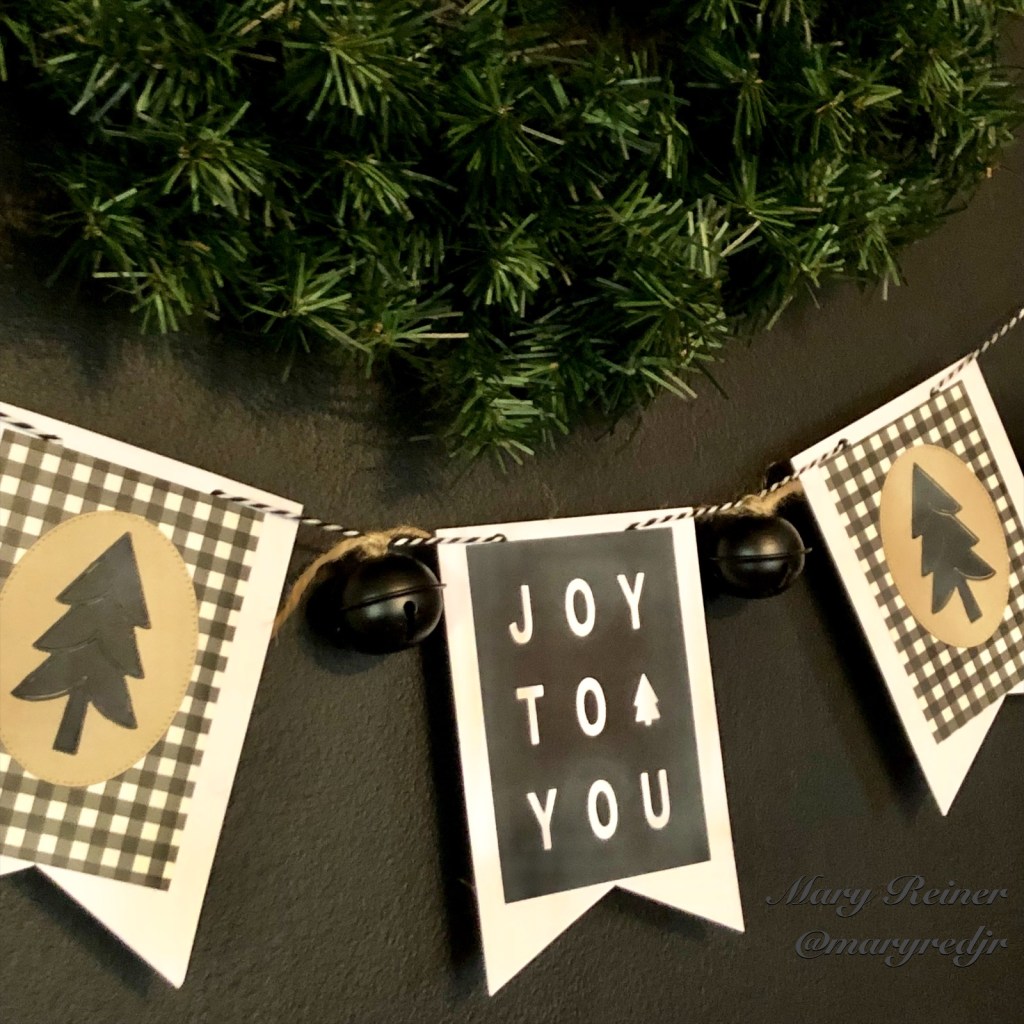
For my last project, I created a fun little banner for my chalkboard wall. I was going for a rustic, farmhouse vibe. I die cut the cover plate from black cardstock and used a dauber to add some Ranger Picket Fence Distress Ink on it to make it look a little chalky. I adhered that panel to a banner shape that I created.
To create the banner shape, I cut a piece of white card stock to 4 x 5 3/4″. I found the center and measured up one inch from the bottom and drew a small dot where that measurement met the middle. Using an xacto knife, I cut from each of the bottom corners, diagonally up to where the dot was located, to make the banner shape. I cut several of these for the banner.
For the other banners, I die cut an oval out of kraft cardstock and adhered it to a gingham rectangle that was adhered to the banner piece. I die cut black trees using Simon Says Stamp Mod Tree Wafer Die and adhered them to the kraft ovals. Next, I punched holes so I could string up the banner. I added black jingle bells (which I found in the Target Dollar Spot) between the banners. I hung this on my chalkboard wall in my kitchen and I am loving it!
I hope you will consider Joy For You Cover Plate Die for your holiday crafting. I think it is a must have for creating quick and simple cards!
Thank you for your support. Click the link below to shop my affiliate link. I only use and recommend products I love. I was not paid to do this post. All products were personally purchased except for the Simon Says Stamp Joy to You Cover Plate die which was provided by the company.
The Simon Says Stamp Cozy Hugs release is live! There are so many great products for your seasonal crafting.
I am featuring projects created with the Simon Says Stamp Batty for You stamp set. This stamp set has an adorable bat and several fun sentiments. I am so excited to share these projects with you!
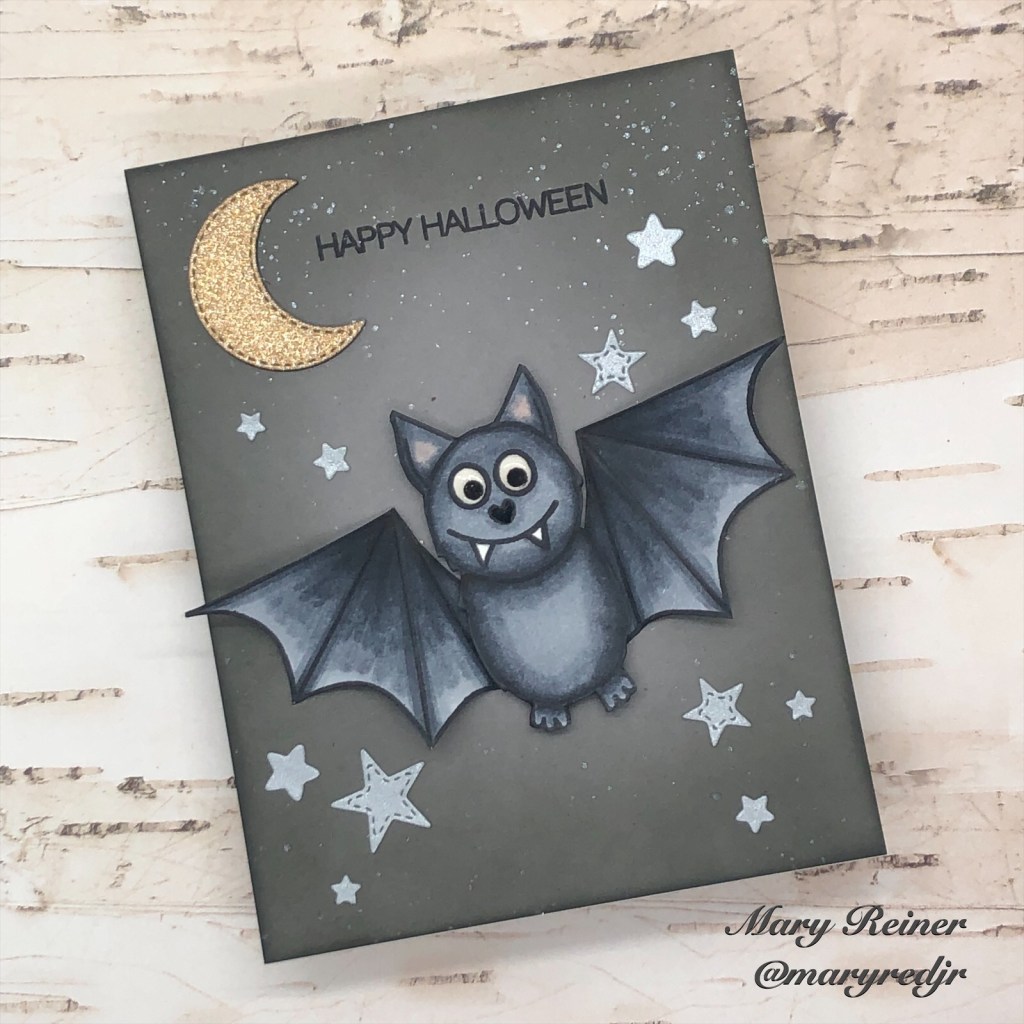
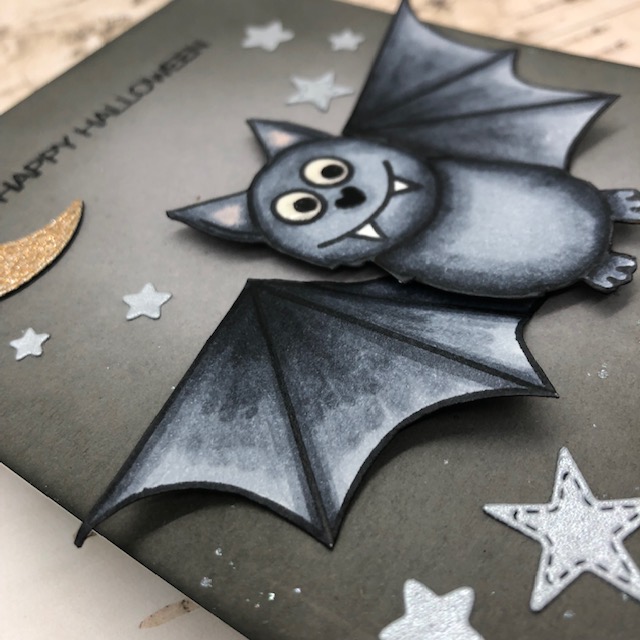
For my first project, I wanted to create a fun Halloween card. I began by stamping the bat parts out and then Copic Colored them. I used the following : 100, W8, W6, W5, W3 and R01. I did not have the dies, so I fussy cut my bat – It was super easy! I wanted to add some dimension, so I scored the wing along the printed lines, and gently folded them accordian style. I adhered the wings to the back of the bat body. I used a Sakura Black Glaze pen on his nose and Ranger Glossy Accents on the eyes to add some shine.
Next, I cut a 4.25 x 5.5 panel out of grey Kraft paper and ink blended around the edges with Ranger Black Soot Distress Oxide. I splattered Ranger Perfect Pearls to add some sparkle. I die cut stars and a moon out of metallic paper from my stash. I also cut a moon out of heavy black cardstock to layer behind the gold moon for dimension.
I played around with the layout of the card so I could determine where I wanted to stamp the sentiment. I stamped it, then adhered all of the elements to the background. Lastly, I adhered the whole panel to a top-folding A2 cardbase so it would be ready to mail.
I had so much fun creating the first card, I decided to make another one!
Card #2:
For my next project, I prepared the bat exactly as I did for the first project. I used the Simon Says Stamp Here for the Boos die for the sentiment. I die cut the words out of black cardstock, and the background out of purple cardstock. I left the whole purple die cut in tact, so I could layer the black wording on top of it. I love the added dimension this gives! I also adhered some foam tape behind the sentiment die cut and the bat so they would pop off the background.
For the background, I found some textured cardstock in my stash that I thought would look cool ink blended. I started with Speckled Egg Distress Oxide and then moved to Chipped Sapphire and finally, Villanous Potion. I went over these a few times to get the blend I wanted to acheive. Next, I die cut the panel with a Honey Bee Deckle Edge A2 die. I adhered it to a top folding, A2 panel and added my sentiment and bat die cuts. This card really came together quickly!
Project #3:
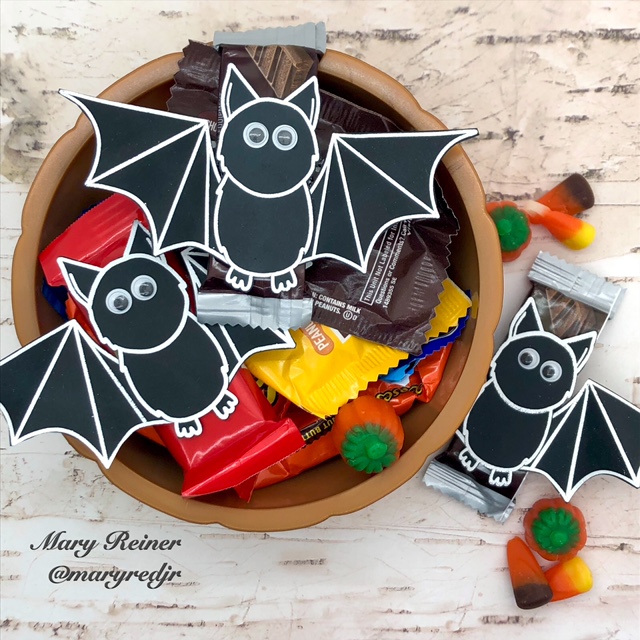
I love giving out a little something special to some of my favorite trick-or-treaters. So I decided to add the cute bat to some Halloween treats.
This time, all I did was stamp the bat parts with Versa Mark embossing ink and heat embossed with Brutus Monroe Alabaster embossing powder. (Glow in the dark embossing powder would be really fun for this too!)I fussy cut the bats again and folded the wings (I scored on the back of the wings so I wouldn’t mess up the embossing) for dimension. Then, I added googly eyes for some extra fun. Lastly, I adhered the bats to the candy with a pop dot. Don’t they look fun in the candy dish?!?
I hope this gave you some inspiration for creating your own Halloween creations with this new set from Simon Says Stamp.
For more card inspiration, please follow me on Instagram @maryredjr
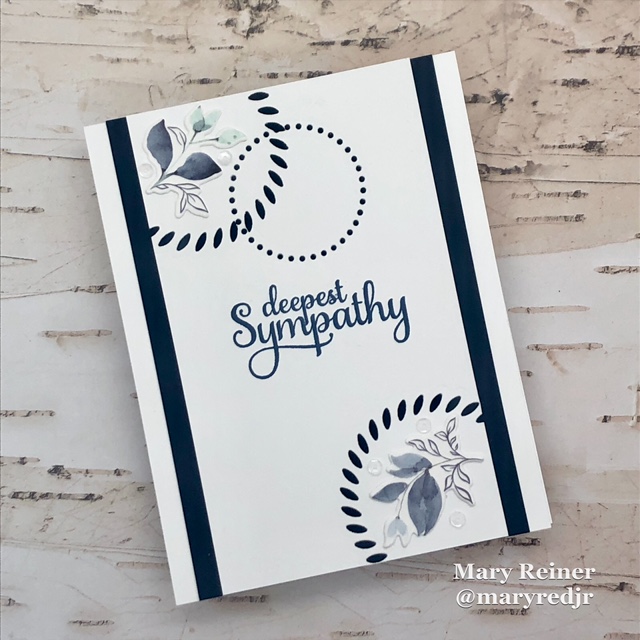
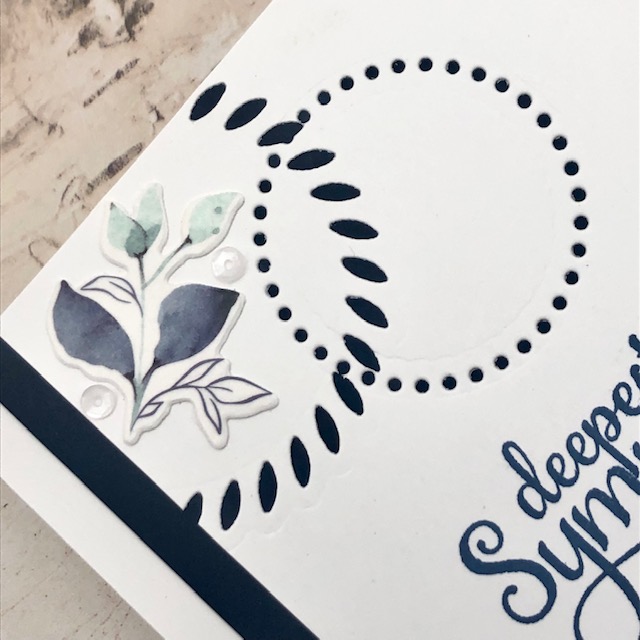
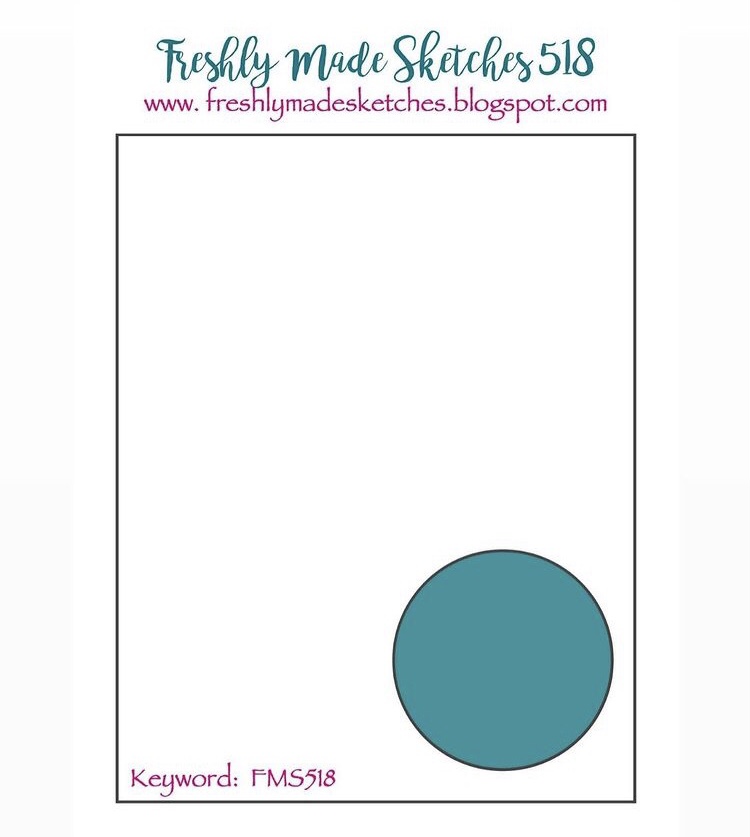
Today I am sharing a recent sympathy card I made. I was inspired by cards on the Pinkfresh Studios webpage and also the current Freshly Made Sketch Challenge #525. Here is the sketch:
I really like all of the texture I created with the different layers of die cutting.
For me, sympathy cards are difficult to make. It was nice to have a sketch for inspiration. Do you have a go to design for sympathy cards? Let me know in the comments.
I woke up this morning to a winter wonderland! I guess it was time for snow since it’s already mid January. I am fortunate to have the day off, so I thought I’d join in some challenge fun.
I’m entering this card in the Caffeinated Christmas Card Challenge and Freshly Made Sketches #518 Challenge. I think entering challenges helps stretch my creativity. Do you enter challenges? I hope so!
Thanks for stopping by and I hope you stay warm and healthy!
Happy National Tea Day! Are you a tea drinker? I mostly drink coffee, but I do enjoy a chai tea every once and a while.
This is the project I created in honor of National Tea Day:
For my card, I used the following products:
Sentiment: Honey Bee Hug in a Mug stamps and dies
Image: Honey Bee Mugs and Kisses dies
Patterned Paper: GinaK Blizzard paper and Lawn Fawn Hello Sunshine Remix/Oh Happy Day
Ink: GinaK Soft Stone and Ranger Distress Oxide in Peacock Feathers
This card is pretty straightforward – it was just a lot of die cutting and glueing!
Though I’m not a regular tea-drinker, I do enjoy chai flavored treats! Here’s a yummy, tea-inspired recipe, Chai Spice Monkey Bread from All Recipes. It’s soooo good!
I had so much fun creating this card for the Coffee Loving Cardmaker’s Fall/Winter blog hop!
My entry
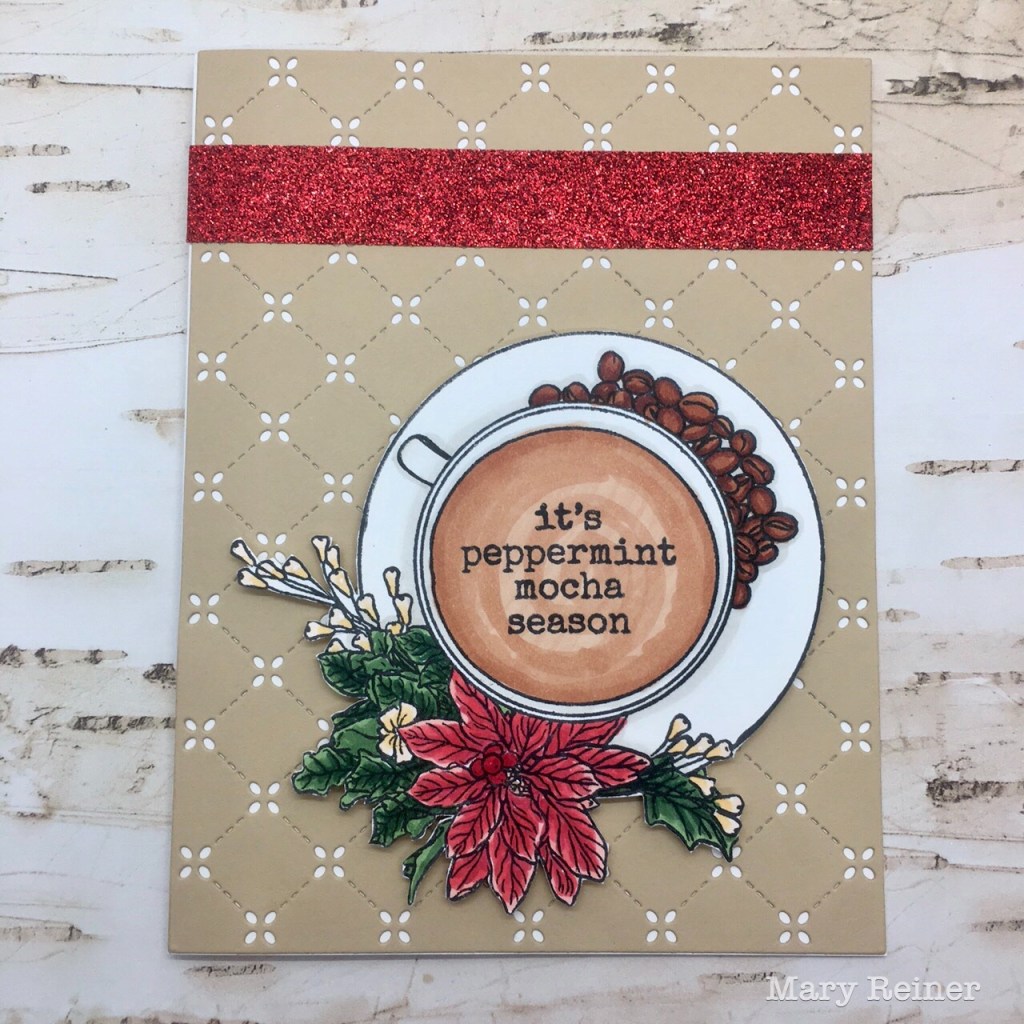
I started by stamping this adorable image from Stamplorations recent release with Momento Tuxedo Black ink. Then, I used my Copic markers to color it. I really enjoyed creating my mocha swirl inside the cup! Since I don’t have dies, I needed to fussy cut my colored image. My background was created by die cutting a tan piece of cardstock with Lawn Fawn’s Quilted Backdrop and adhered that to my card base. I added foam tape to the back of my cup image to give my card some dimension. Lastly, I added sparkly washi tape to add some more detail to my card.
I think I am ready for Peppermint Mocha season! How about you?
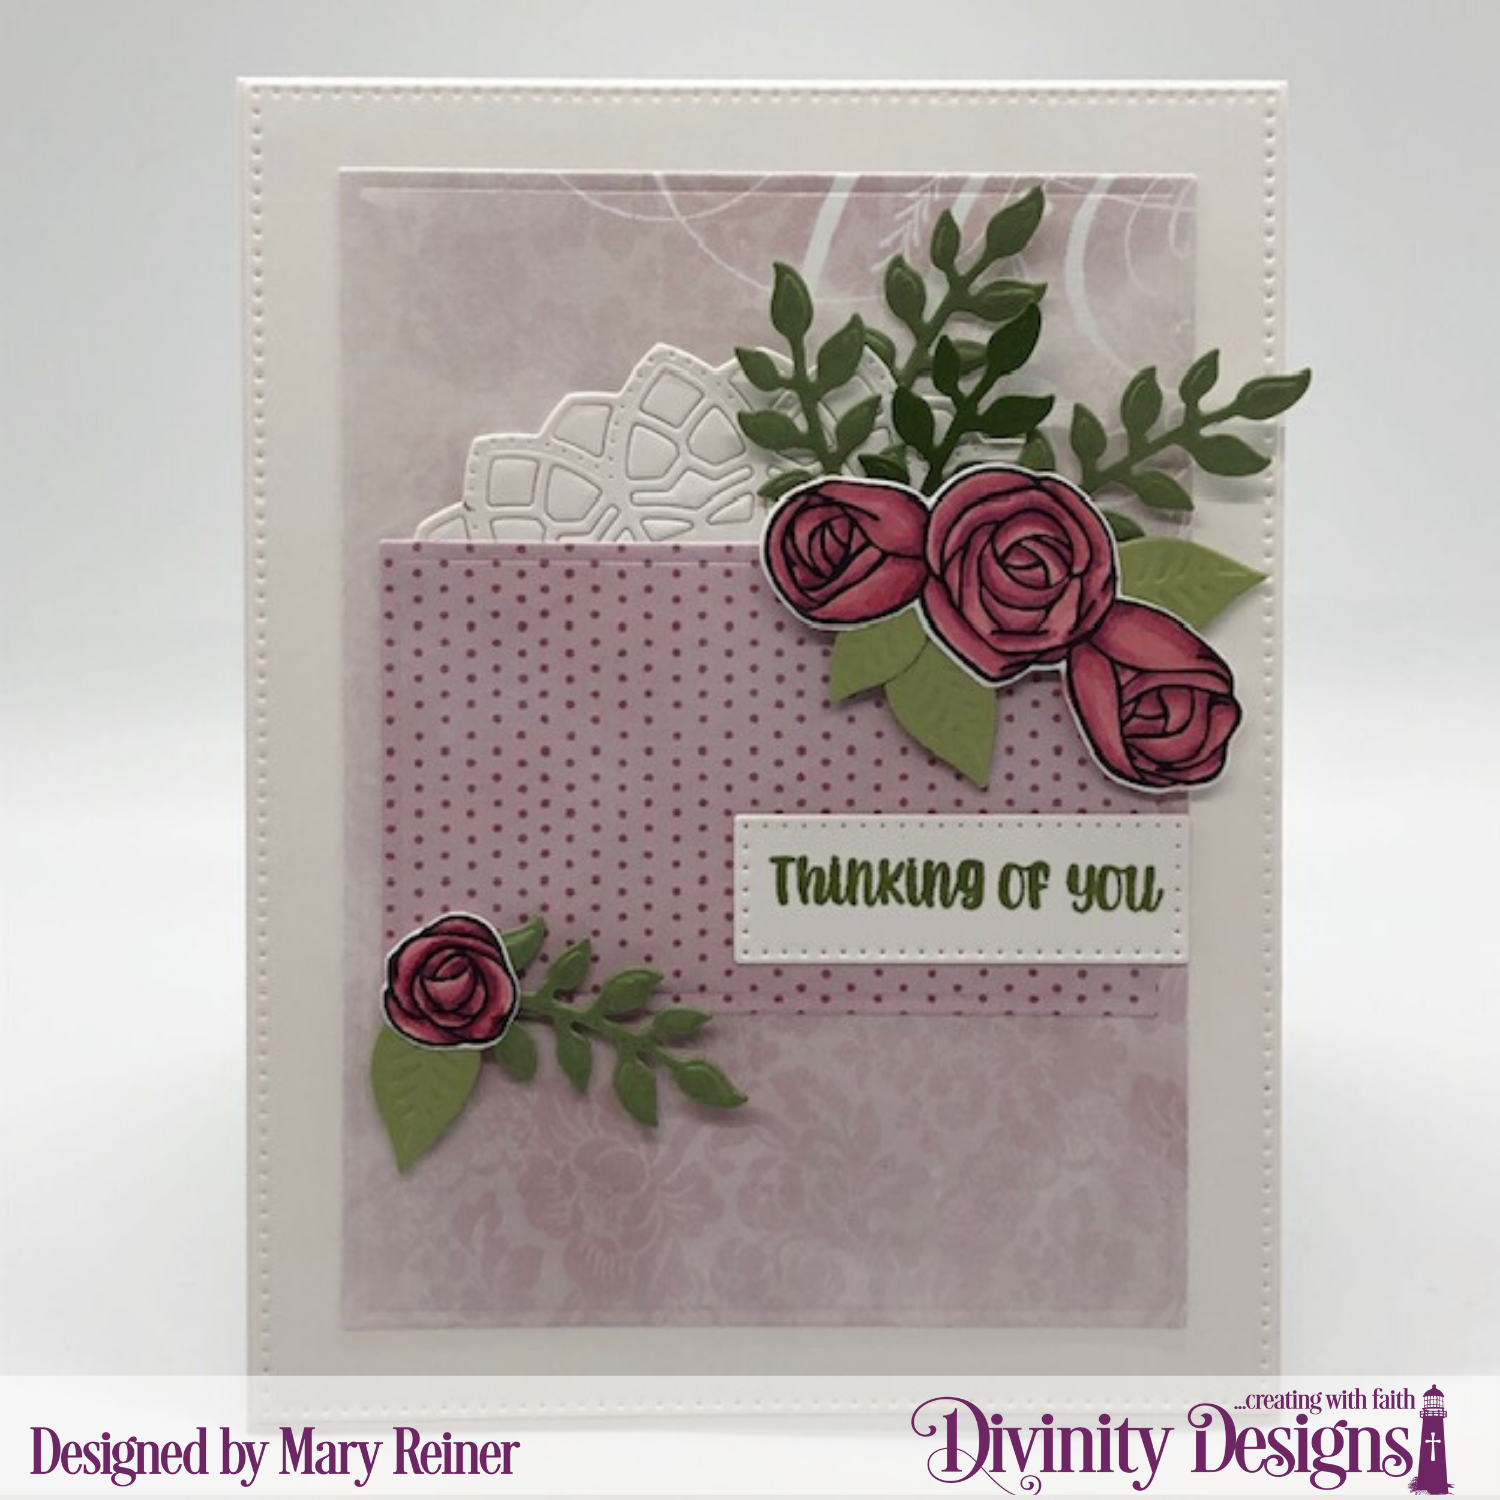
It’s time to start thinking about how we can honor the Mother’s in our lives. My mom loved roses and she would have loved the projects I made with this new stamp set from Divinity Designs.
I was fortunate to be a guest designer for Divinity Designs this month. I really fell in love with this new set – My World Stamp/Die Duo. It has the perfect sentiments for creating Mother’s Day projects.
Here are a couple of cards I created using this new stamp and die set.
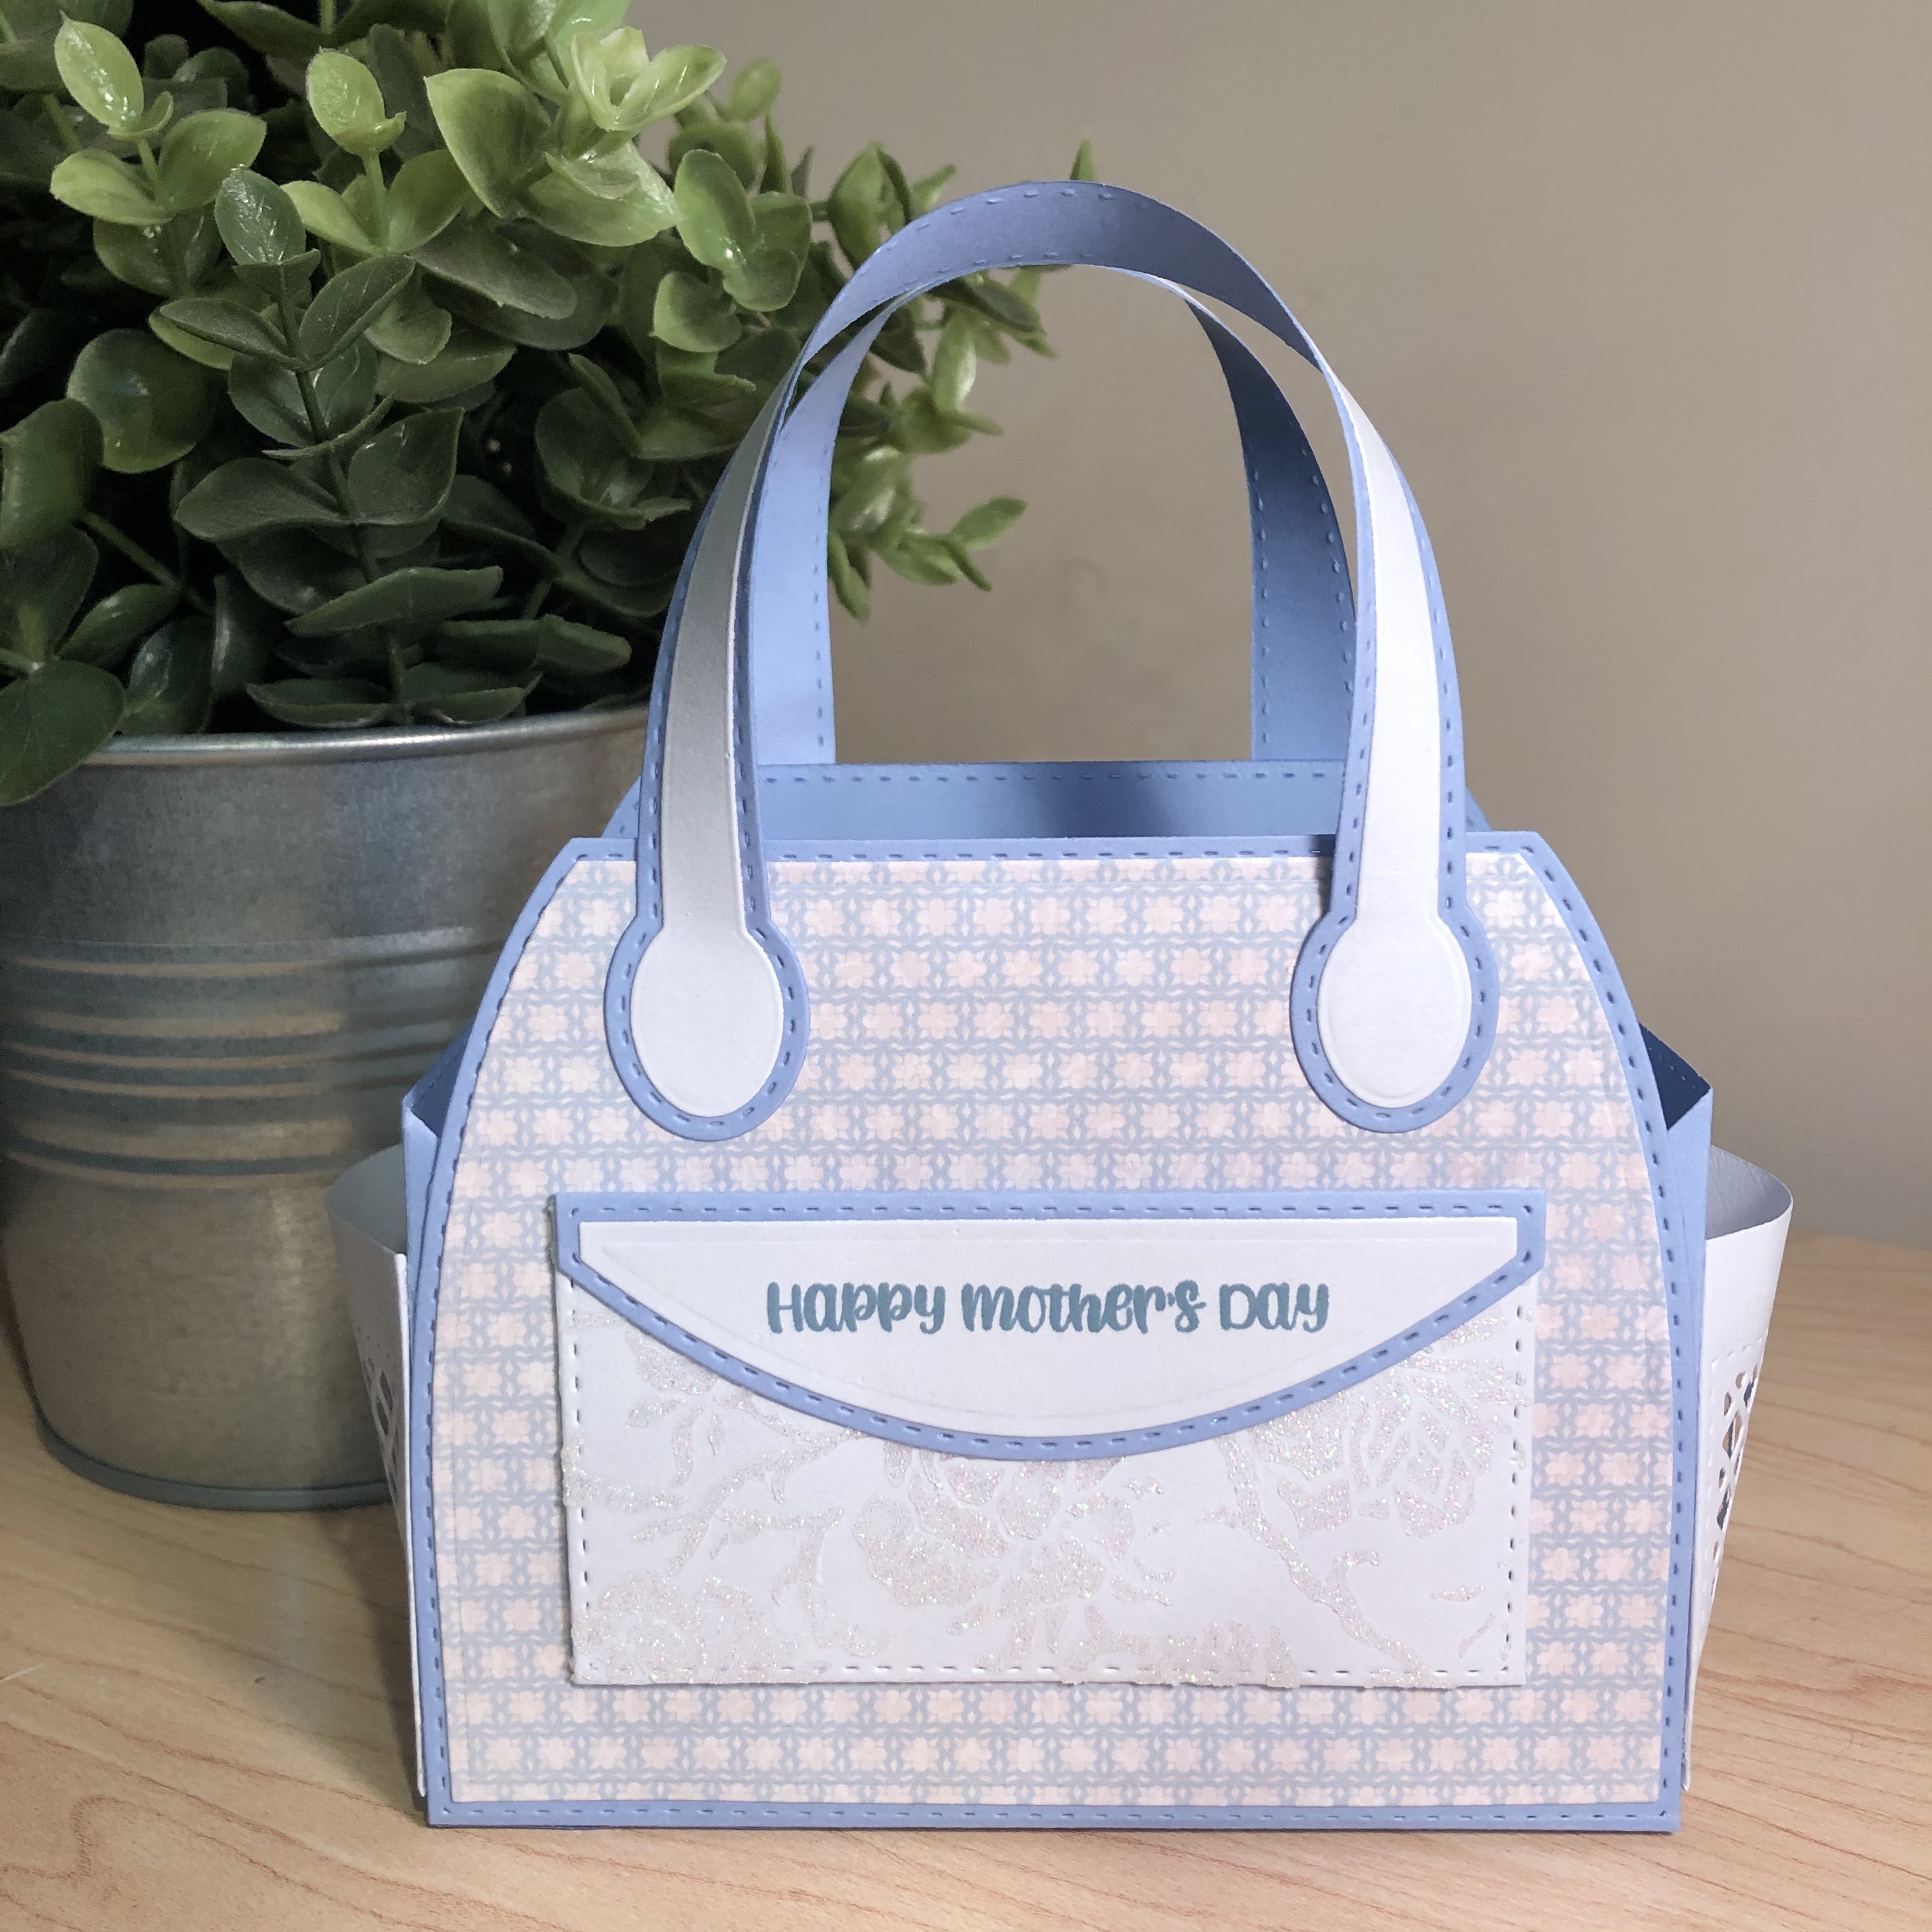
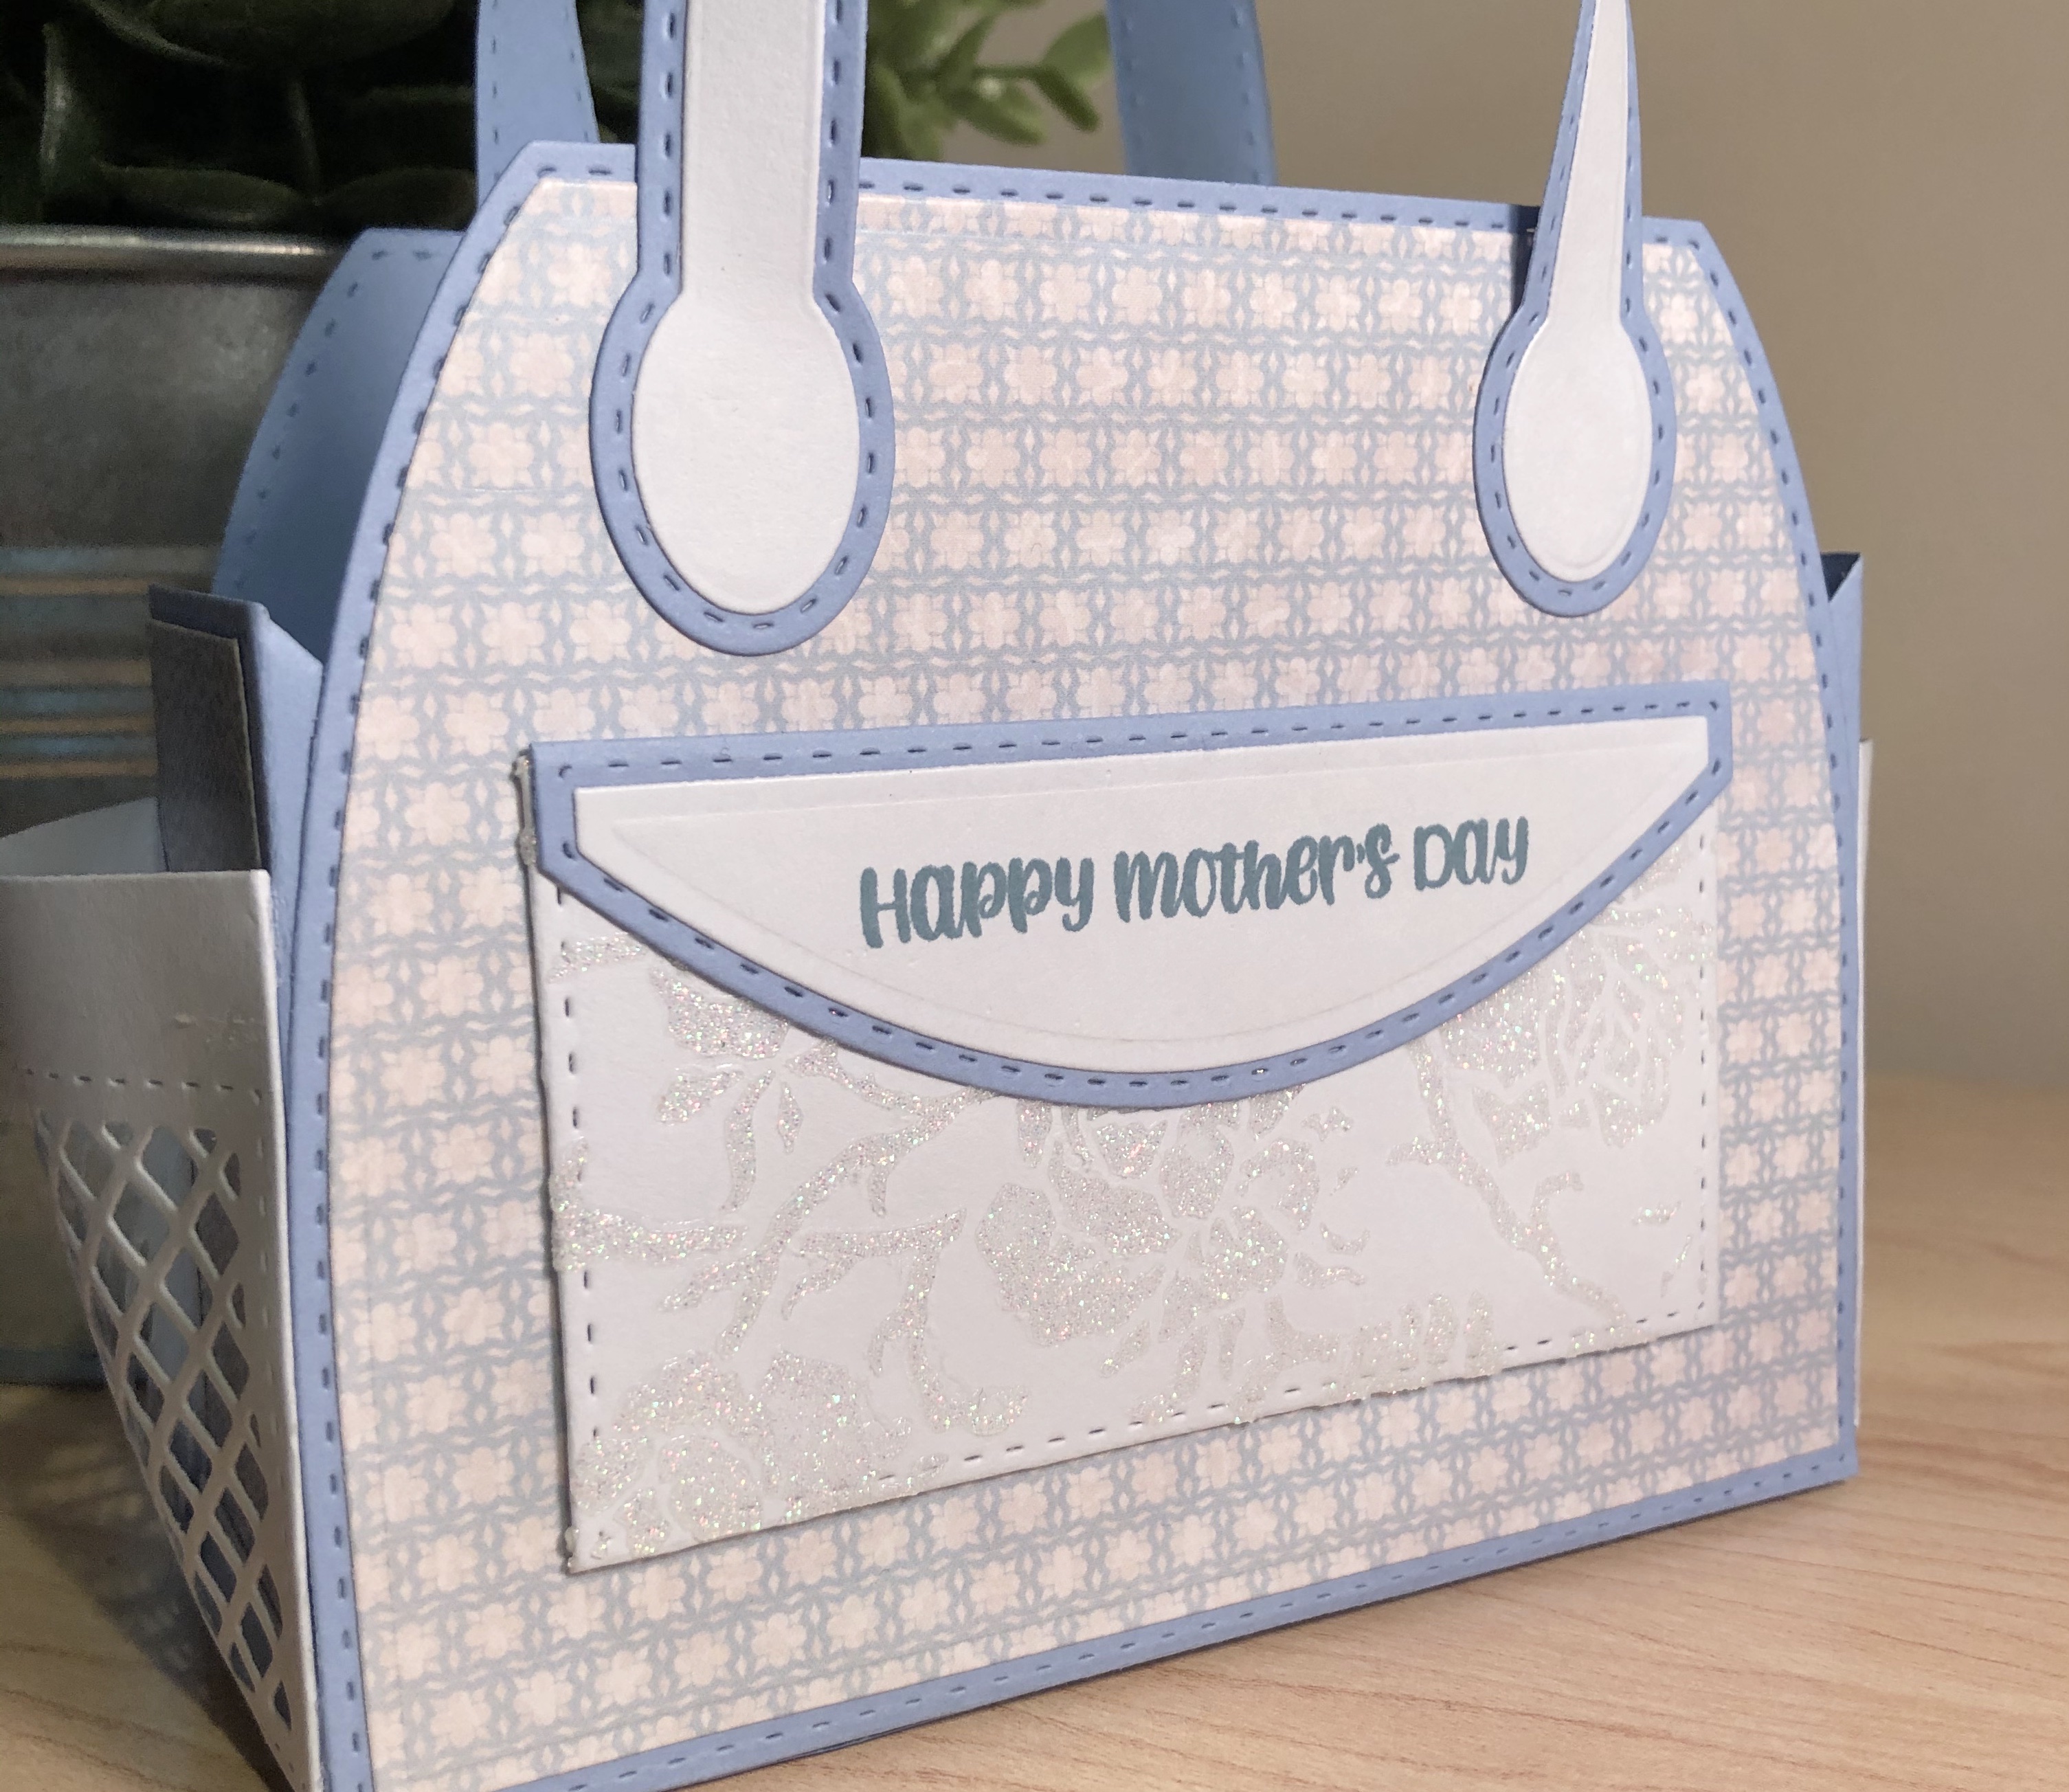
I also thought it would be fun to create a Mother’s Day themed Timeless Tote.
I decided to use glitter paste and the new Rose Mixed Media Stencil on the front pocket to add some sparkle and texture.
This pocket is the perfect size to hold a gift card! Inside the tote I placed a small pack of tissues and a small hand sanitizer. We can’t have too much of that these days!