
It sure is hard to believe that it is already December! But, we all have lots to look forward to – like DieCember at Simon Says Stamp!
I was thrilled to get the chance to create with this new die from Simon Says Stamp “Joy to You” cover plate. I made several cards and a fun banner.
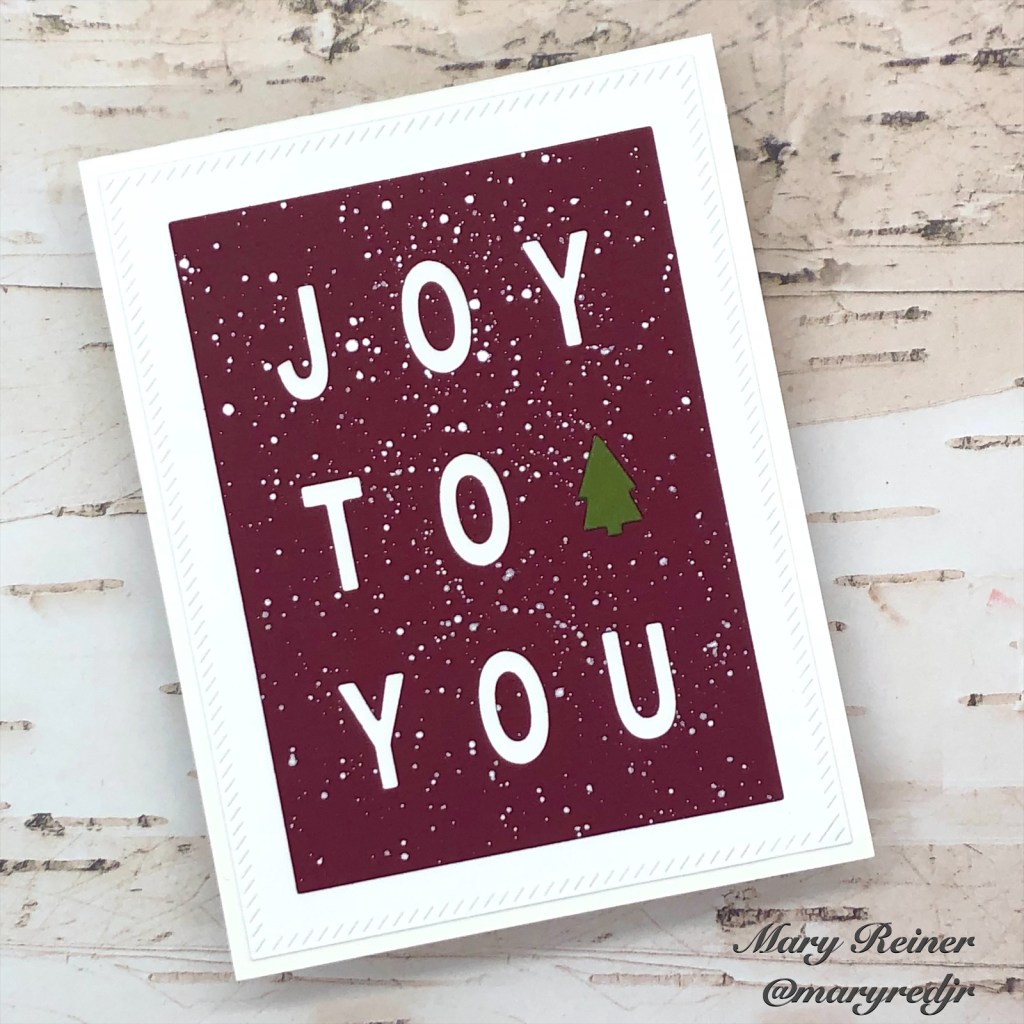
For my first card, I started by using the cover plate to die cut some deep, red cardstock. I splattered white acrylic paint to add snow to my background. Next, I die cut green cardstock so I could inlay a green tree on this card. I layered it onto a white panel and adhered it to a white, top folding A2 card base.
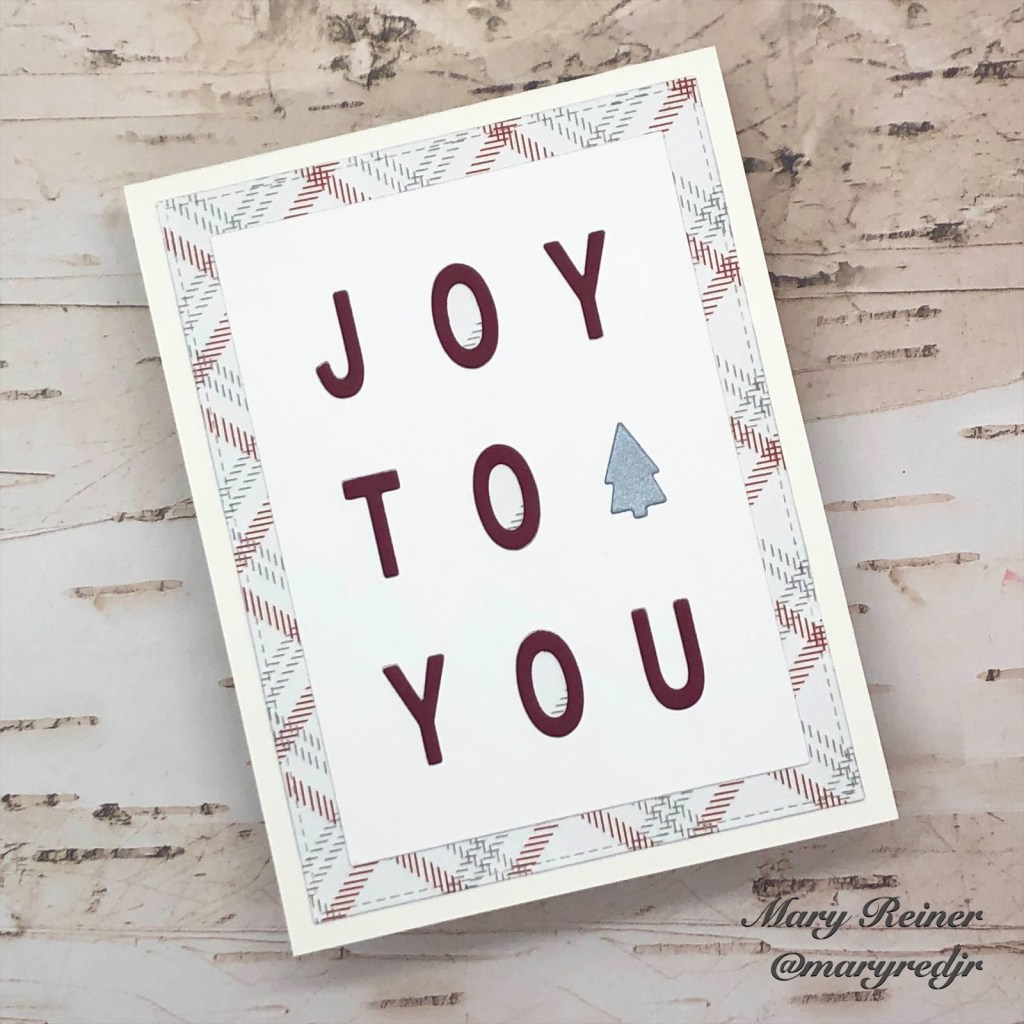
For this card, I used the letters from the previous card to determine my color palette. I found some pretty plaid patterned paper in my stash that I thought would work perfectly for this card. I used the cover plate to die cut some white cardstock. Next, I inlayed the red letters. I also used the cover plate to die cut some silver paper so I could get a silver tree to inlay. This was such a quick card to create, and I love how it turned out!
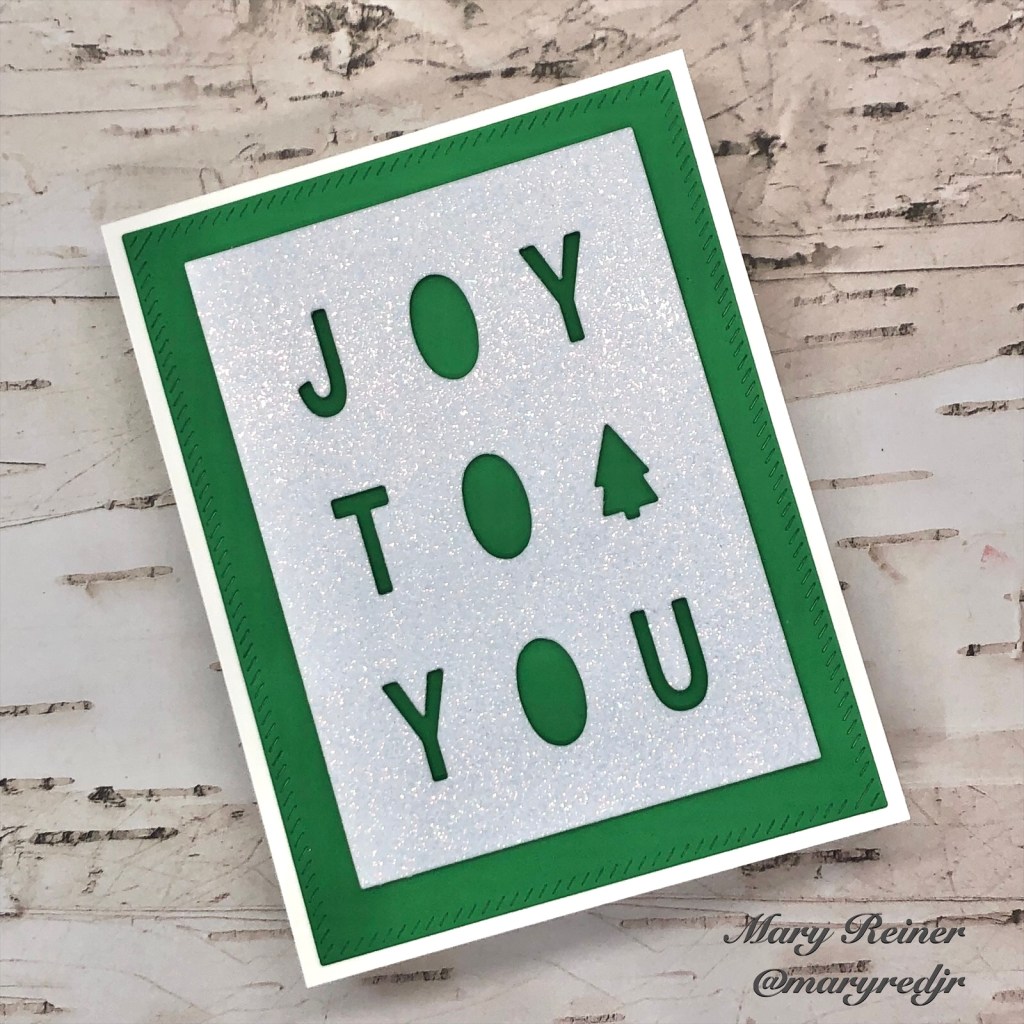
This next card really came together quickly! I die cut the cover plate from Simon Says Stamp silver glitter cardstock. Next, I added foam tape to the back, to give this panel some dimension. I die cut a green panel and adhered it to a white, top-folding A2 card base. Lastly, I adhered the silver panel. So sparkly and pretty!

This card is probably my favorite. I simply die cut the cover plate 3 times out of white cardstock. I adhered them all together and then rubbed the edges onto my embossing ink pad. Next, I sprinkled gold embossing powder and heat embossed the edges. Then, I splattered Lawn Fawn Liquid Stardust on the base panel. I adhered the die cut panel to the base panel and added them to a top-folding A2 card base. Lastly, I inlayed a green tree. I love how this card turned out!
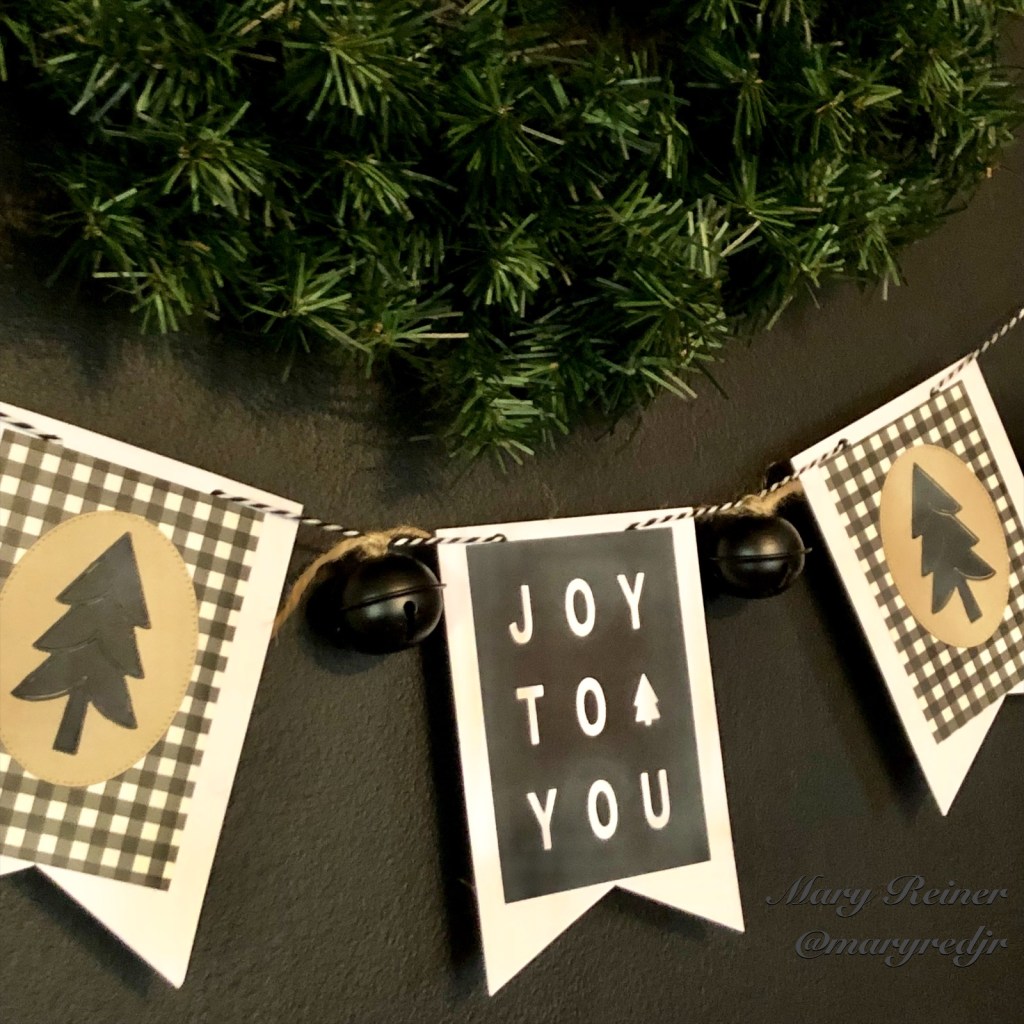
For my last project, I created a fun little banner for my chalkboard wall. I was going for a rustic, farmhouse vibe. I die cut the cover plate from black cardstock and used a dauber to add some Ranger Picket Fence Distress Ink on it to make it look a little chalky. I adhered that panel to a banner shape that I created.
To create the banner shape, I cut a piece of white card stock to 4 x 5 3/4″. I found the center and measured up one inch from the bottom and drew a small dot where that measurement met the middle. Using an xacto knife, I cut from each of the bottom corners, diagonally up to where the dot was located, to make the banner shape. I cut several of these for the banner.
For the other banners, I die cut an oval out of kraft cardstock and adhered it to a gingham rectangle that was adhered to the banner piece. I die cut black trees using Simon Says Stamp Mod Tree Wafer Die and adhered them to the kraft ovals. Next, I punched holes so I could string up the banner. I added black jingle bells (which I found in the Target Dollar Spot) between the banners. I hung this on my chalkboard wall in my kitchen and I am loving it!
I hope you will consider Joy For You Cover Plate Die for your holiday crafting. I think it is a must have for creating quick and simple cards!
Here is a link to the entire new release from Simon Says Stamp https://bit.ly/3XGwzoC
Thank you for your support. Click the link below to shop my affiliate link. I only use and recommend products I love. I was not paid to do this post. All products were personally purchased except for the Simon Says Stamp Joy to You Cover Plate die which was provided by the company.

You are so creative! I love how many different looks you were able to achieve with this cover plate die including your adorable banner!
LikeLiked by 1 person
Thanks friend! The banner was really fun to create.
LikeLike
Love the chalkboard decorations! Super creative
LikeLiked by 1 person
Thanks! As you can see, I’ve been very busy creating. THe banner was really fun to create.
LikeLike