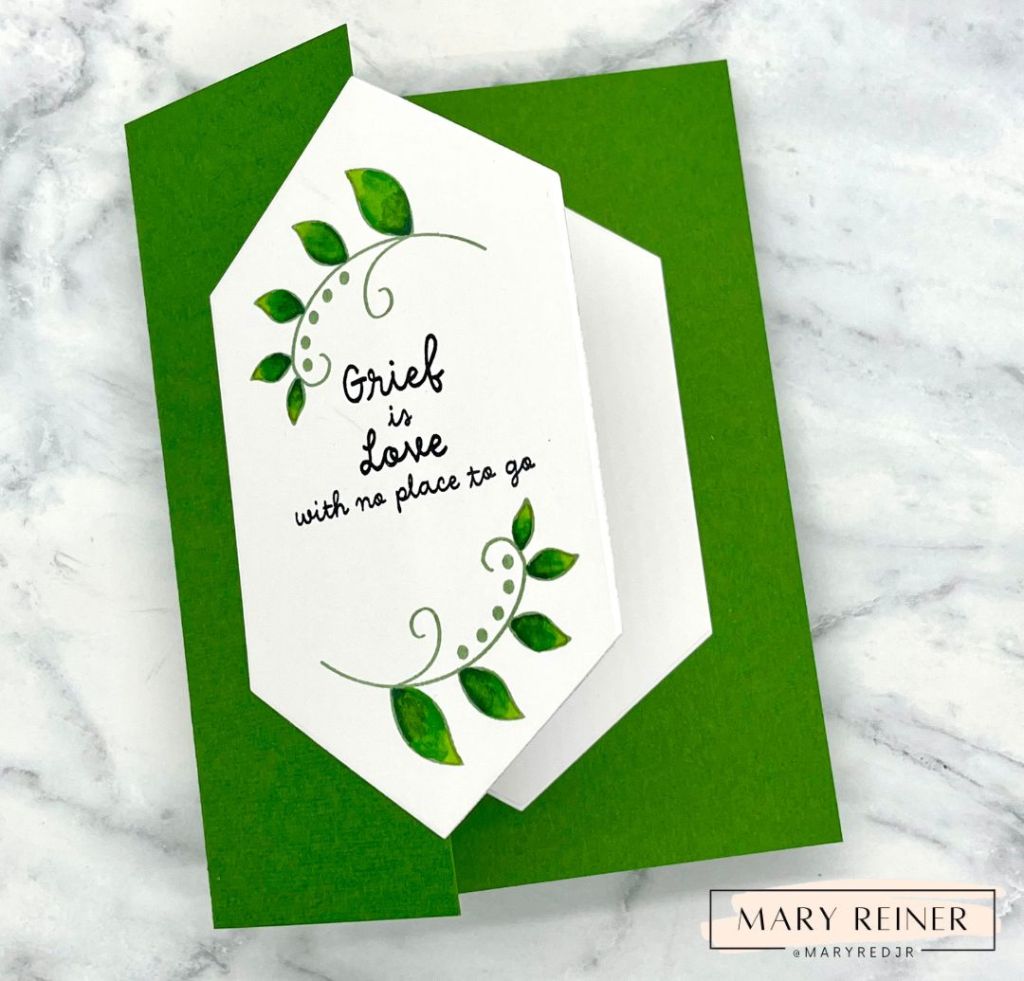
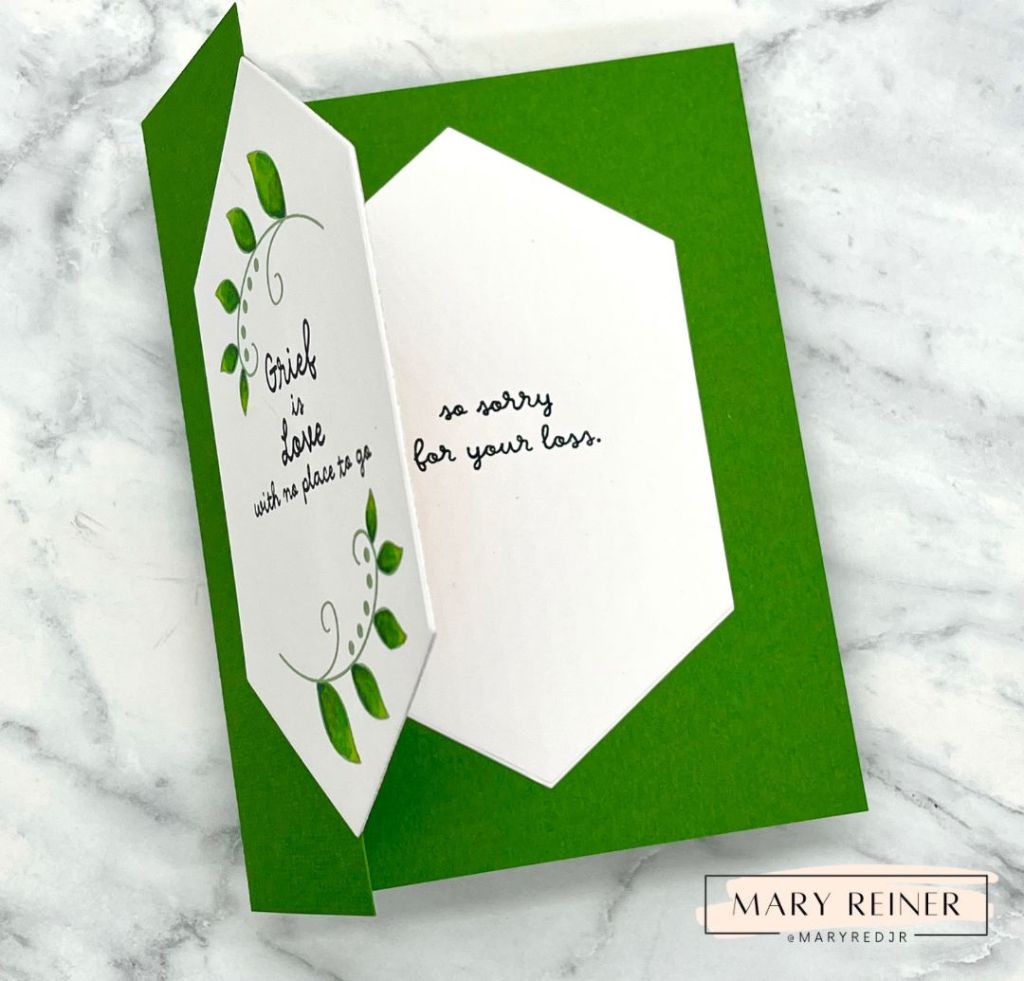
Hello! So happy you are here. Welcome to day 2 of the Simon Says Stamp Shine On Blog Hop! Today, I am sharing some cards featuring the brand new Dancing Meadows wafer die from Simon Says Stamp.
This blog is part of a blog hop full of lovely designers, all sharing amazing inspiration. Simon Says Stamp is giving away a $25 coupon to every stop on the hop. Leave a comment here for your chance to win! Simon Says Stamp will choose the winners and post them on their Simon Says Stamp blog – with details about how to redeem the prize.

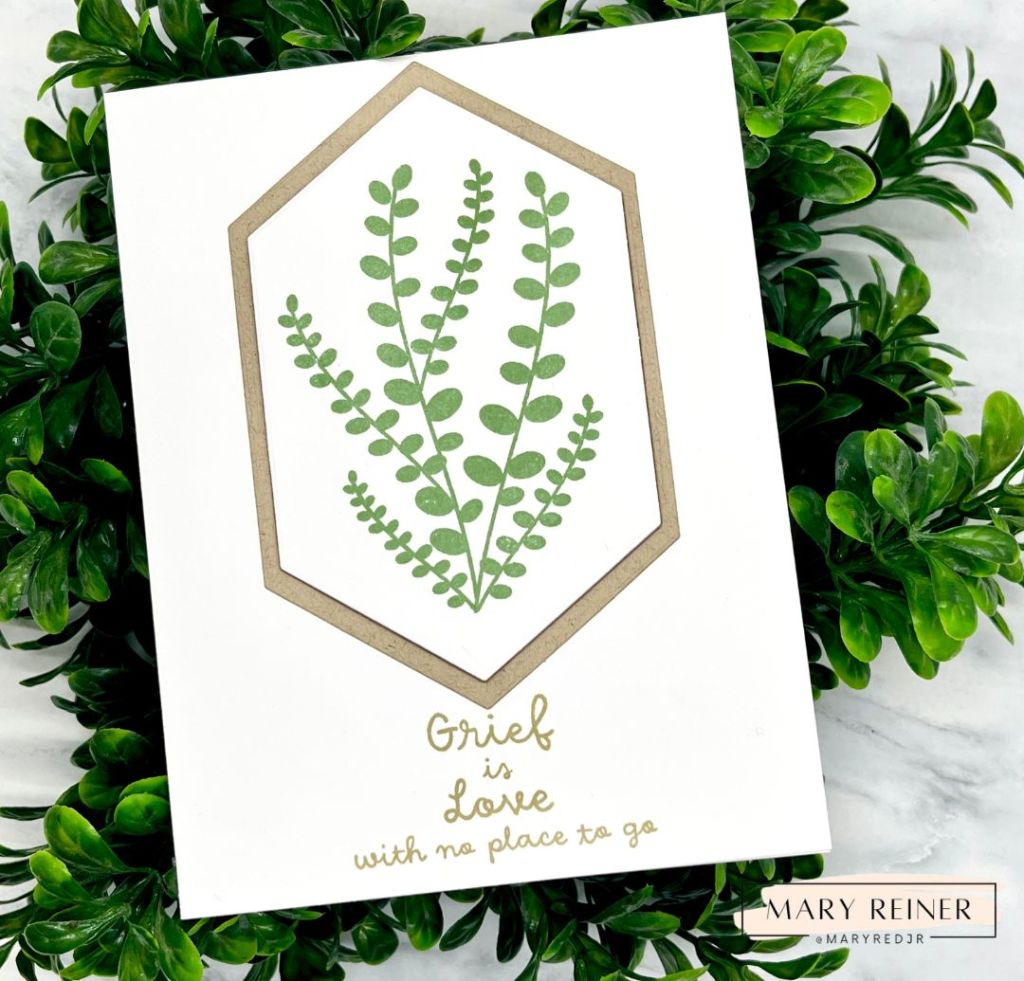
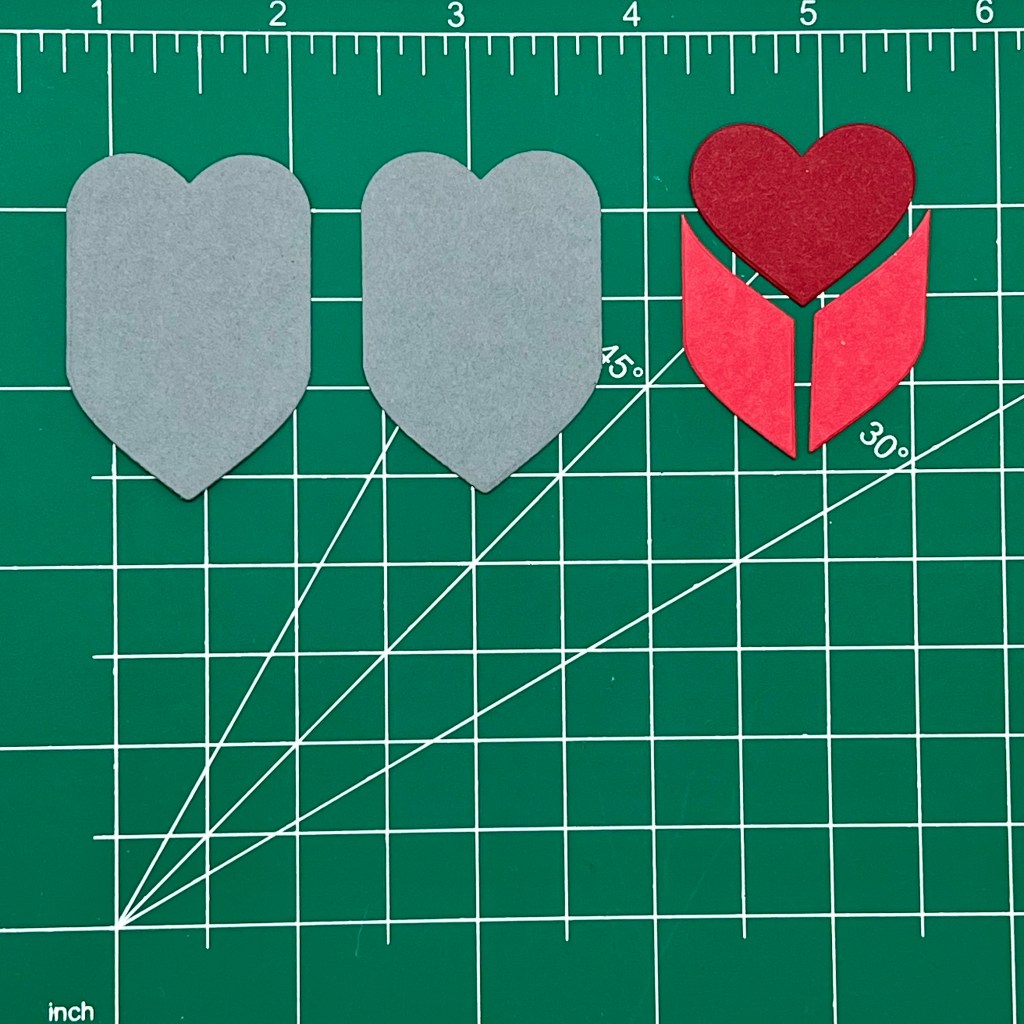
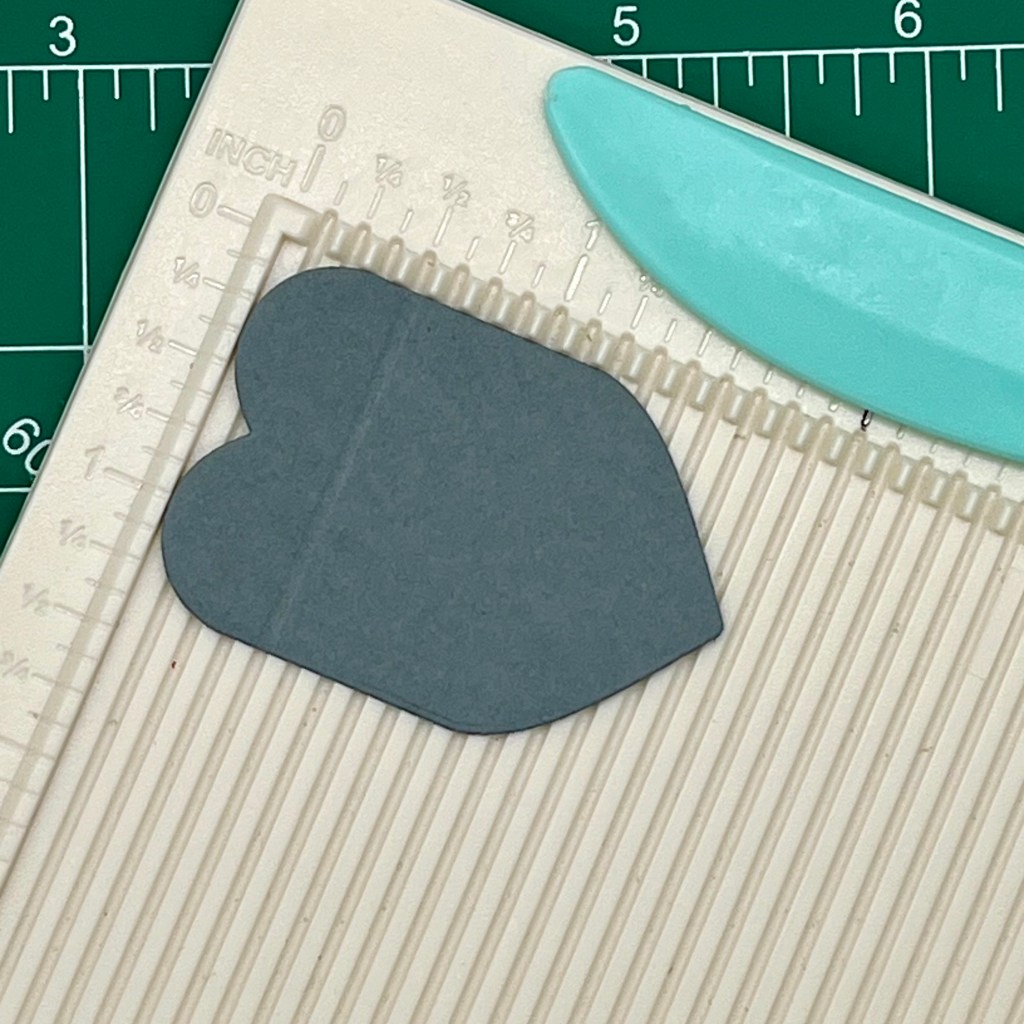
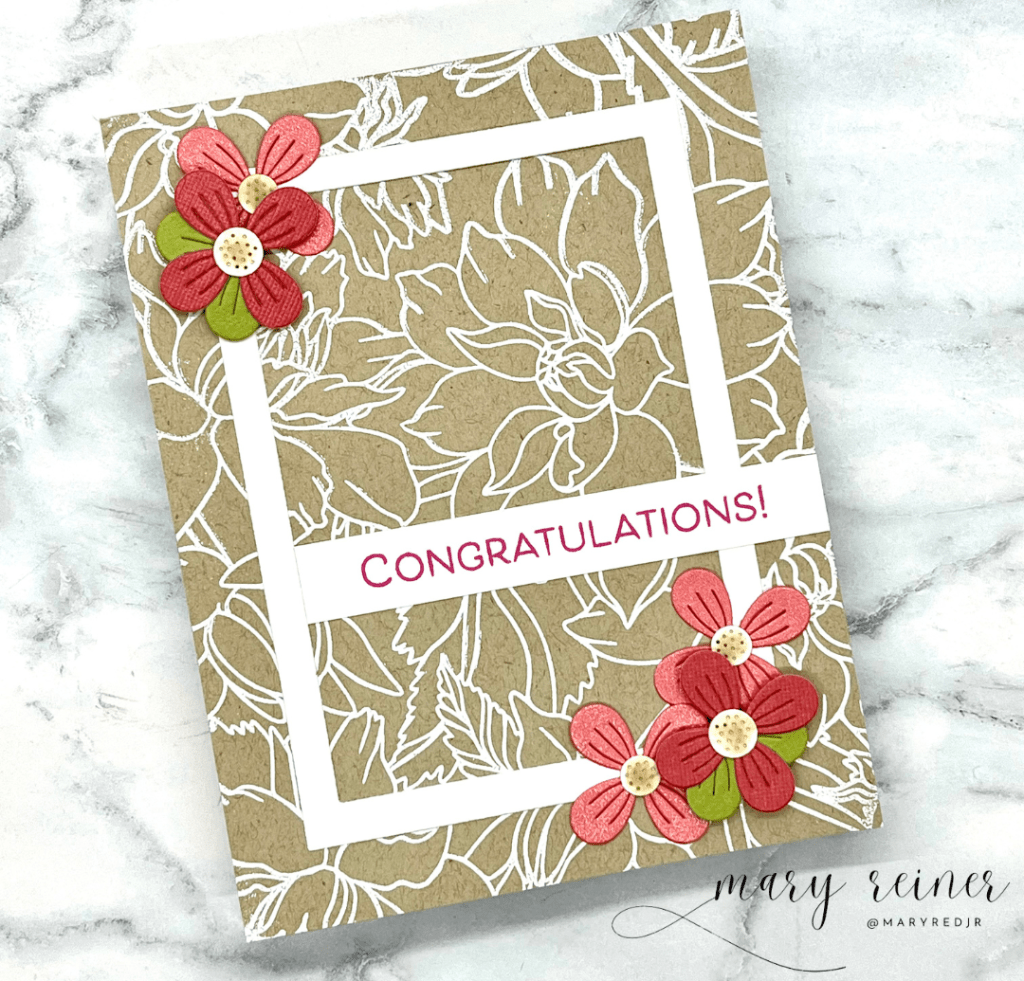
I created this card for a sweet friend for her birthday. I love the beautiful flowers and greenery this plate provides. As you can see, I die cut this out of several colors and this provided me with lots of die cuts and options for inlaying.

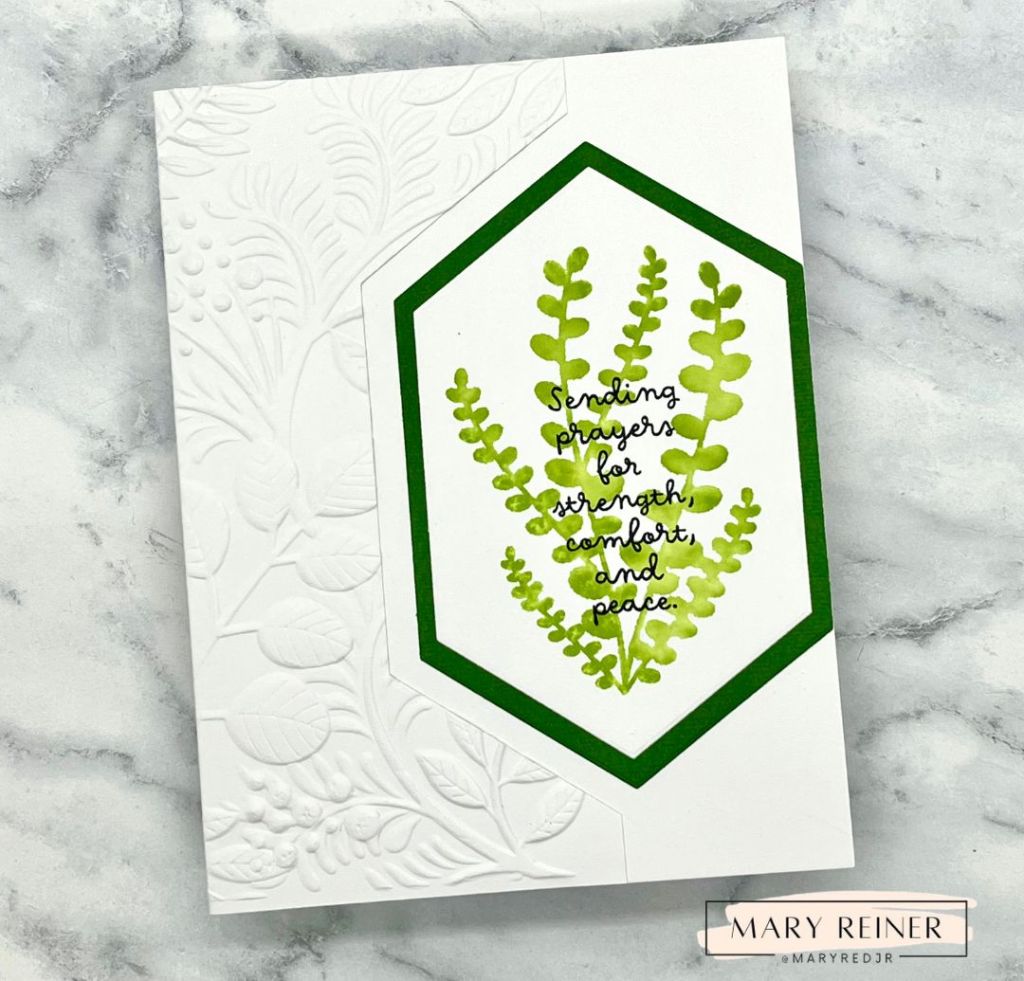
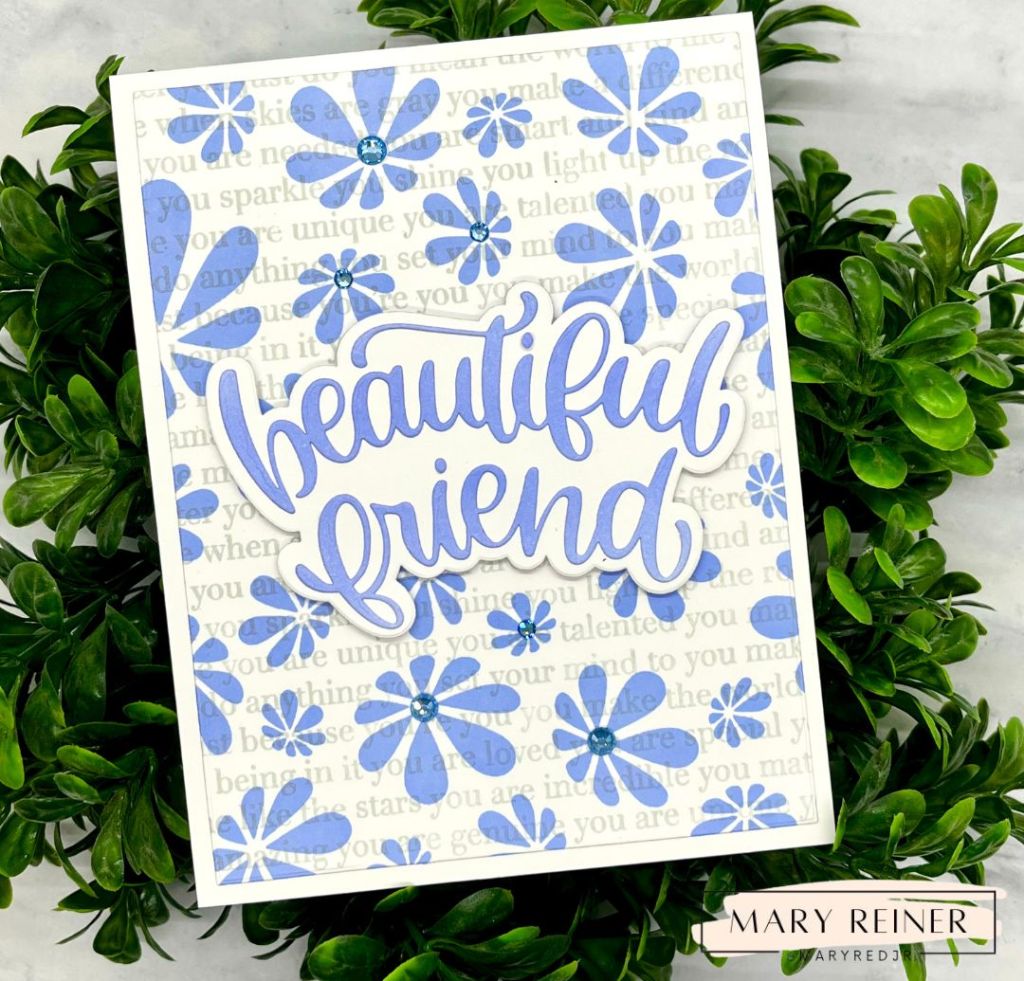
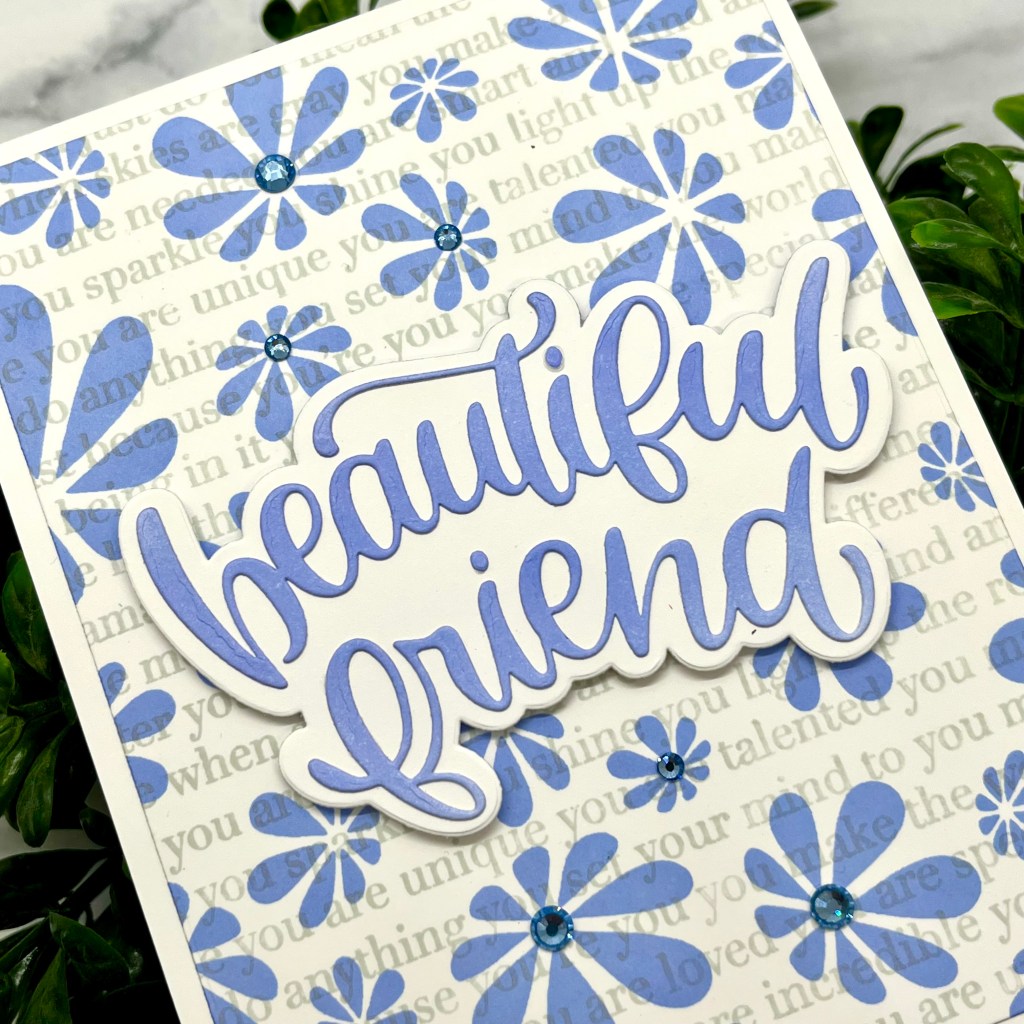
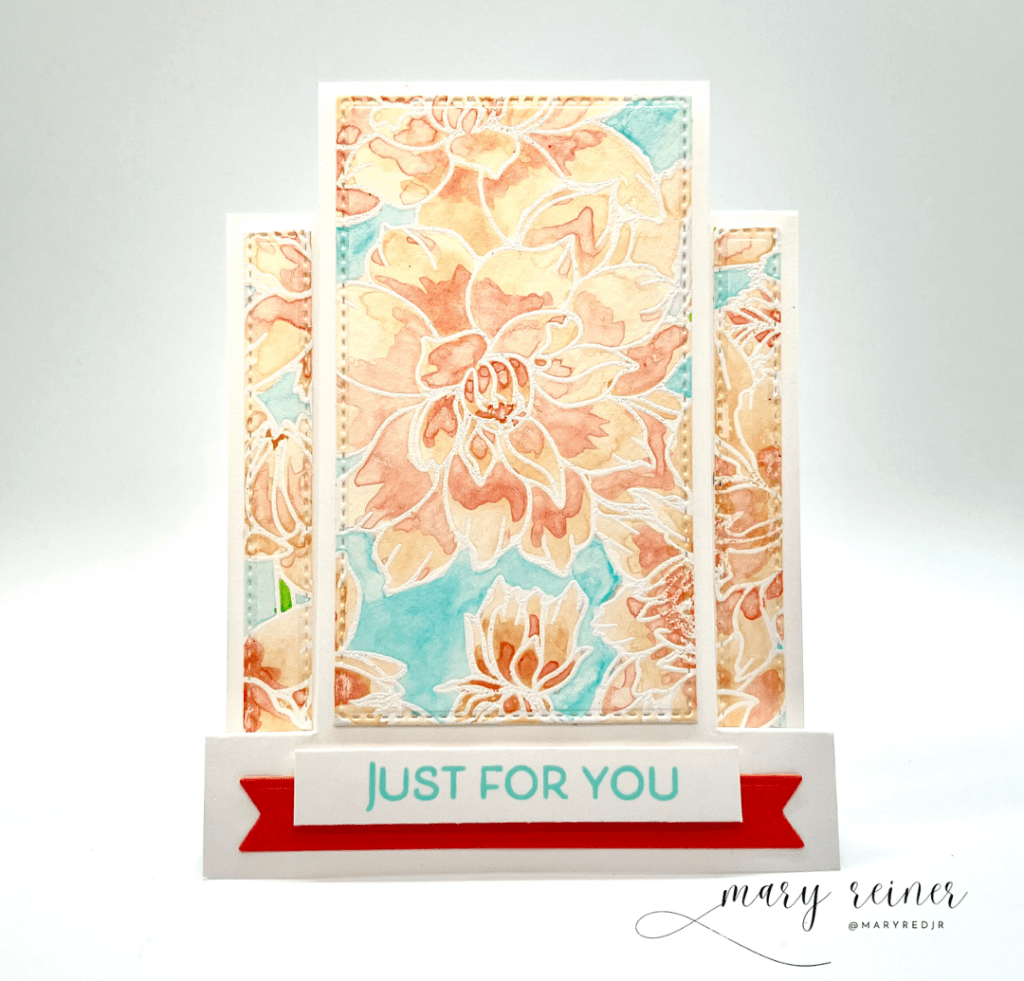
For this card, I wanted to step it up a bit! So before diecutting, I stamped the Nature in Bloom stamp in white pigment ink, for the background. I went with a different color palette and I really like how this turned out. On the large, lavender flowers, I added ink blending to the centers before adding layers to create the centers. I added foam squares to those flowers as well, to add some interest and dimension.
I used the following products to create this card:
~ Nature in Bloom background stamp
~ Crocus Pawsitively Saturated ink

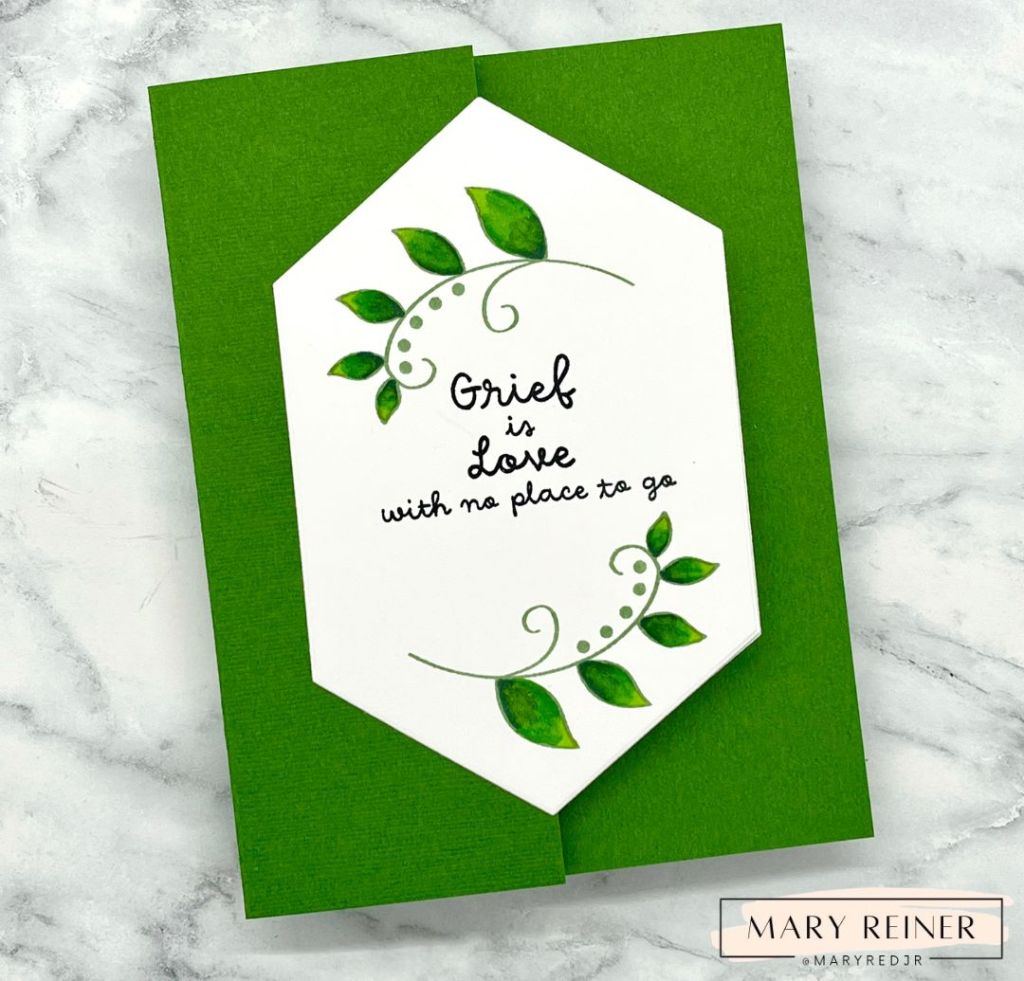
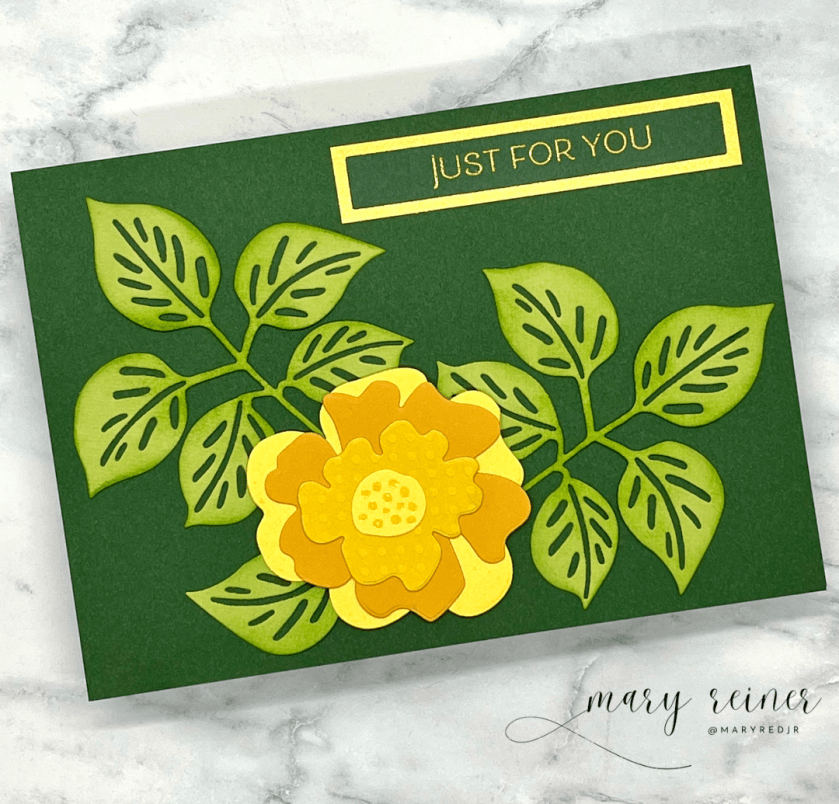
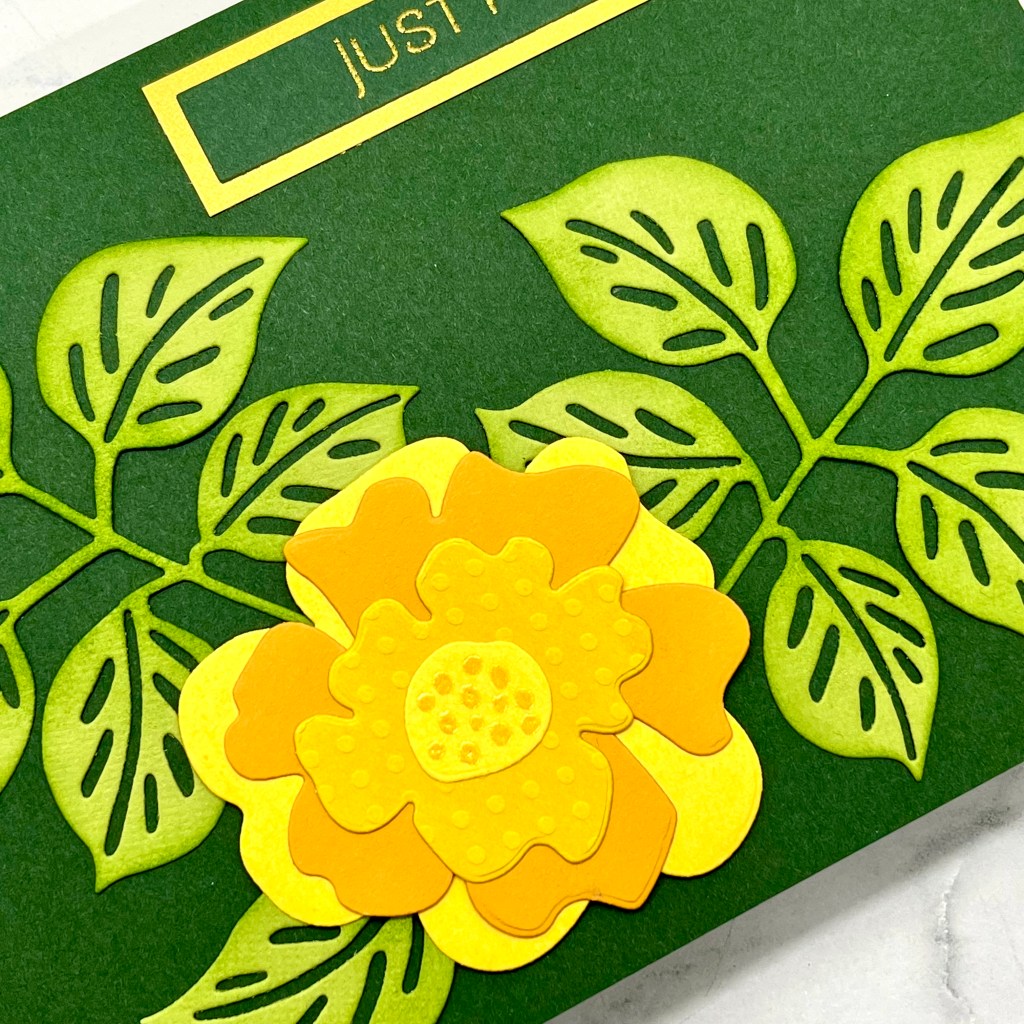
I had so many of these flowers leftover, I just had to make another card! I thought these looked a bit tropical, so I decided to make a summer-themed card.
I used the following products to create this card:
~ Surf Pawsitively Saturated ink
I hope you can see how versatile this new cover plate is! You can check out the whole release here: https://www.simonsaysstamp.com/collections/shine-on
Keep hopping along to check out all of the awesome inspiration! Don’t forget to comment for a chance to win $25 to the Simon Says Stamp shop!
Your next stop is the fabulous Maura Hibbitts.
Thank you so much for stopping by. Reminder: You can also hop along with the group from Day 1, too. So much inspiration awaits!
Mary
Follow me on Instagram @maryredjr for more cardmaking inspiration!