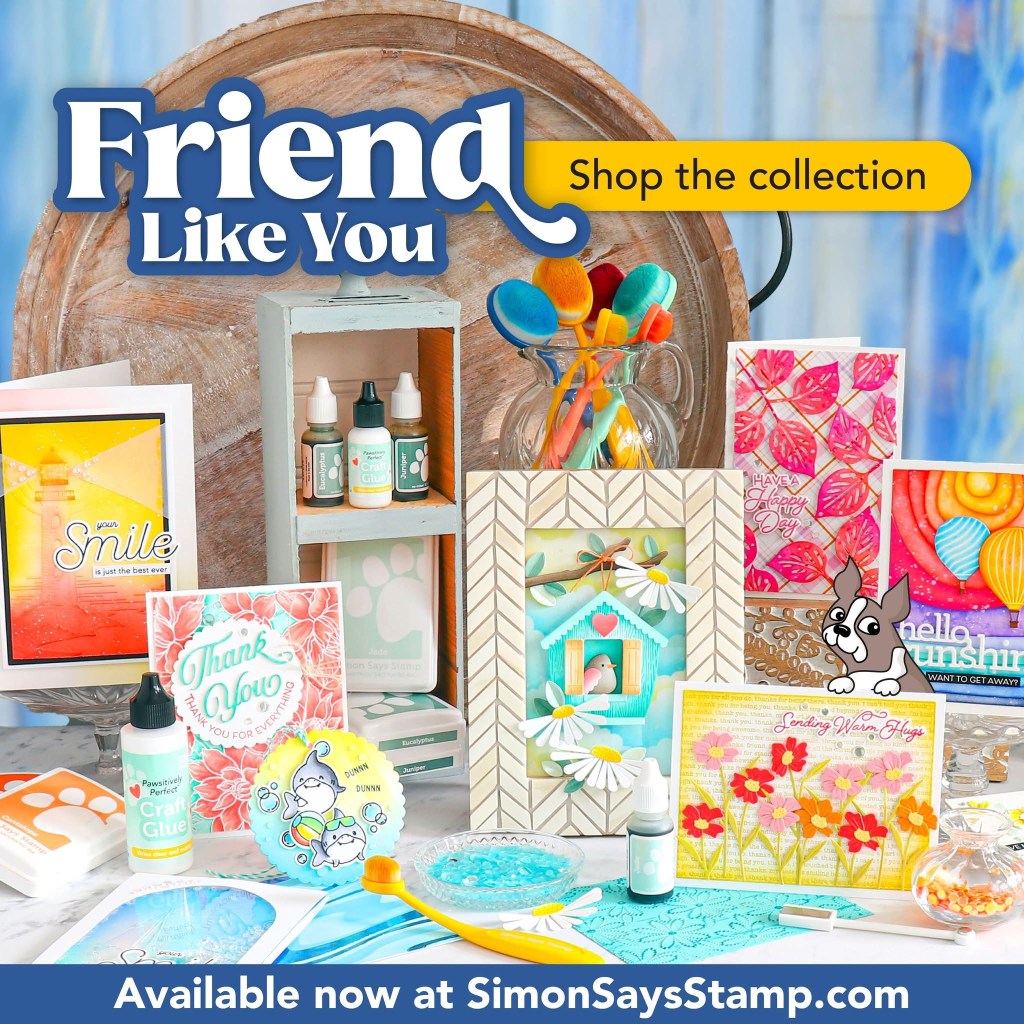
I am so excited to share a few cheerful floral cards I created for the brand new Friend Like You release from Simon Says Stamp. These cards spotlight the gorgeous new Rose Branch die. It is safe to say I am smitten with these bold, textured leaves. It is such a versatile die that works beautifully for birthdays, anniversaries or everyday notes. I needed to refill my stash of birthday cards, and these examples will show you how quickly and easily these can come together.
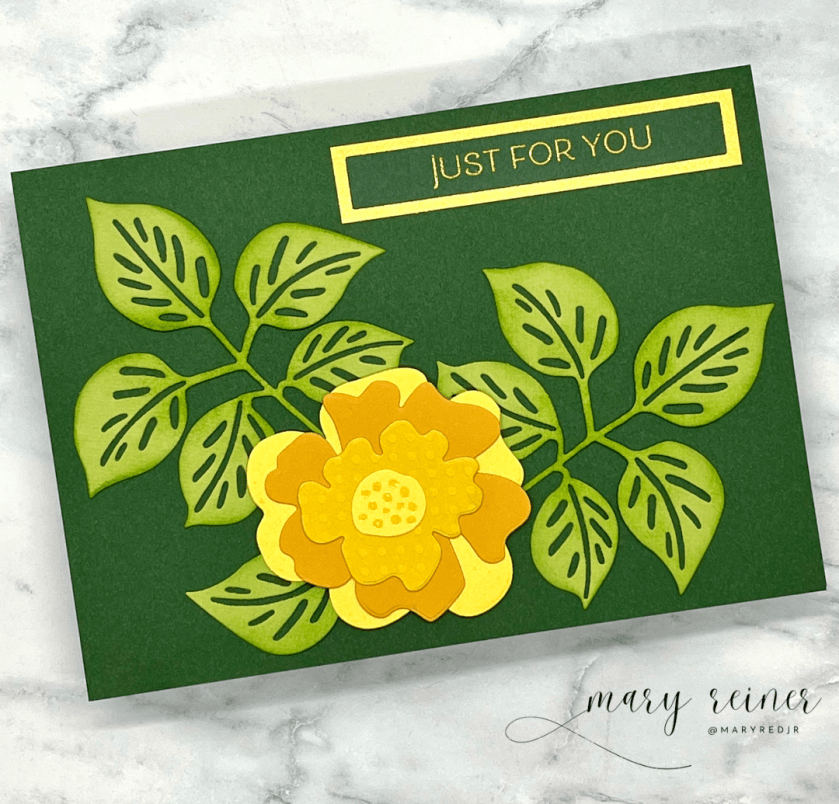
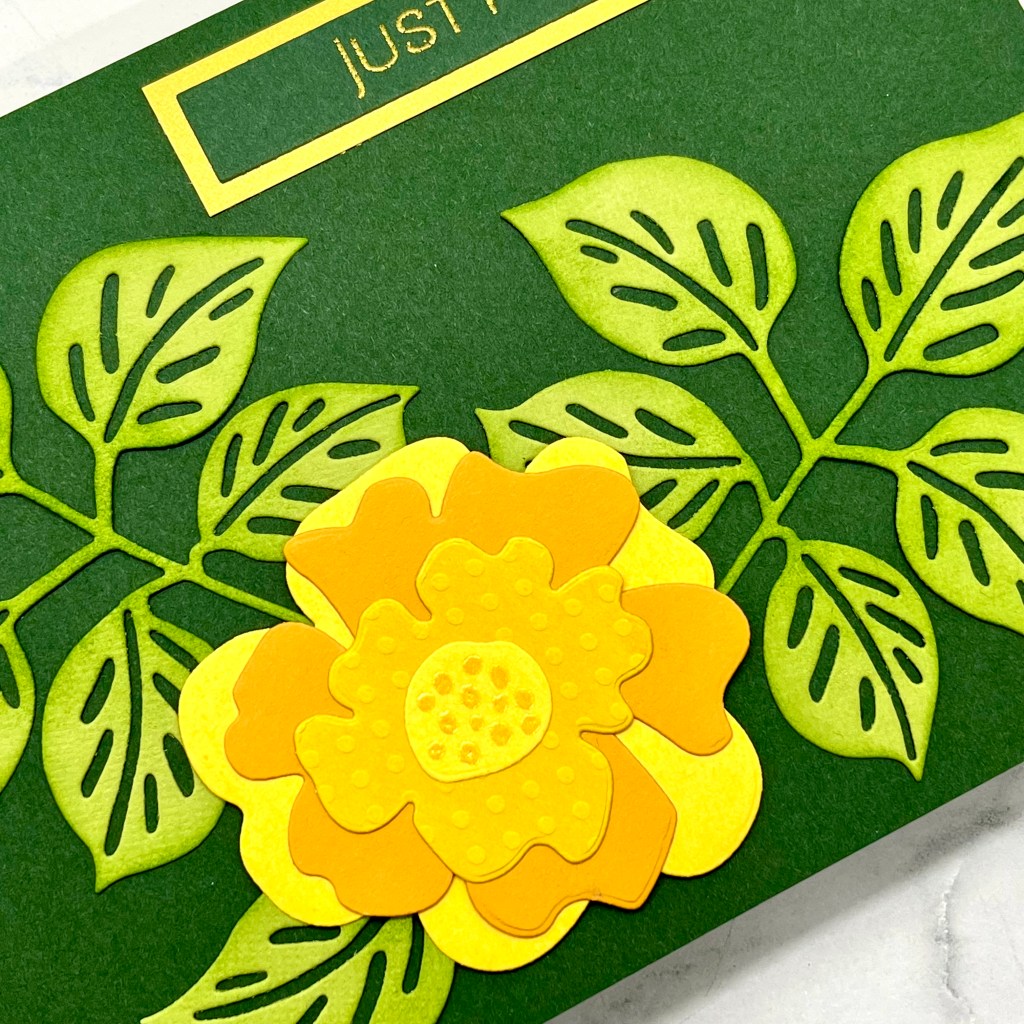
Card 1: Just For You A7 Card

This larger A7 card embraces rich, earthy greens, bright yellow, and a touch of gold. To begin, I die cut lots of the Rose Branch leaves out of green cardstock and carefully inked the edges of the leaves to add depth. I layered two branches to fill the background and cut a additional leaf to place behind the flower. The flower was created by diecutting different cardstocks with the Bold Flowers Wafer die. The warm colors of the flower bring a sunny contrast to the dark green card base. I added some dots to the center of the flower using an embossing ink pen. Then, I added gold embossing powder and heat set it. The gold heat embossed sentiment is from the EZ Strips Everyday stamp set (also newly released) and was layered onto gold cardstock cut with the A2 Rectangles Wafer die set.
Bonus Cards:
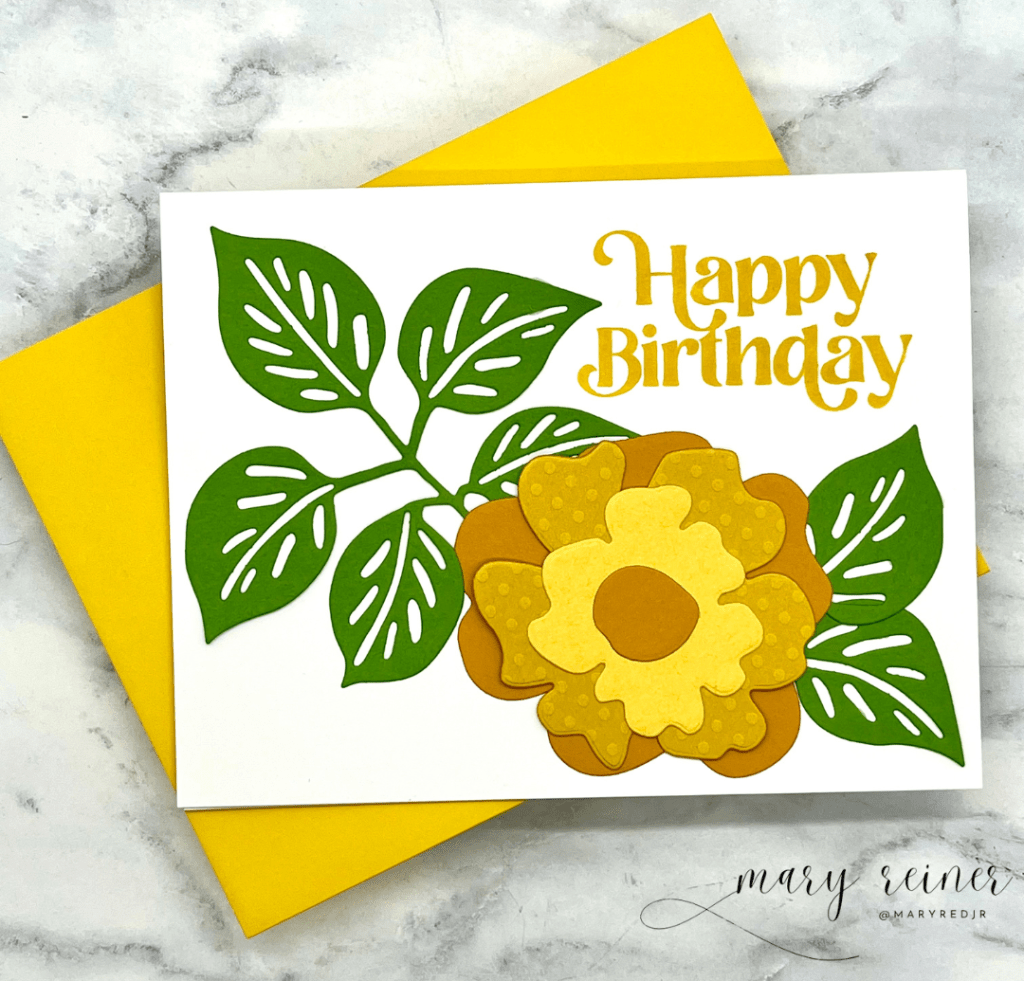
For this card, I brought back the happy yellows, but swapped the background for clean white and made this card a standard A2 size. The contrast between the bright flower and the white space really pop. To fit more leaves, I cut a few off of the stem and tucked them in the right corner. The sentiment is from the Celestial Wishes stamp set and stamped in Simon Says Stamp Honey Pawsitively Saturated Ink. To make it extra special, I plan to mail it in this pretty yellow envelope.

This blue version is very similiar to the previous card and is an even more clean and simple card. This time, I used the branch more like a stem for this floral card. This just shows how you can get lots of different looks from one die. I stamped the sentiment in Simon Says Stamp Ocean ink. Again, I added a matching envelope to make this birthday card even more special.
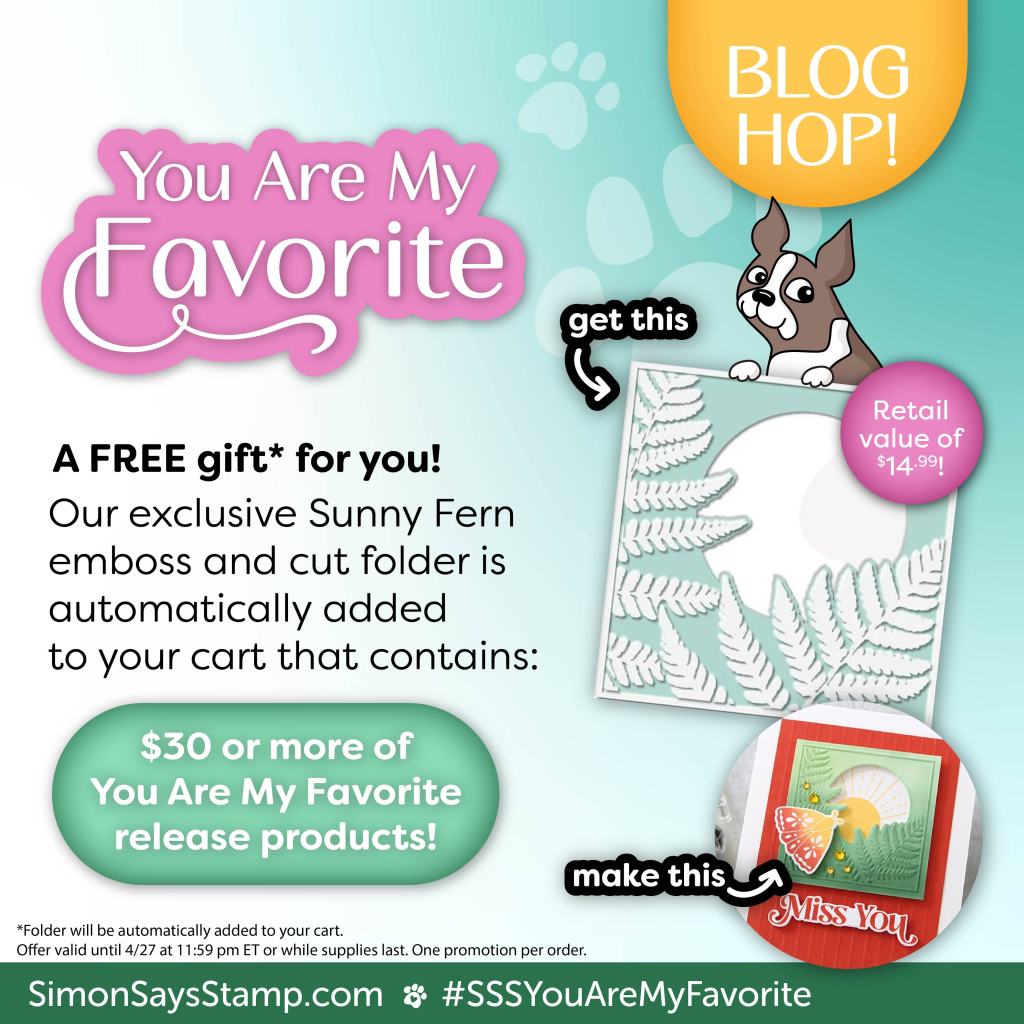
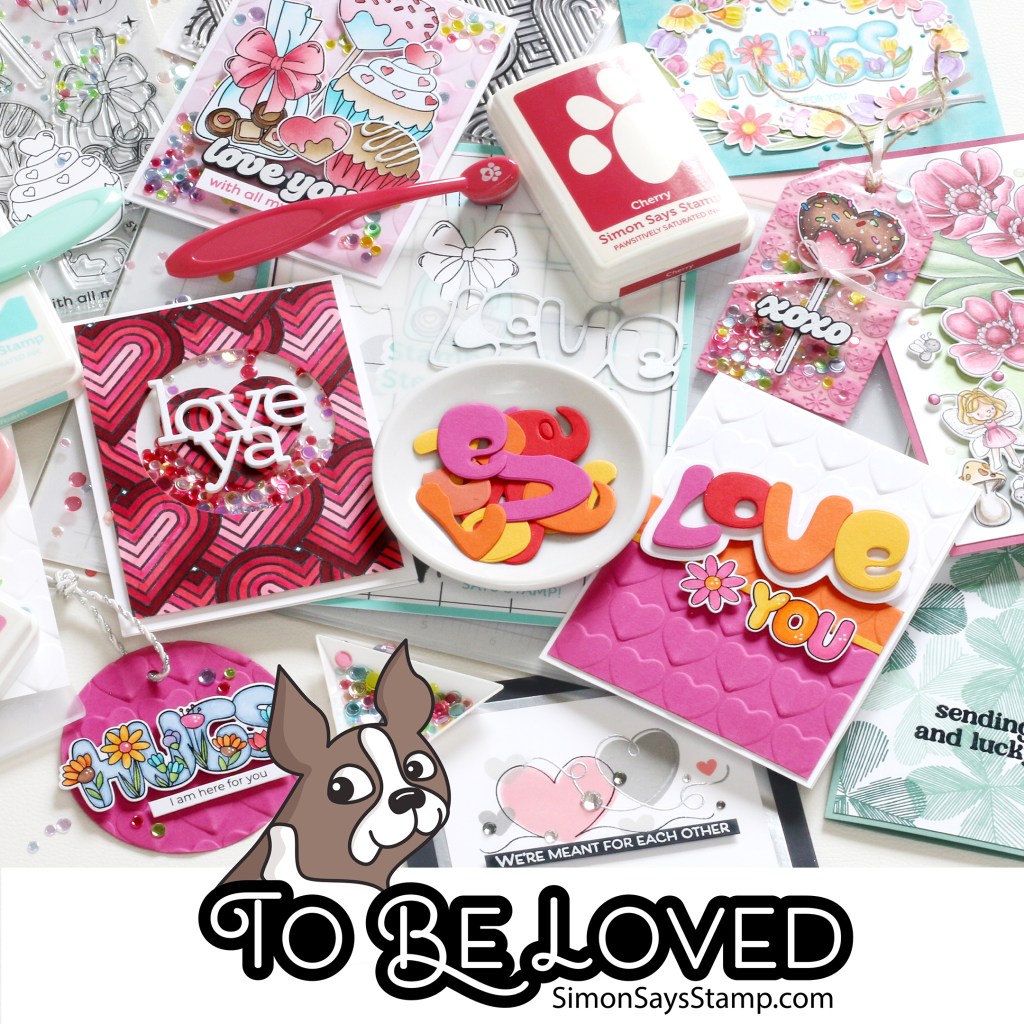
The whole release can be found here: https://www.simonsaysstamp.com/collections/friend-like-you
Thanks so much for stopping by! I hope these cards inspire you to try out the Rose Branch die and bring a little handmade joy to someone’s mailbox. Be sure to come back tomorrow for more inspiration and a special offer!