
I decided to write a blog about this card for a few reasons.
- It took a while to create this card, so I thought it was worthy of a blog post.
- I was inspired to make a rainbow colored card for Pride month.
- You know how I feel about gnomes…I freaking love them.

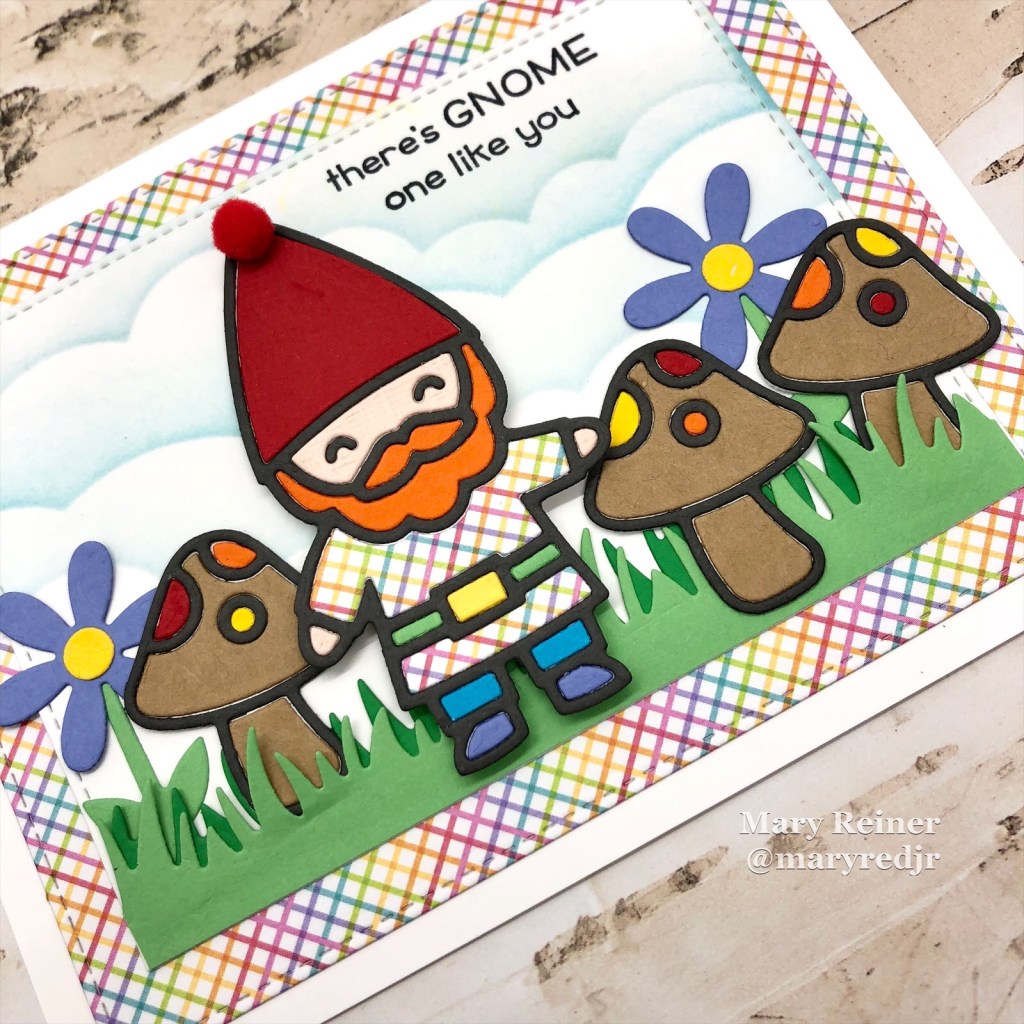
For this card I used the Garden Gnome set from Lawn Fawn. It was an exclusive, limited edition set that was available while supplies last, from my local cardmaking/scrapbook store. I checked the Lawn Fawn website, and you cannot currently purchase this little guy. The die set also includes a mushroom and a lantern. It is really cute! Of course I HAD to have this set, but I hadn’t created with it until this card.
I also used an older die set from Lawn Fawn called Little Flowers. It too is a super cute die set.
Now it’s time for some honesty…I must be getting old, because inlaying all of those little pieces is getting harder for me. Dang, they are small! Why do they not look so tiny once they are inlayed? But when you are searching for the tiny little mushroom dot, it becomes invisible. You know what I’m talking about, right? This card took way too long to create. Of course, I had to cut out so many mushrooms to decide on the colors I wanted to use, and even now I’m not sure I like them.
My ultimate goal was to make a gnome card that had rainbowish colors for Pride. And I really wanted to use that sentiment from the Oh Gnome stamp set.
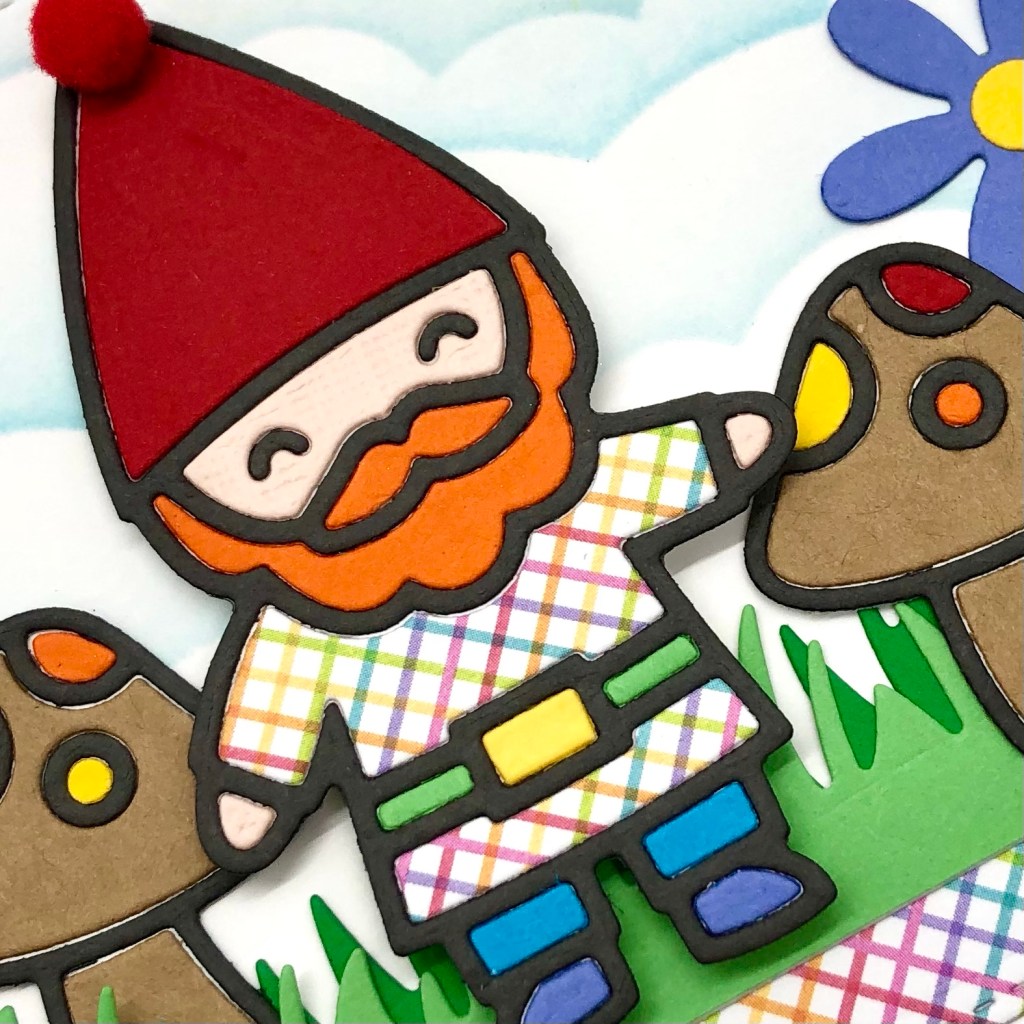
To make may card, I started with diecutting out my gnome from Concord and 9th’s Mushroom card stock. I love the neutralness (is that a word?) of it! Then I die cut him out of red, orange, yellow, green, blue, and purple. Next came the playing around with how to dress him. Again, the goal was rainbow. At first, he had a mushroom colored beard and ‘stache, but then I decided orange* would be perfect! I opted to go with a patterned shirt to tie his out fit together.
Do gnomes even care about their outfit matching?
More honesty, when I inlayed the red hat, it didn’t butt up to the outline perfectly, and it left a bit of a gap at the top. To solve that, I grabbed a tiny red pom pom from my supplies and glued it on. I love that little detail.
Next, I cut out lots of mushrooms. Like I said earlier, I cut out so many because I wasn’t sure what I wanted to use for them. I thought that I should use the same color outline as the gnome, so I used more of the Mushroom card stock…which makes me smile since they are mushrooms, after all. And at first, most of the mushroom was created with that stock with just a little color. But, I thought they were too dark, so I changed them to kraft. I thought that worked a bit better and also let my colorful gnome stand out a bit more.
I next cut out some purple flowers. I thought my rainbow card needed more purple. I cut a large, stitched rectangle out of the same pattered paper as the gnome’s shirt. Then I die cut a smaller, white panel and stenciled some clouds for the background of my scene. I also die cut some grass for my mushrooms and flowers to grow in.
Lastly, I stamped the perfect sentiment and glued all of my pieces with foam squares to pop up my gnome. I adhered it all to an A2 card base.
Even now, looking at this card, I’m not sure I love it. I generally do not use that many colors. But I do love that little gnome!
If you’ve made it this far, I have some more truths to share. This gnome reminds me of someone. Shortly after my divorce, I went on a few dates with a guy I nicknamed “Scooter Boy.” He sold scooters to the elderly. He had strawberry blonde hair and beard and mustache. I honestly cannot remember this guys name! He remains known as Scooter Boy in my mind. He was a nice guy, but ultimately, not the guy for me. So, if you have read this, please go back to my original Instagram post and comment #scooterboy. It will make me laugh!
Thanks for visiting!

Adorable card! You know I love when you go outside your comfort zone and get colorful! Great job on the inlaid diecuts!
LikeLiked by 1 person
Thanks friend. I’m still not loving the color choices…but I did have fun making it!
LikeLike
This is Adorable, Mary❣️
LikeLike
Thanks Jane!
LikeLike