


When I saw this sentiment set and this die, I knew I wanted to create a dramatic tri-fold card. I actually made two of these as I was trying to figure out the best way to create it. I will share with you my tips and tricks.
I used the following products to create this card:
~Stacked Holiday Sentiments stamp set
~ Blue cardstock
~ Dark grey cardstock
~12 x 12 gray cardstock (or blue)
Directions:
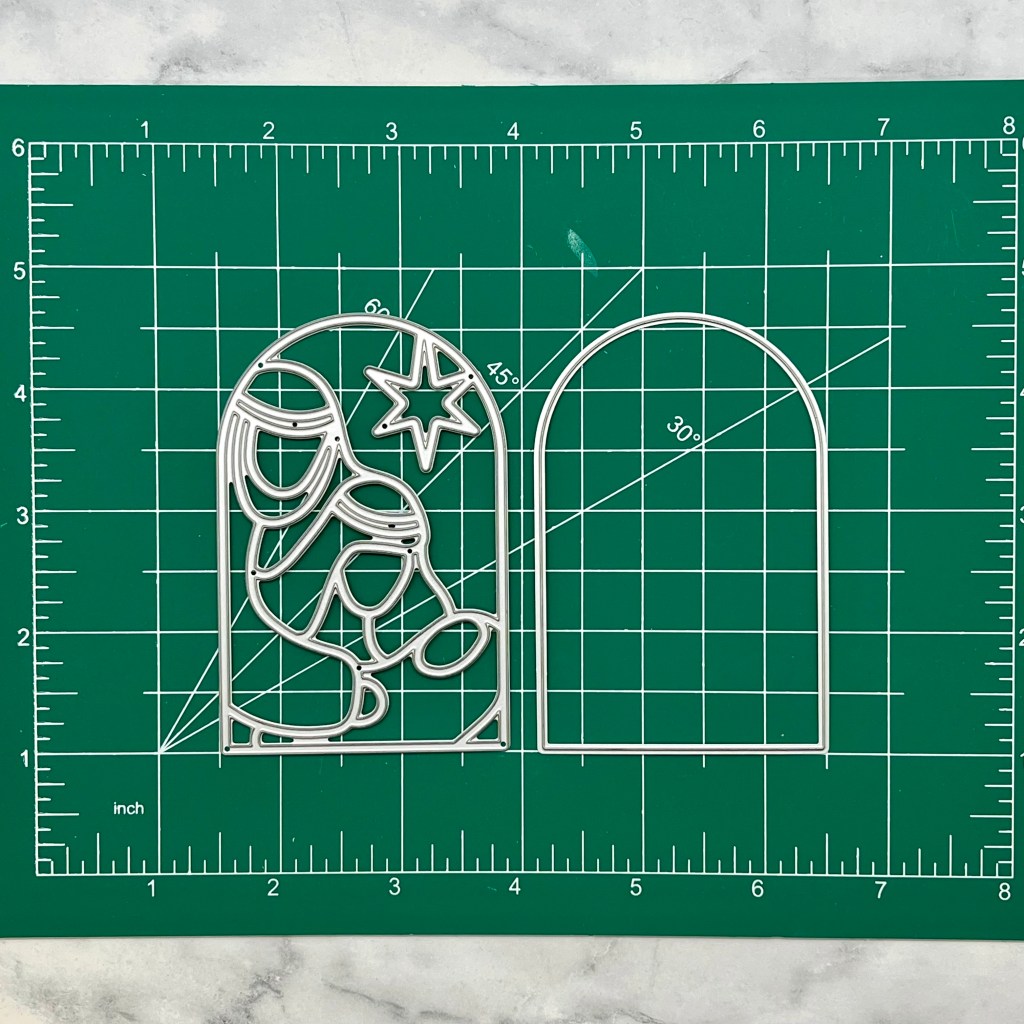
- Die cut The Nativity die 2 times from gold glitter card stock. Save one of the gold stars that cut out – this will be used on the last panel.
- Using the largest A2 Arch die, cut 6 arches from a dark grey cardstock.
- Using the next size smaller A2 arch, cut 3 blue arches.

- Using the Nativity die as a guide, find the closest A2 arch to match it, and die cut 2 from Fog cardstock. (when I first made this, I used vellum, but the glue showed through, so I opted for the Fog cardstock. I think the Fog cardstock gives the illusion of vellum.)
- Emboss the “Silent Night” sentiment, in gold embossing powder, centered on the bottom of one of the blue panels. I masked the “Holy Night” off a post-it so I only inked up the “Silent Night” portion. Then I did the opposite to emboss “Holy Night” to the bottom, center of another blue panel.
- On the third blue arched panel, I embossed the “All is calm, All is bright” sentiment. I added a gold star from step one above the sentiment.
- Adhere the fog arches to the blue panels above the sentiment and then adhere the glitter gold Nativity on top of the fog arch. See photo below for placement guidance.

- Adhere the blue arch, centered onto the larger grey arch.
- Using a 12 x 12 piece of cardstock, cut a strip 3″ x 12″.
- Score that piece at 4″ and 8″ and zig zag fold it. This will become our “hinges” that hold the card together.
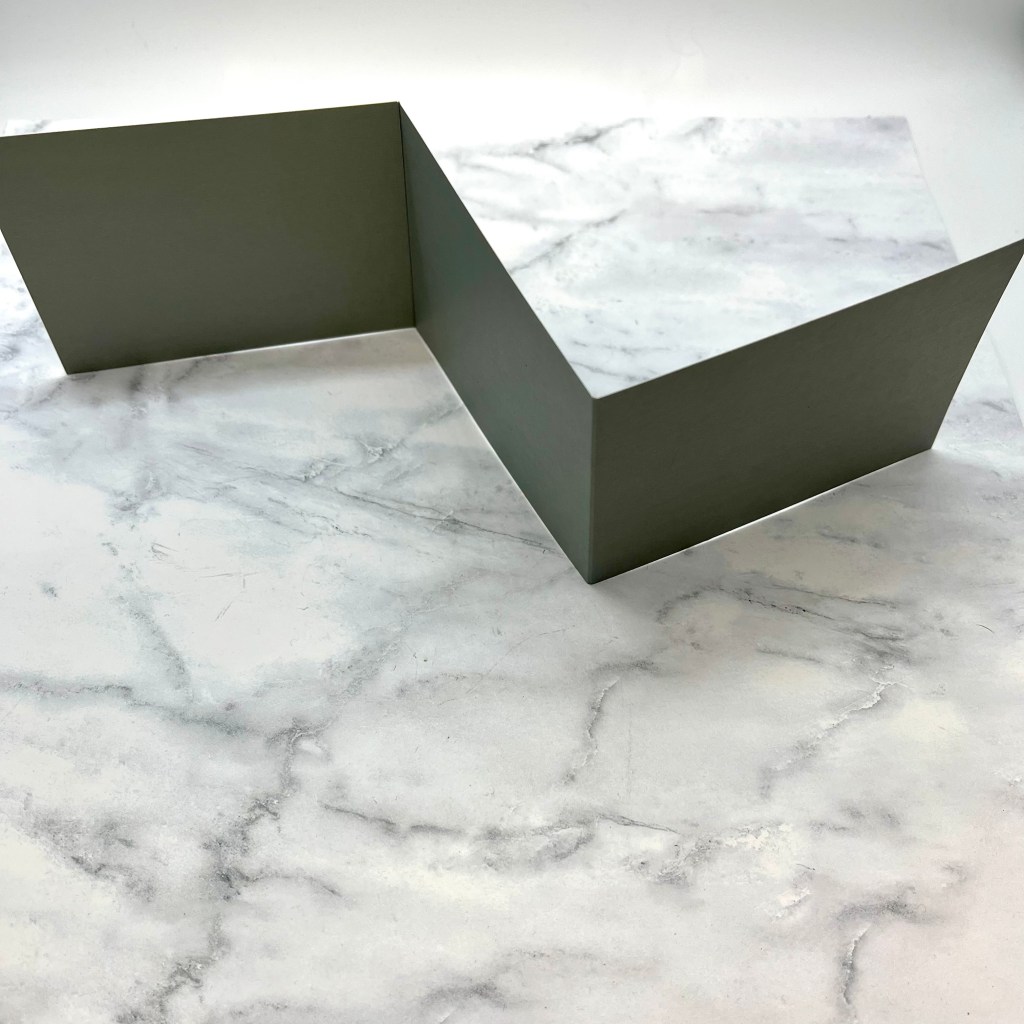
- Adhere the first panel of the card to the first 4″ section of the “hinge” piece. Be sure to line up the bottom of the panel with the bottom of the hinge and make sure you have room to fold the next panel. (refer to my completed card to get the proper fold sequence, photo below). You will repeat this process with the next two panels. You may need to trim a tiny bit of the “hinge” edges once this step is complete.

- Now it is time to cover up the “hinge” from the back side view. Simply match up the other three, blank grey panels on to the back of each blue panel, mimicking the front design. Be sure to take your time and you will end up with a neat, crisp finished card.
- If you wanted to add even more dimension, you could use foam tape to pop up the blue from the grey arch. You could also cut a few more Nativities, out of scrap cardstock, and layer those together. This card is a bit on the heavier side, so keep that in mind when thinking about adding more dimension.
I hope this helps explain how I created this card. If you have any more questions, please leave me a comment or message me directly.
Thanks for stopping by!

I love this idea! It was my first thought as well when I first saw this wafer die! This card is exquisite!
LikeLike
Thank you so much! I appreciate you stopping by!
LikeLike