

It is time once again for a new release from Simon Says Stamp. I feel like I say this all of the time, but this release is so fun!
I had the opportunity to create with the adorable “Right Stuff” stamp set.

For my first project, I created a fun, pop up, bridge card.
This was my first time creating one, but I was inspired by a video from Jennifer McGuire.
To create my card, I started with a piece of 110# card stock that measured 5 1/2″ x 10 3/4″. To acheive the pop up effect, I scored my card stock at 1 1/4″, 2 1/4″ and 3 1/4″. Then, I turned the card stock 180 degrees, and added score lines in the same spots. Next, I accordian folded (or zig-zag folded) on the score lines. Using a bone folder is very beneficial to acheive the crisp folds. Once folded, the card measures 4 1/4″ x 5 1/2″ and will fit in a standard A2 envelope.
I cut some standard, notebook paper to fit on the flaps and also on the inside panel. I cut them just a bit smaller to fit in each section. You could cut the two outside pieces to fit exactly and they would be 1 1/4″ x 5 1/2″. Next, I stamped the sentiment on the notebook paper that will be going on the inside panel. Then, I adhered all of the notebook paper and made sure the lines lined up.
I stamped two of the pencil images and colored them with Copic markers. These are the colors I used: RV23, RV21, RV01, E11, E33, C1, C3, C5,Y02, Y08, and Y19.
I fussy cut the pencil strips (I did not have the coordinating dies at the time) and decided on the placement of them. I used my trimmer to cut them to fit my card and adhered them to the card base.
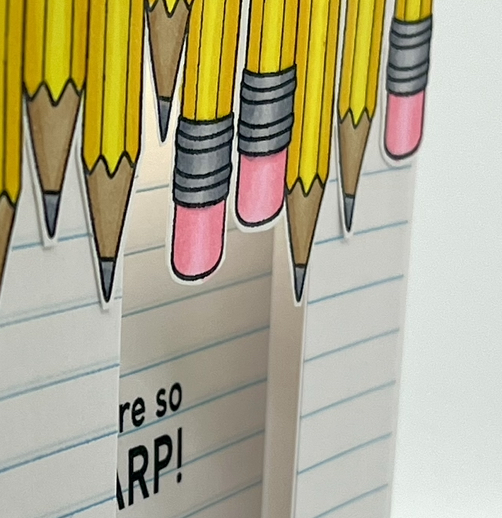
Bridge cards are fun and easy to create and the recipient can display it easily as well. I plan to give this card to one of my teacher collegues.
Project #2:
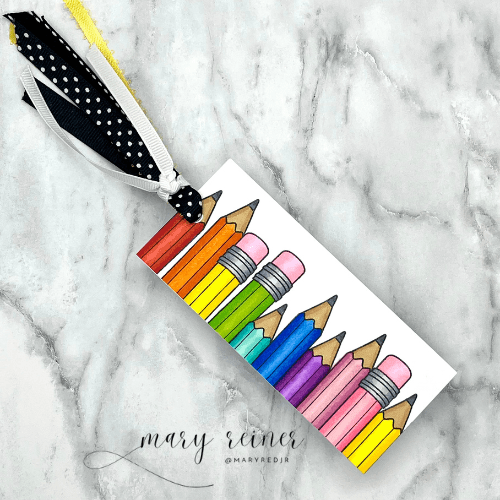
I created a colorful bookmark for my second project.
I started by cutting 2 pieces of 110# white card stock to 2″ x 4 1/2″. Then, I stamped the group of pencils on one piece, and a single pencil and sentiment on the other, because I wanted my bookmark to have two completed sides. I colored the images with the following Copic markers: E11, E33, C1, C3, C5, R29, R08, R05, R14,YR09,YR07, YR04, YR12, Y02,Y08,Y19, YG09, YG05, YG03, YG07, BG49, BG45, BG32, BG11, B28, B26, B24, B21, V09, V06, V04, V01, RV66, RV55, RV32, RV11, RV25, RV23, and RV21.

Next, I adhered the two pieces of card stock together and punched a hole at the top. I added lots of ribbon from my stash to complete the bookmark. How cute?!?
I hope you enjoyed my projects and will check out the entire new release from Simon Says Stamp.
Below is my affiliate link. I hope you will use it if you see some things you need. Thanks for stopping by!

I LOVE these projects! Making a bridge card with this set, and adding notebook paper to your card was such a great idea!
And your bookmarks is so cute! The coloring on both projects is amazing! 💛💛💛
LikeLiked by 1 person
Thanks so much! I’m loving the rainbow colors for the bookmark.
LikeLike
Super cute penc
LikeLike